So it begins
Our home, built in 2009, came without a finished basement and I slowly "worked" to finish it out. Finally, my better half prompted me to EARNESTLY tackle the project at the end of 2017. Did I mention I had a pretty strict deadline? It had to be finished before our wedding a few months down the road in 2018! Even so, I stubbornly still planned on doing everything, from framing to plumbing and electrical, to final finishing!...
Before we get started, the information presented here is merely how I went about finishing my basement. Undoubtedly, there are better, more efficient ways to tackle a basement, so take inspiration at your own risk! If you're like me, hopefully you will enjoy the journey!
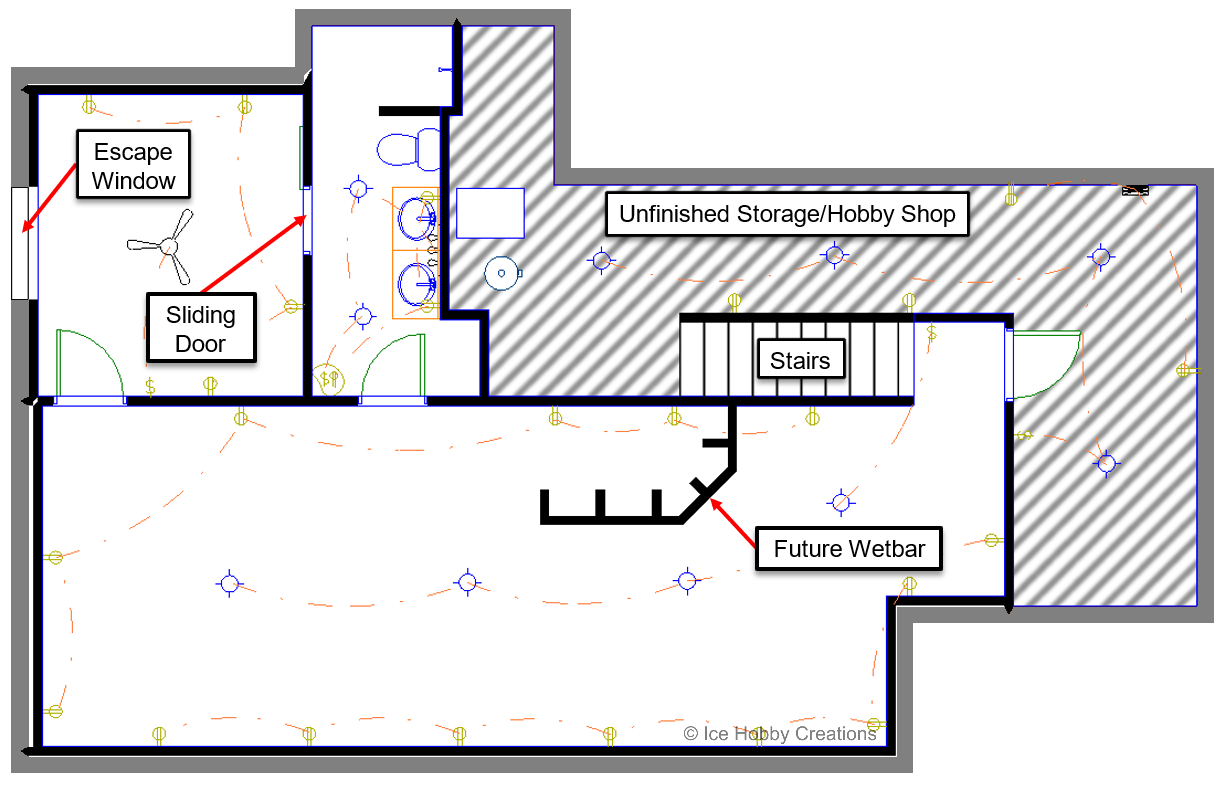
The basement is partially above ground with lookout windows in the main room. There was a small bedroom roughed in along with drains for a shower/tub and toilet. The first step was to plan out the vision, so I used HGTV Ultimate Home Design 4 to model our basement and adjust the layout.
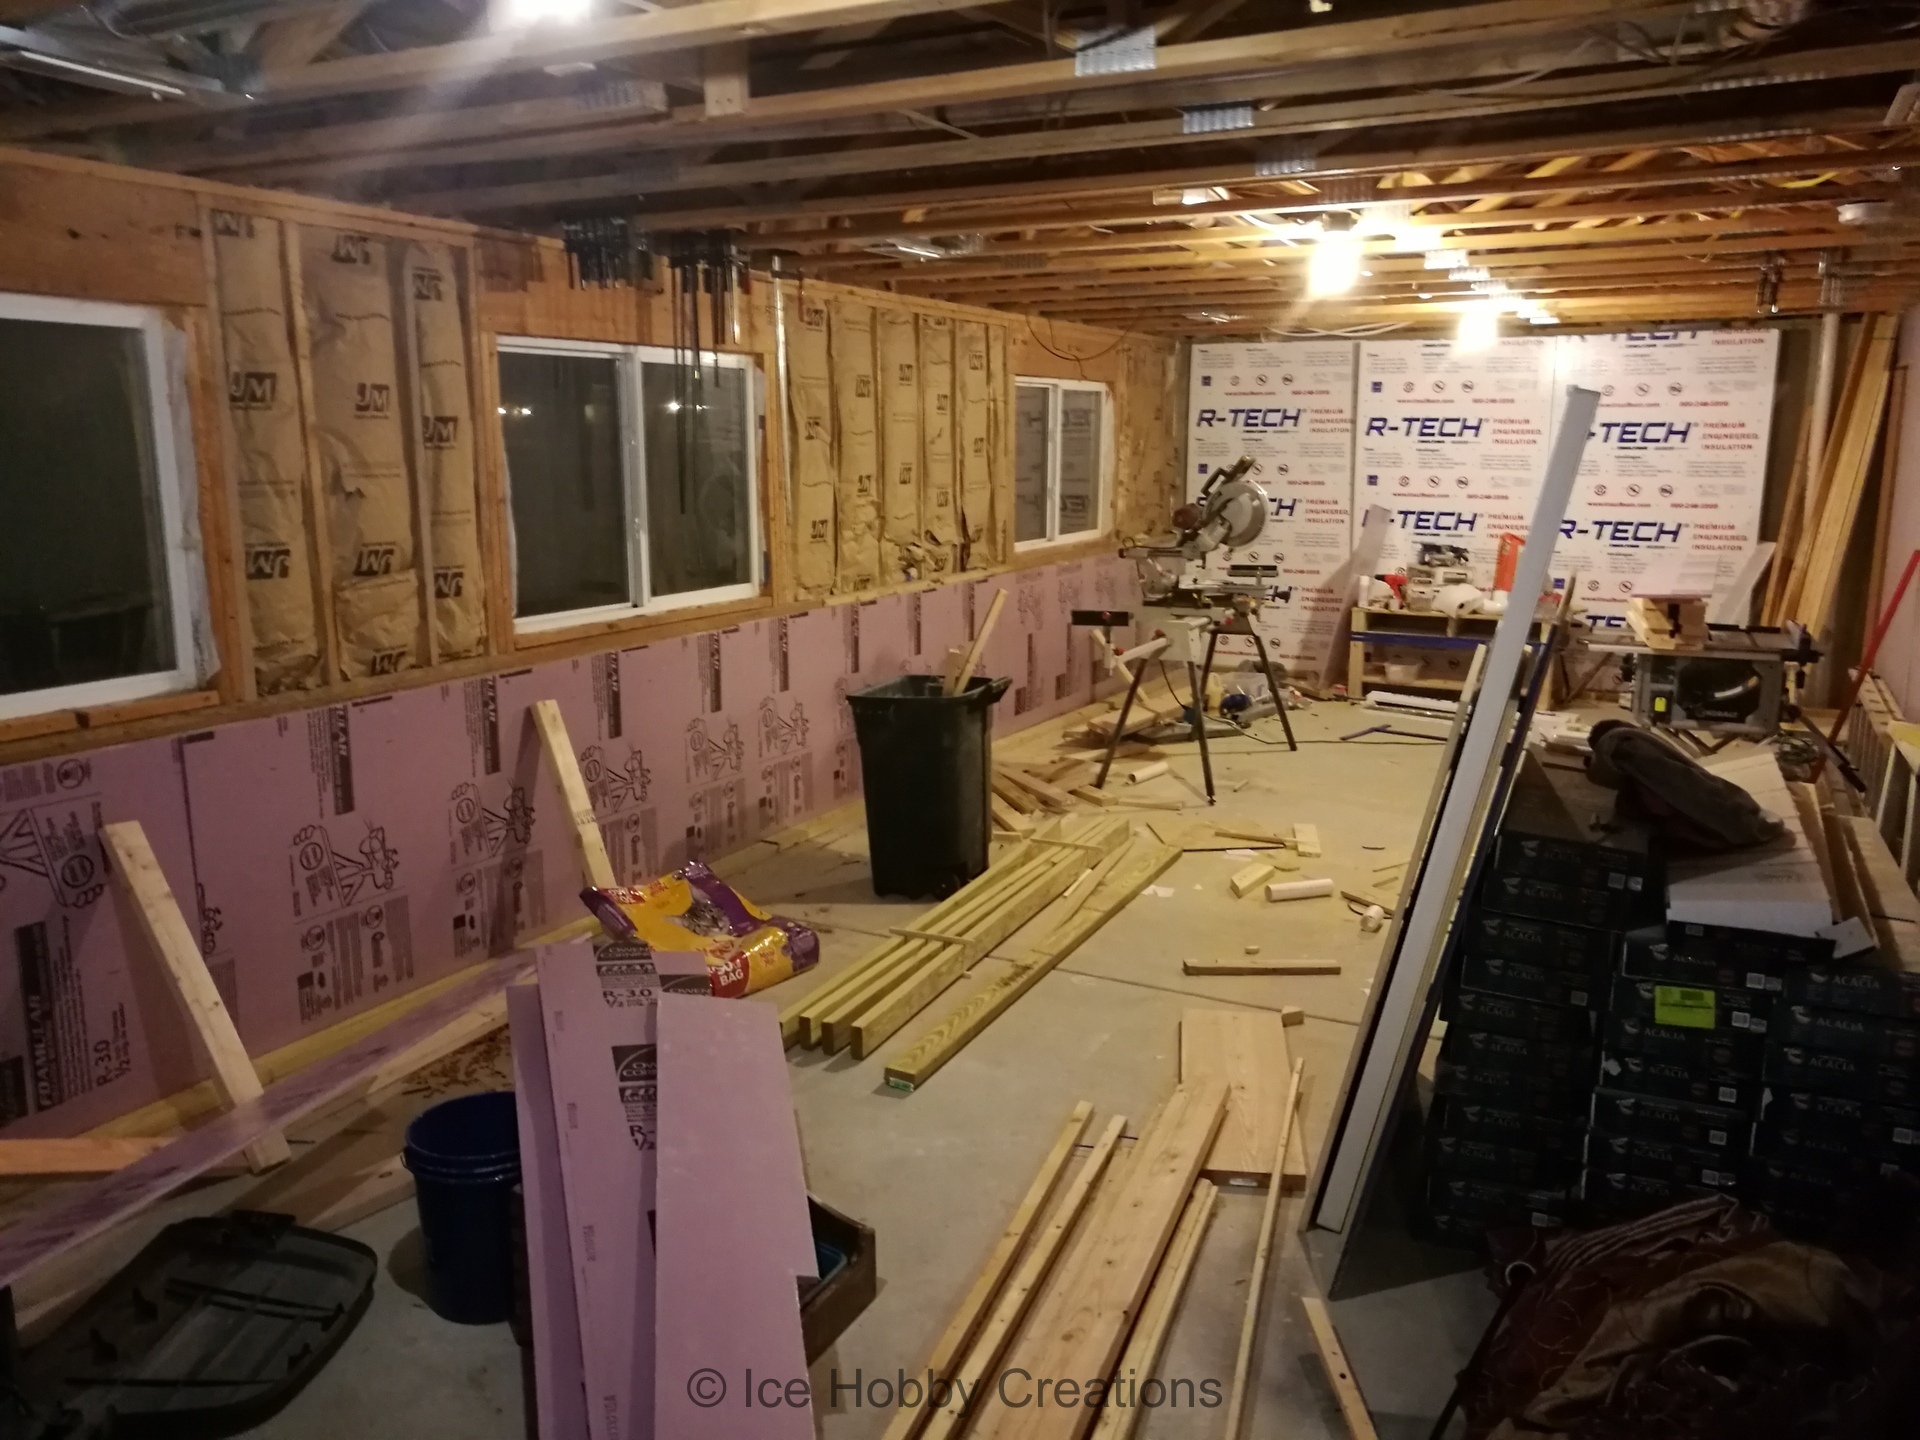
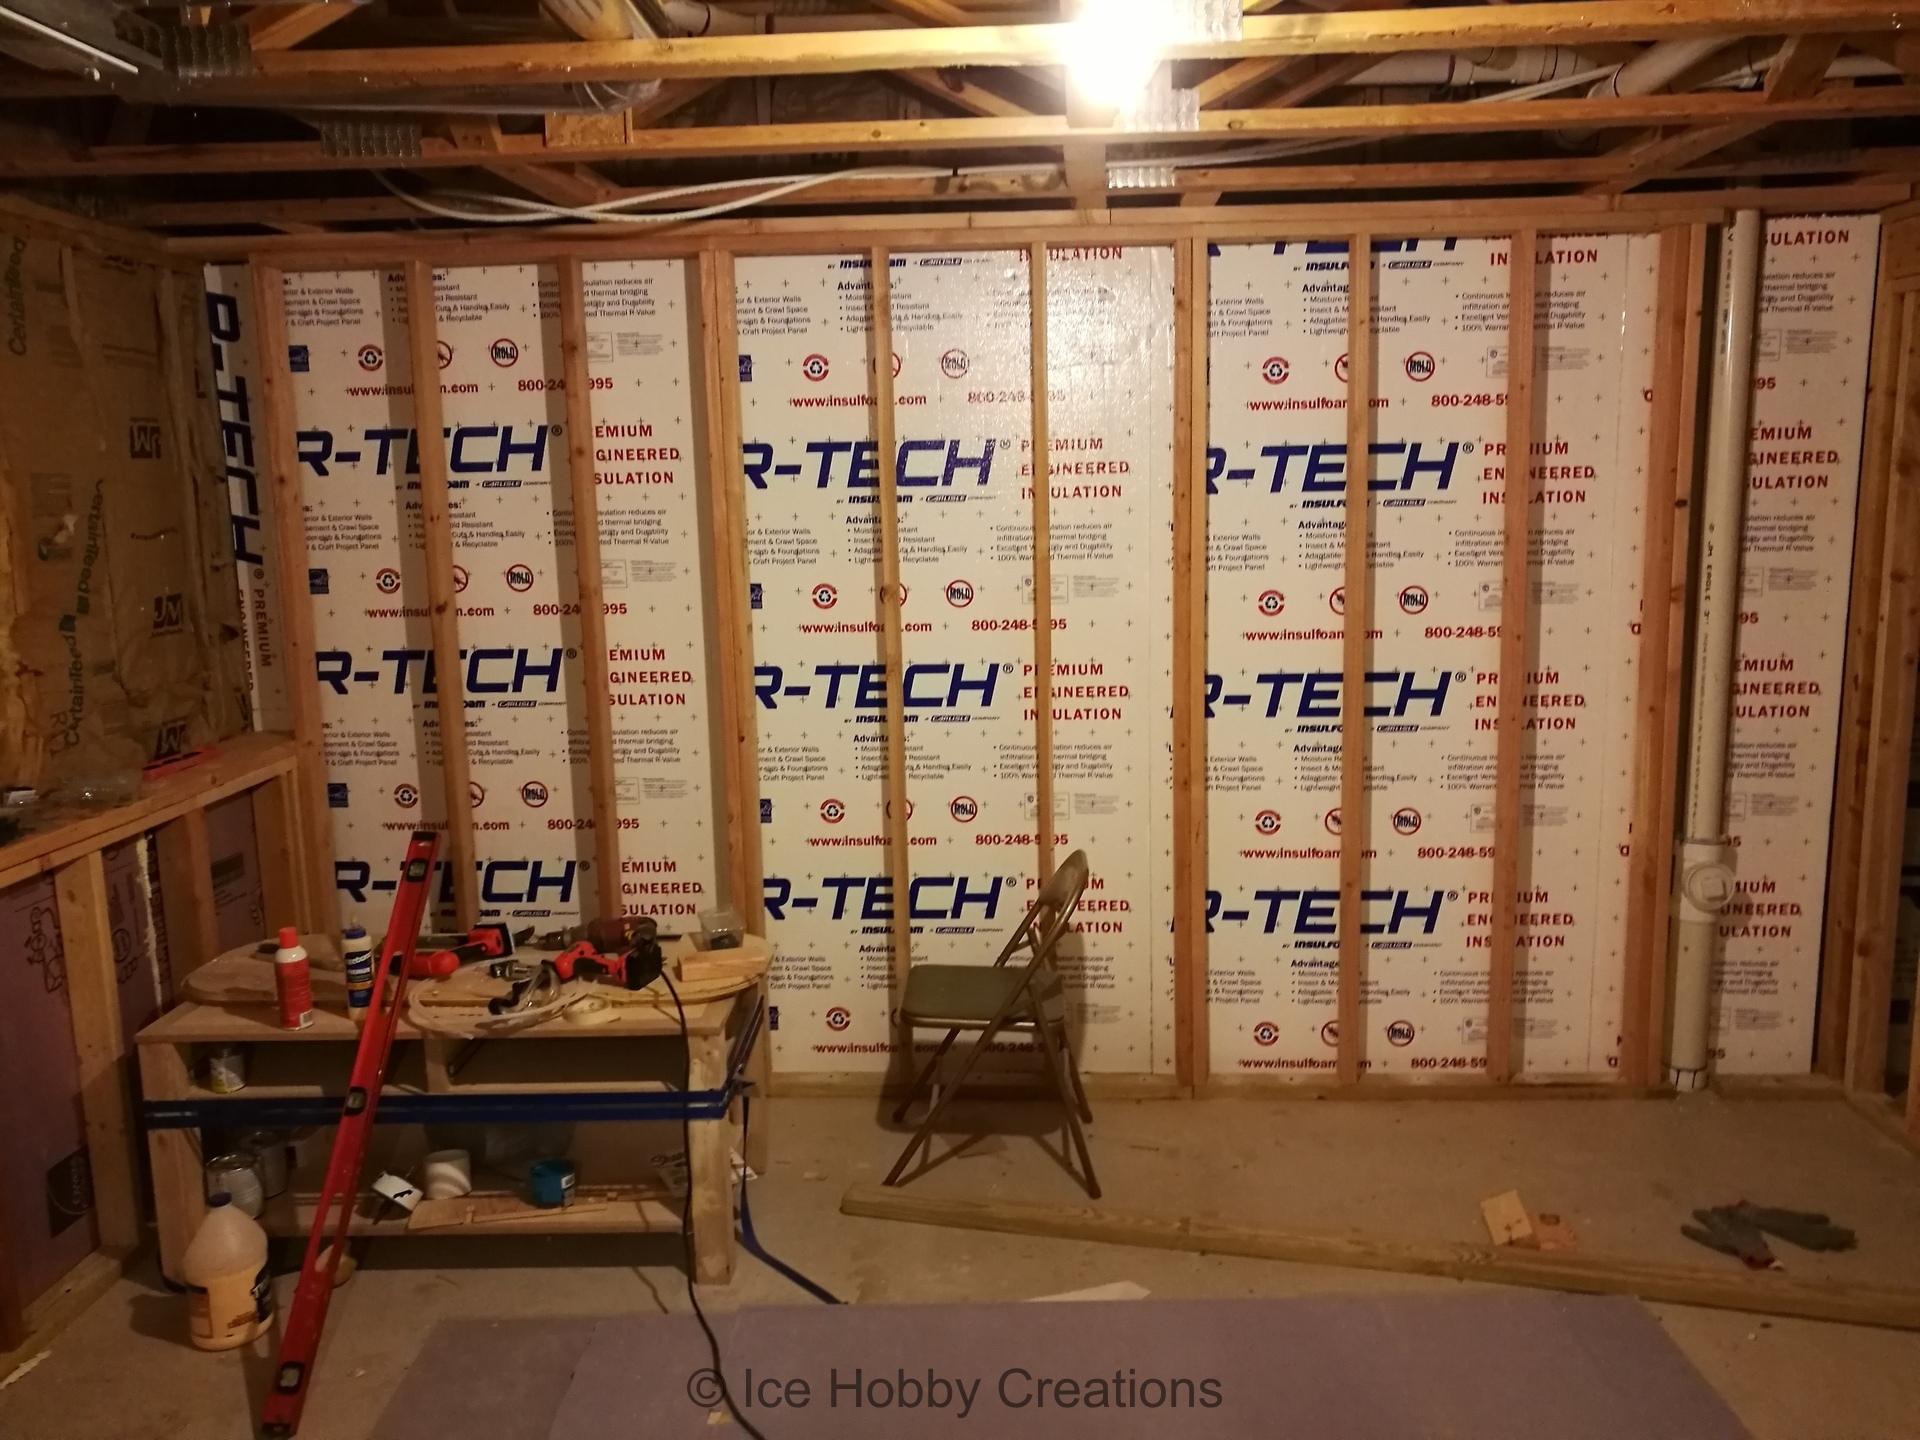
First, foam board was glued to the foundation walls to provide additional protection against vapor
migration through the concrete (hopefully to prevent "musty" smells!) and to increase the R-value.
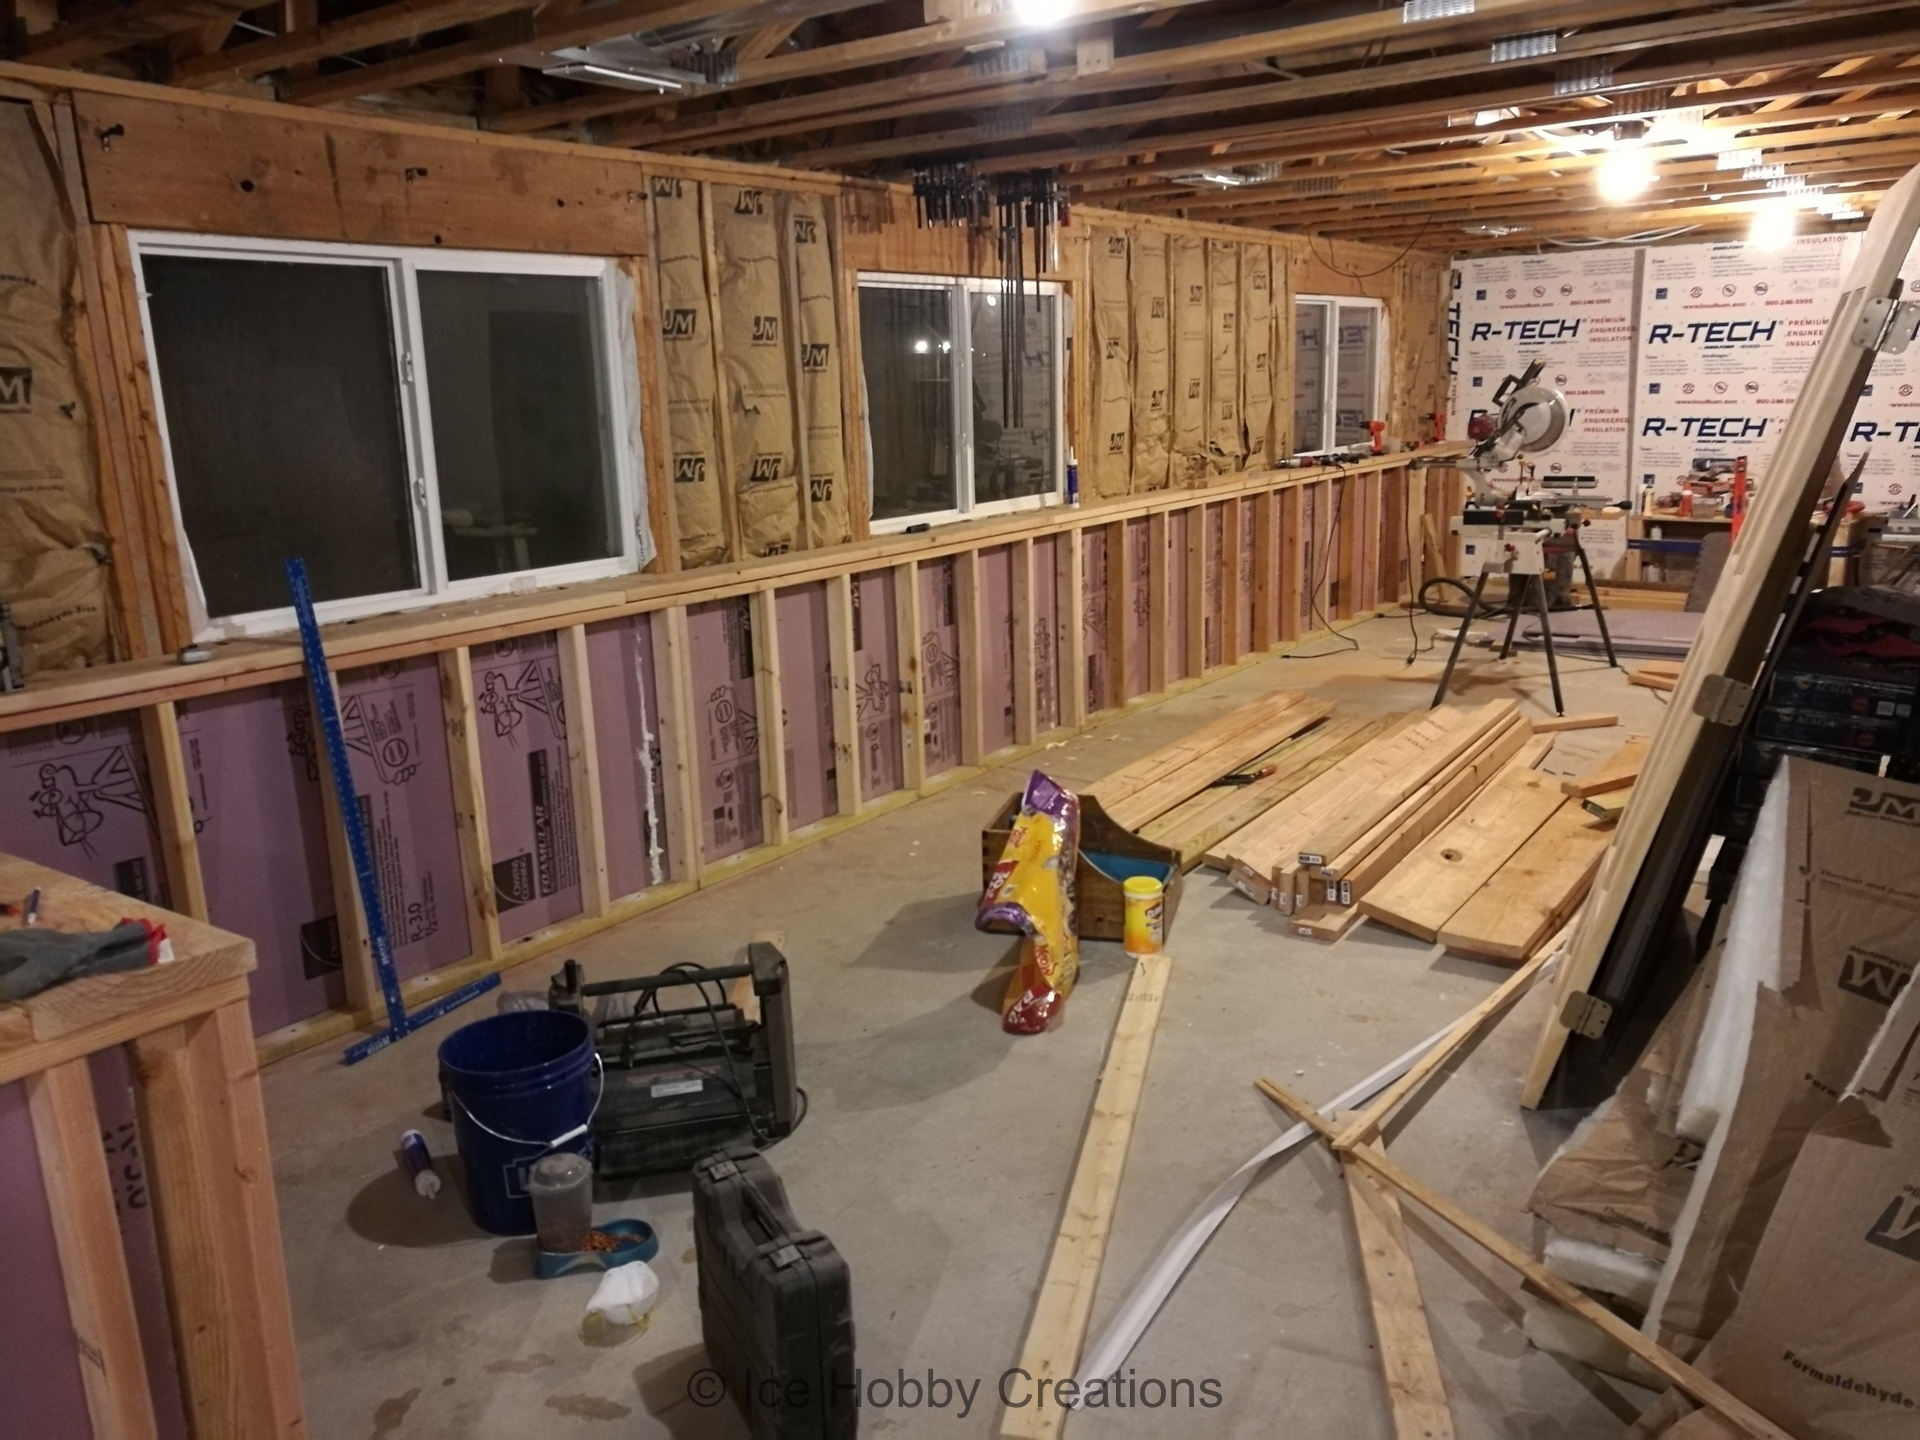
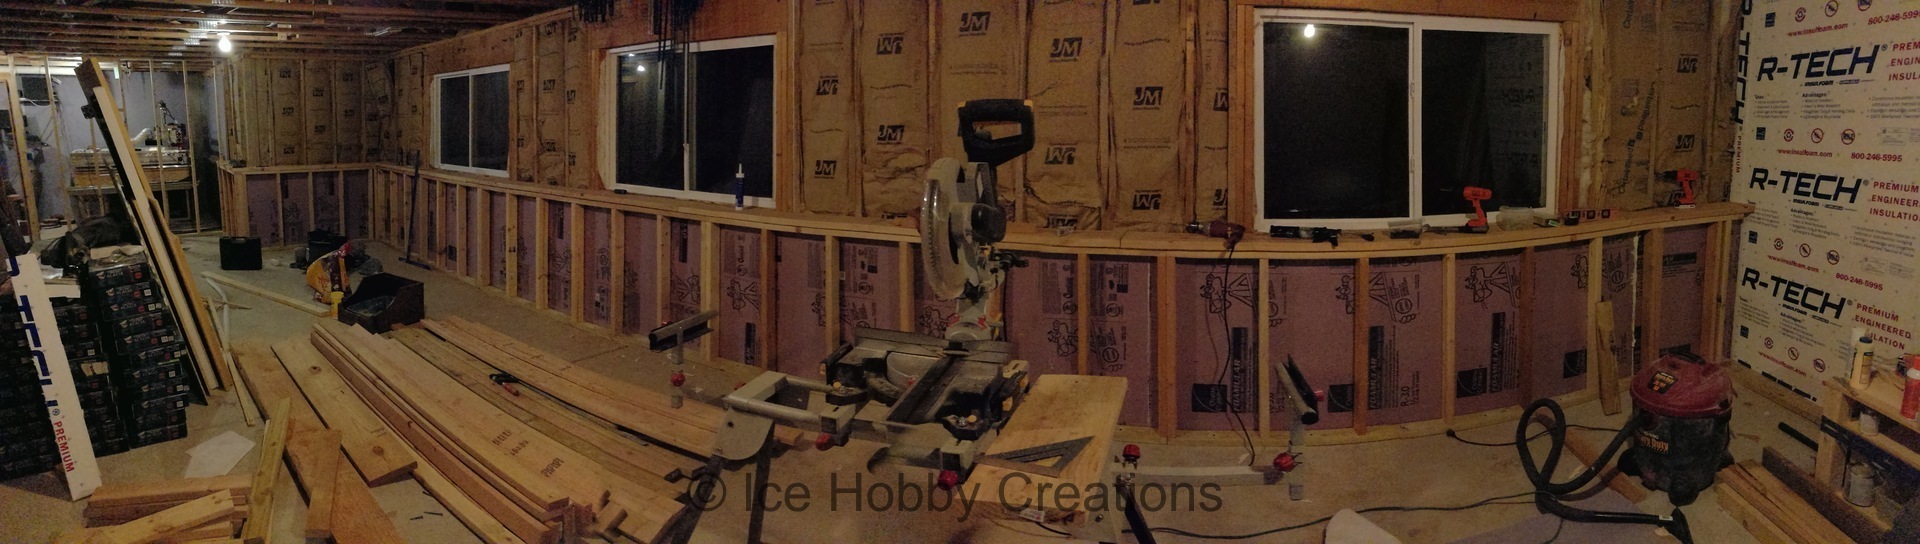
Next walls were built to allow for further insulation to be installed and to allow installation of electrical
outlets. Pressure treated lumber was used wherever there would be direct contact with concrete.
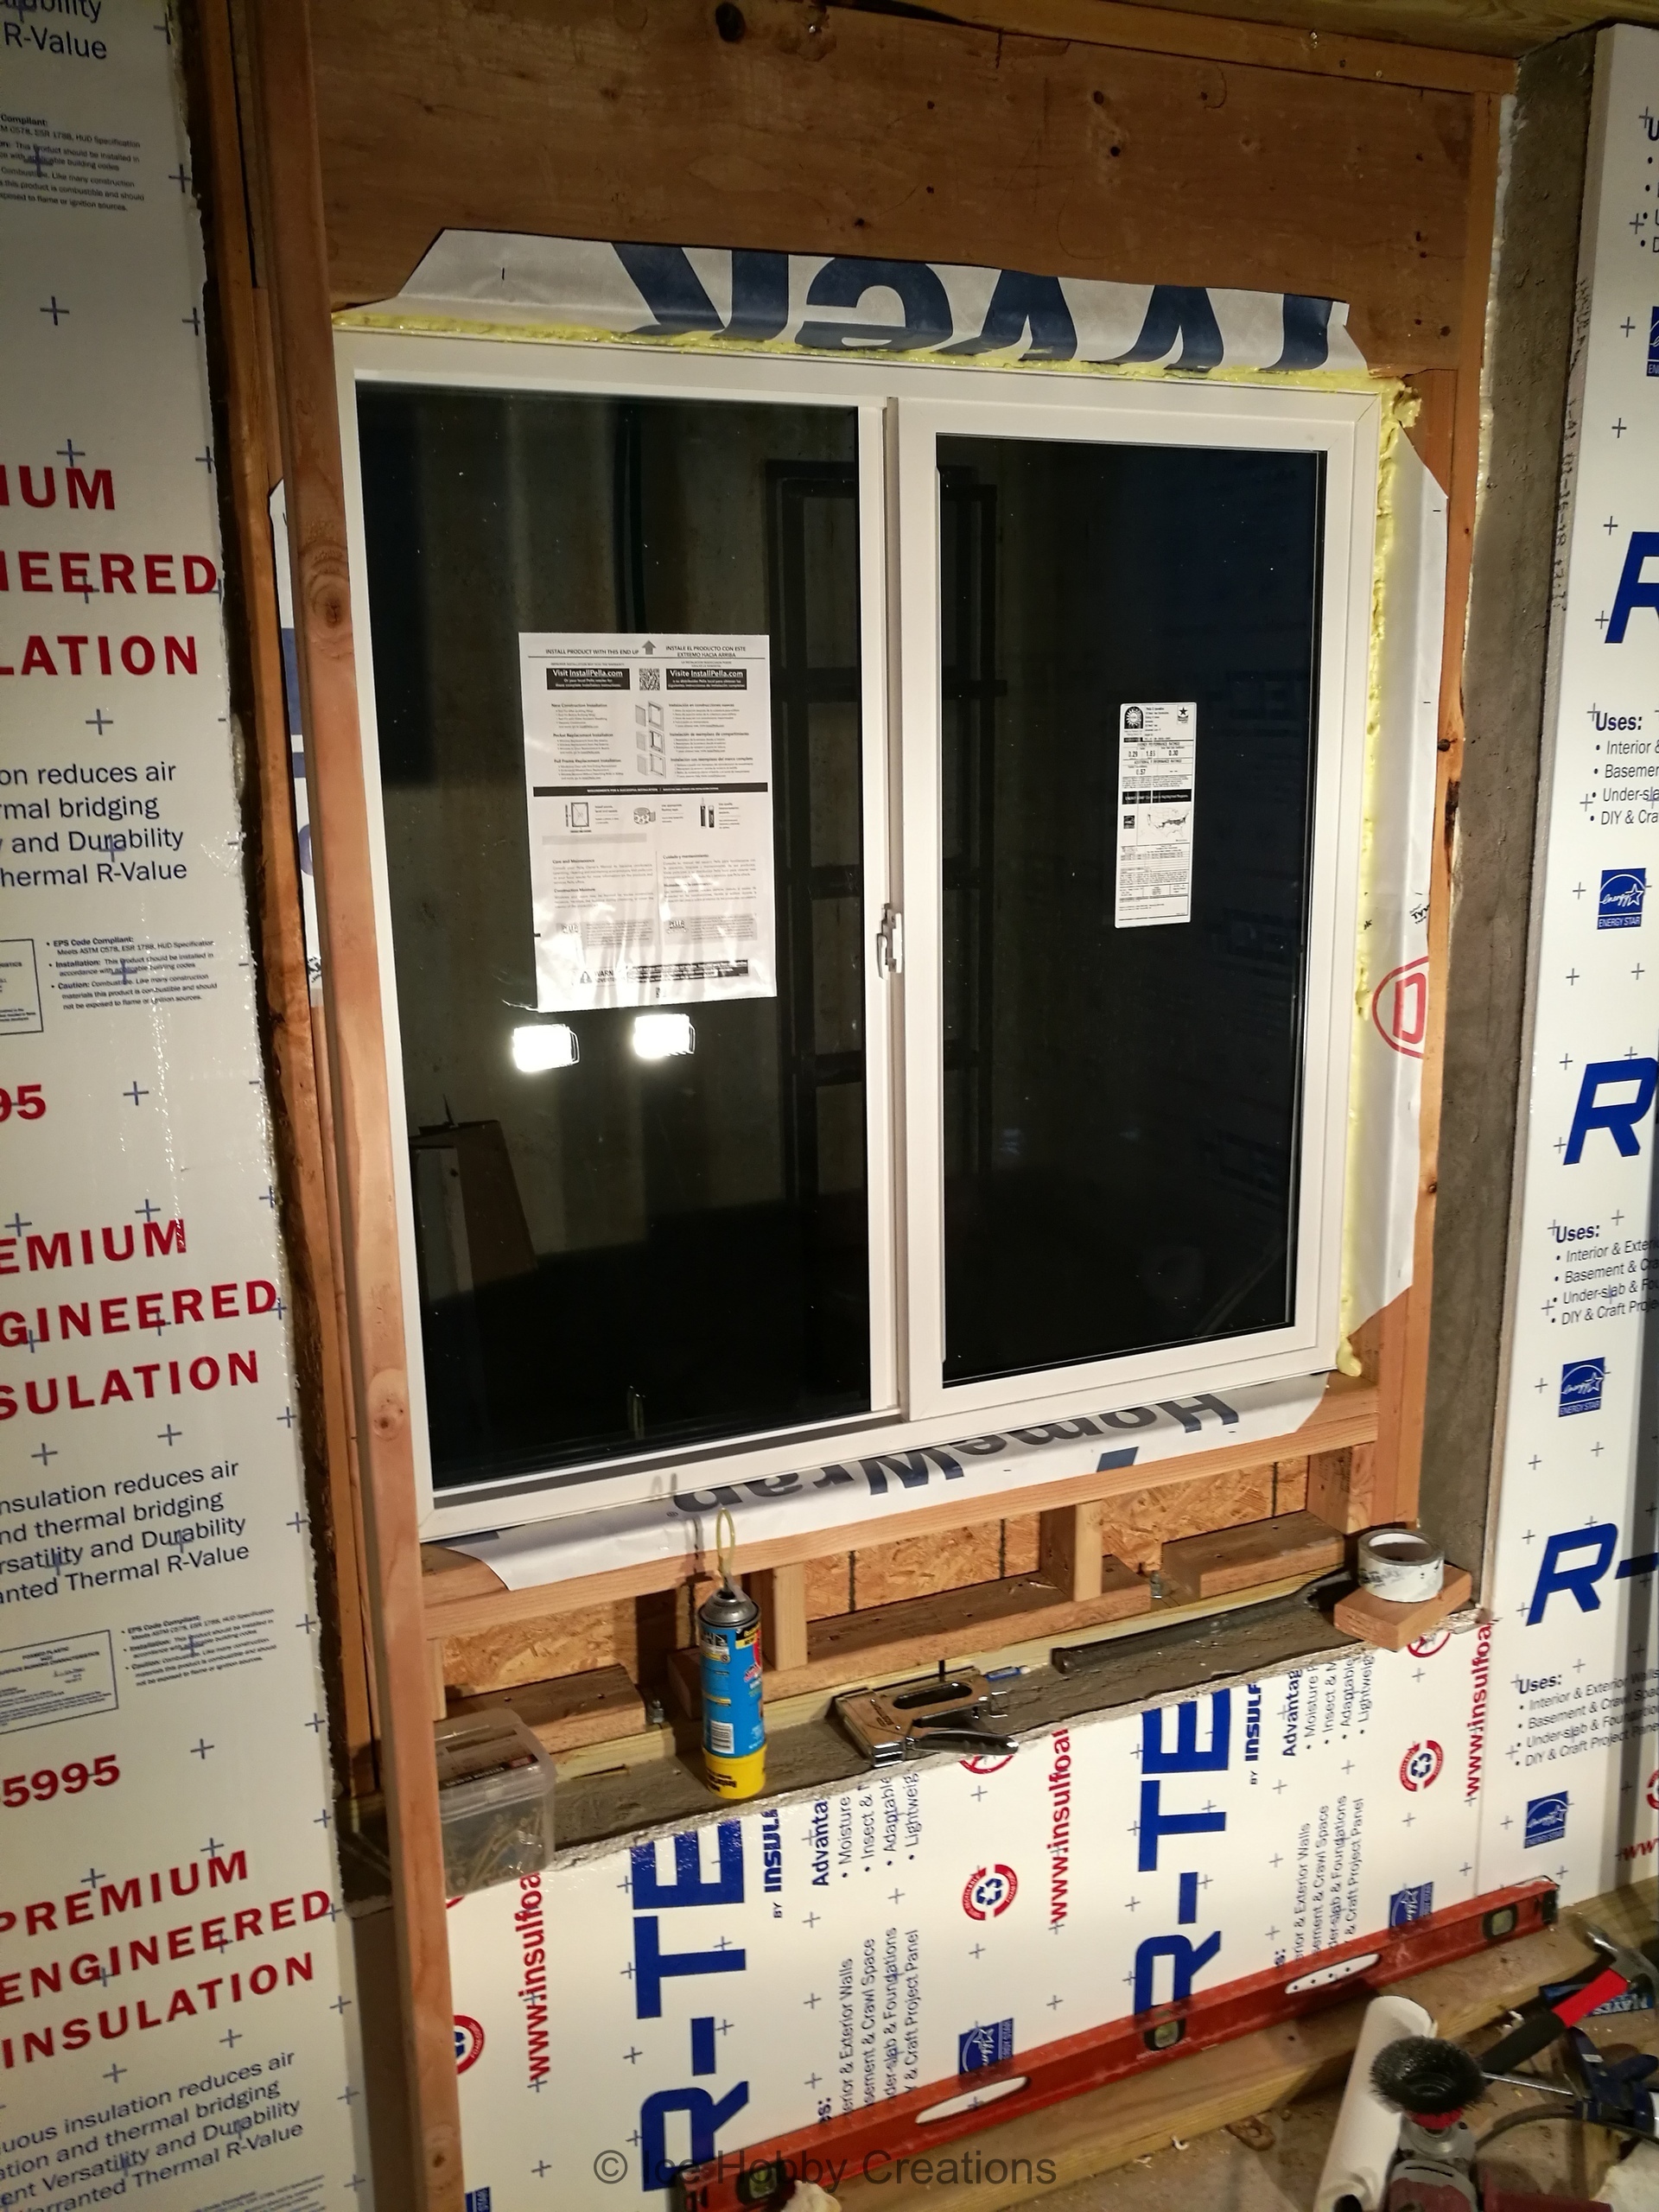
Unfortunately, in the small basement bedroom, I found water damage around the escape window: the
window frame itself had failed. Being a bit overzealous, I ripped out all of the damaged wood before
I really had a plan of action. But, this forced my hand and I had to get the hole filled before I could
call it a day. With a quick trip to Lowes, I had a replacement window and all the lumber needed to rebuild
the surround. Several hours later, and it was installed, taking a lot of care to ensure there was sufficient
water-proofing!
Since this was already a huge project, it seemed like a good idea to make it even bigger. The
original shower drain was roughed in for a tub/shower combination, but we wanted a fully tiled shower
instead. We also decided to make the shower a bit more spacious, which cascaded into moving the toilet
to meet code requirements. Since I'm a glutton for punishment, I decided to go for it and break out the
concrete to relocate the shower and toilet drains. I was already putting in the effort, why settle? Part
way through breaking out the concrete, I discovered the answer! Anyways, it was a lot of work, but in the end,
I'm glad I did it!
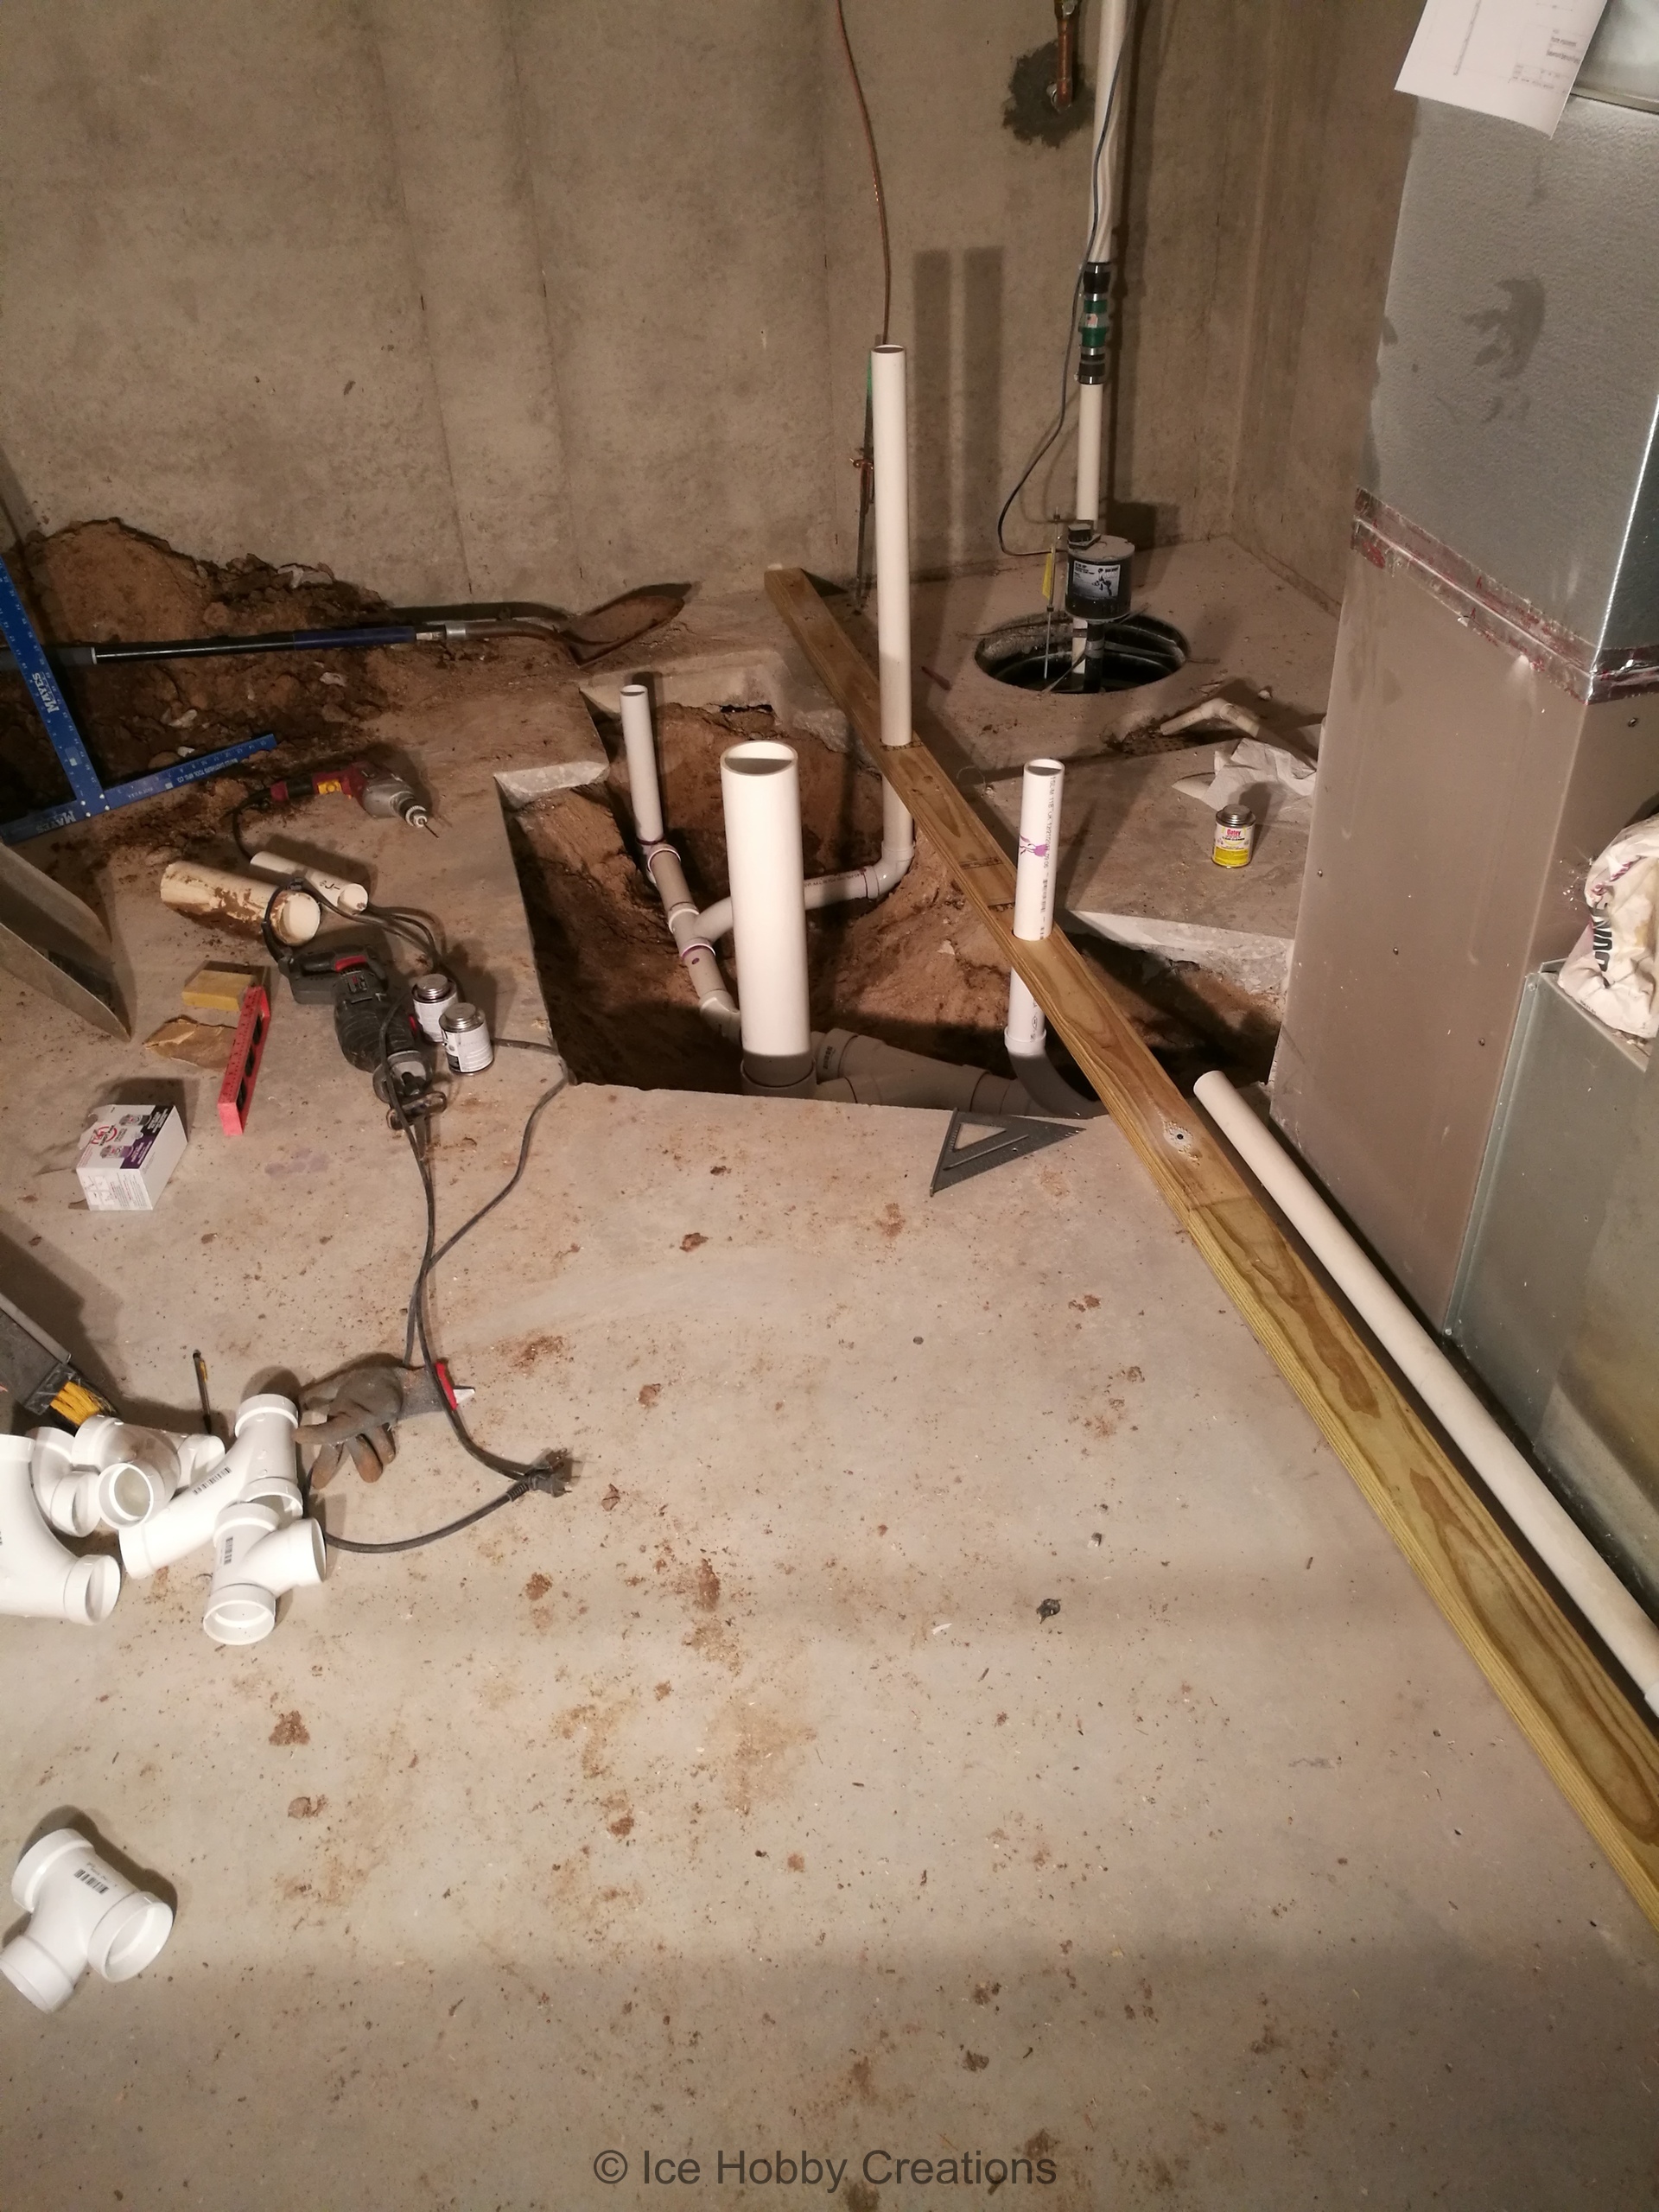
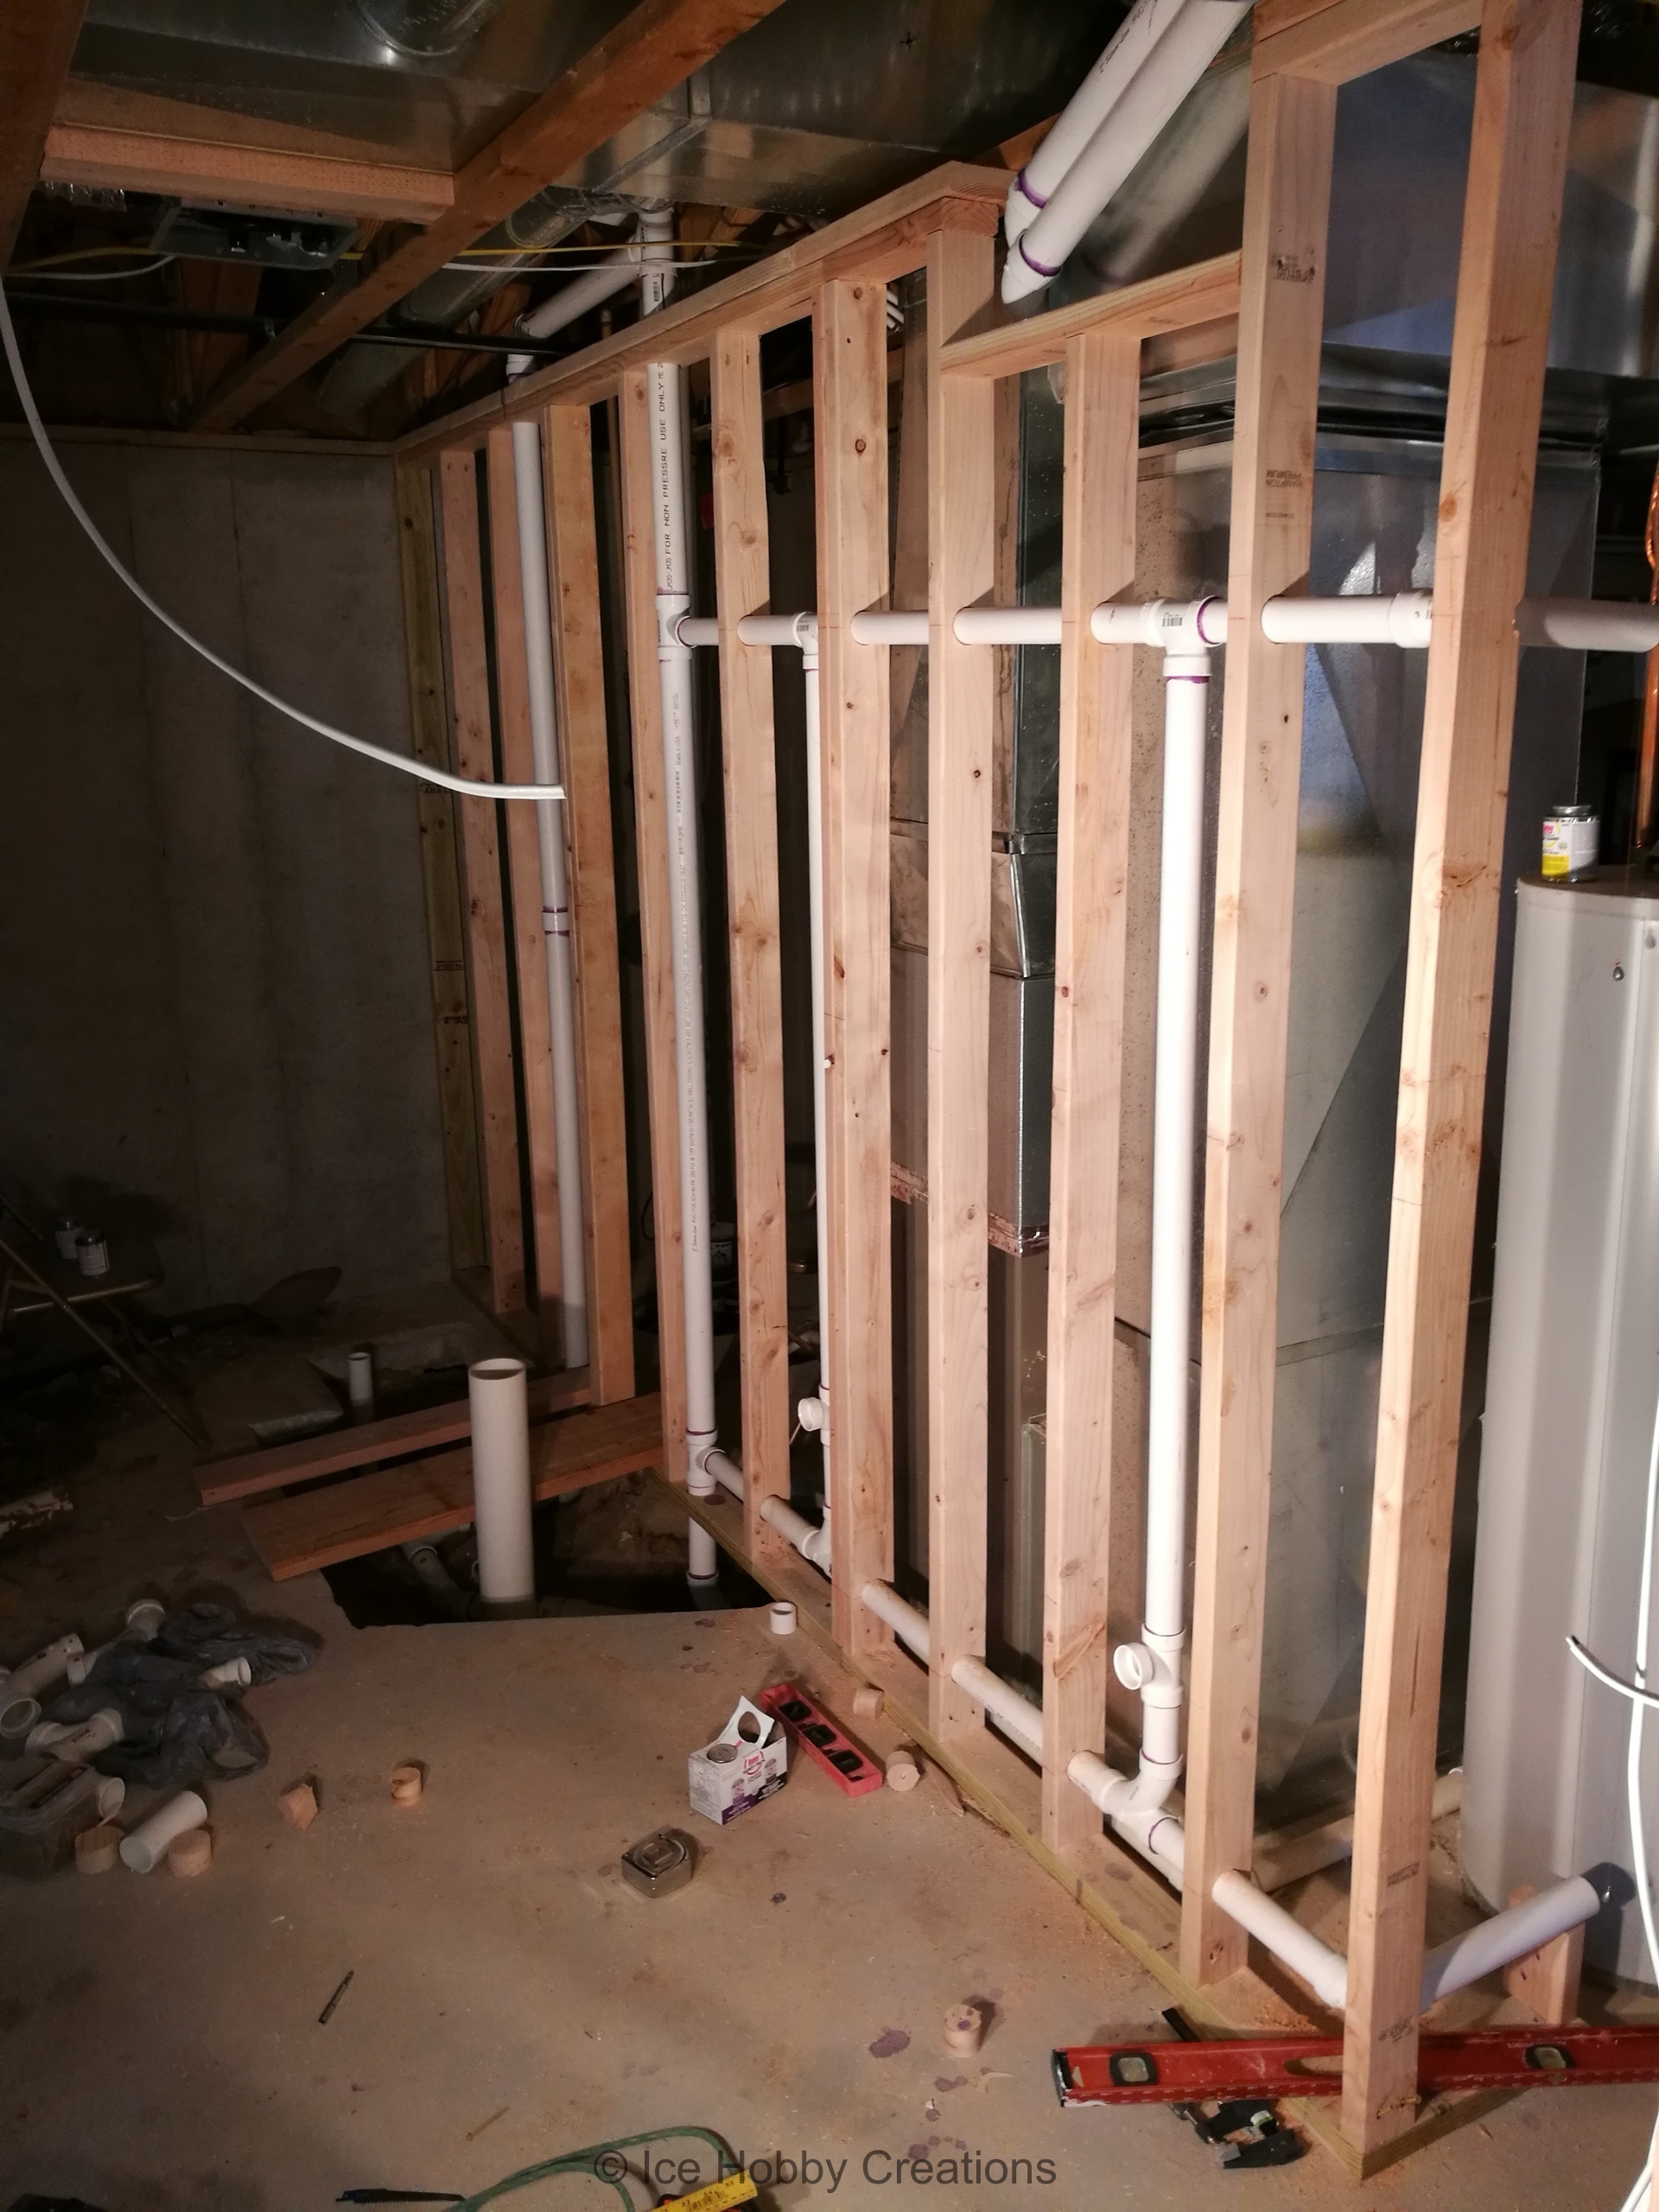
We also wanted a dual sink vanity, so the drain and vent stacks got a little bit "complicated".
This may have been a result of me misinterpreting the plumbing codes (if you can't tell, I'm no professional!),
but it still passed the rough-in inspections... Oh, and if you are wondering about the extra pipes to the right,
they were part of the plan for a future wet bar drain/vent!
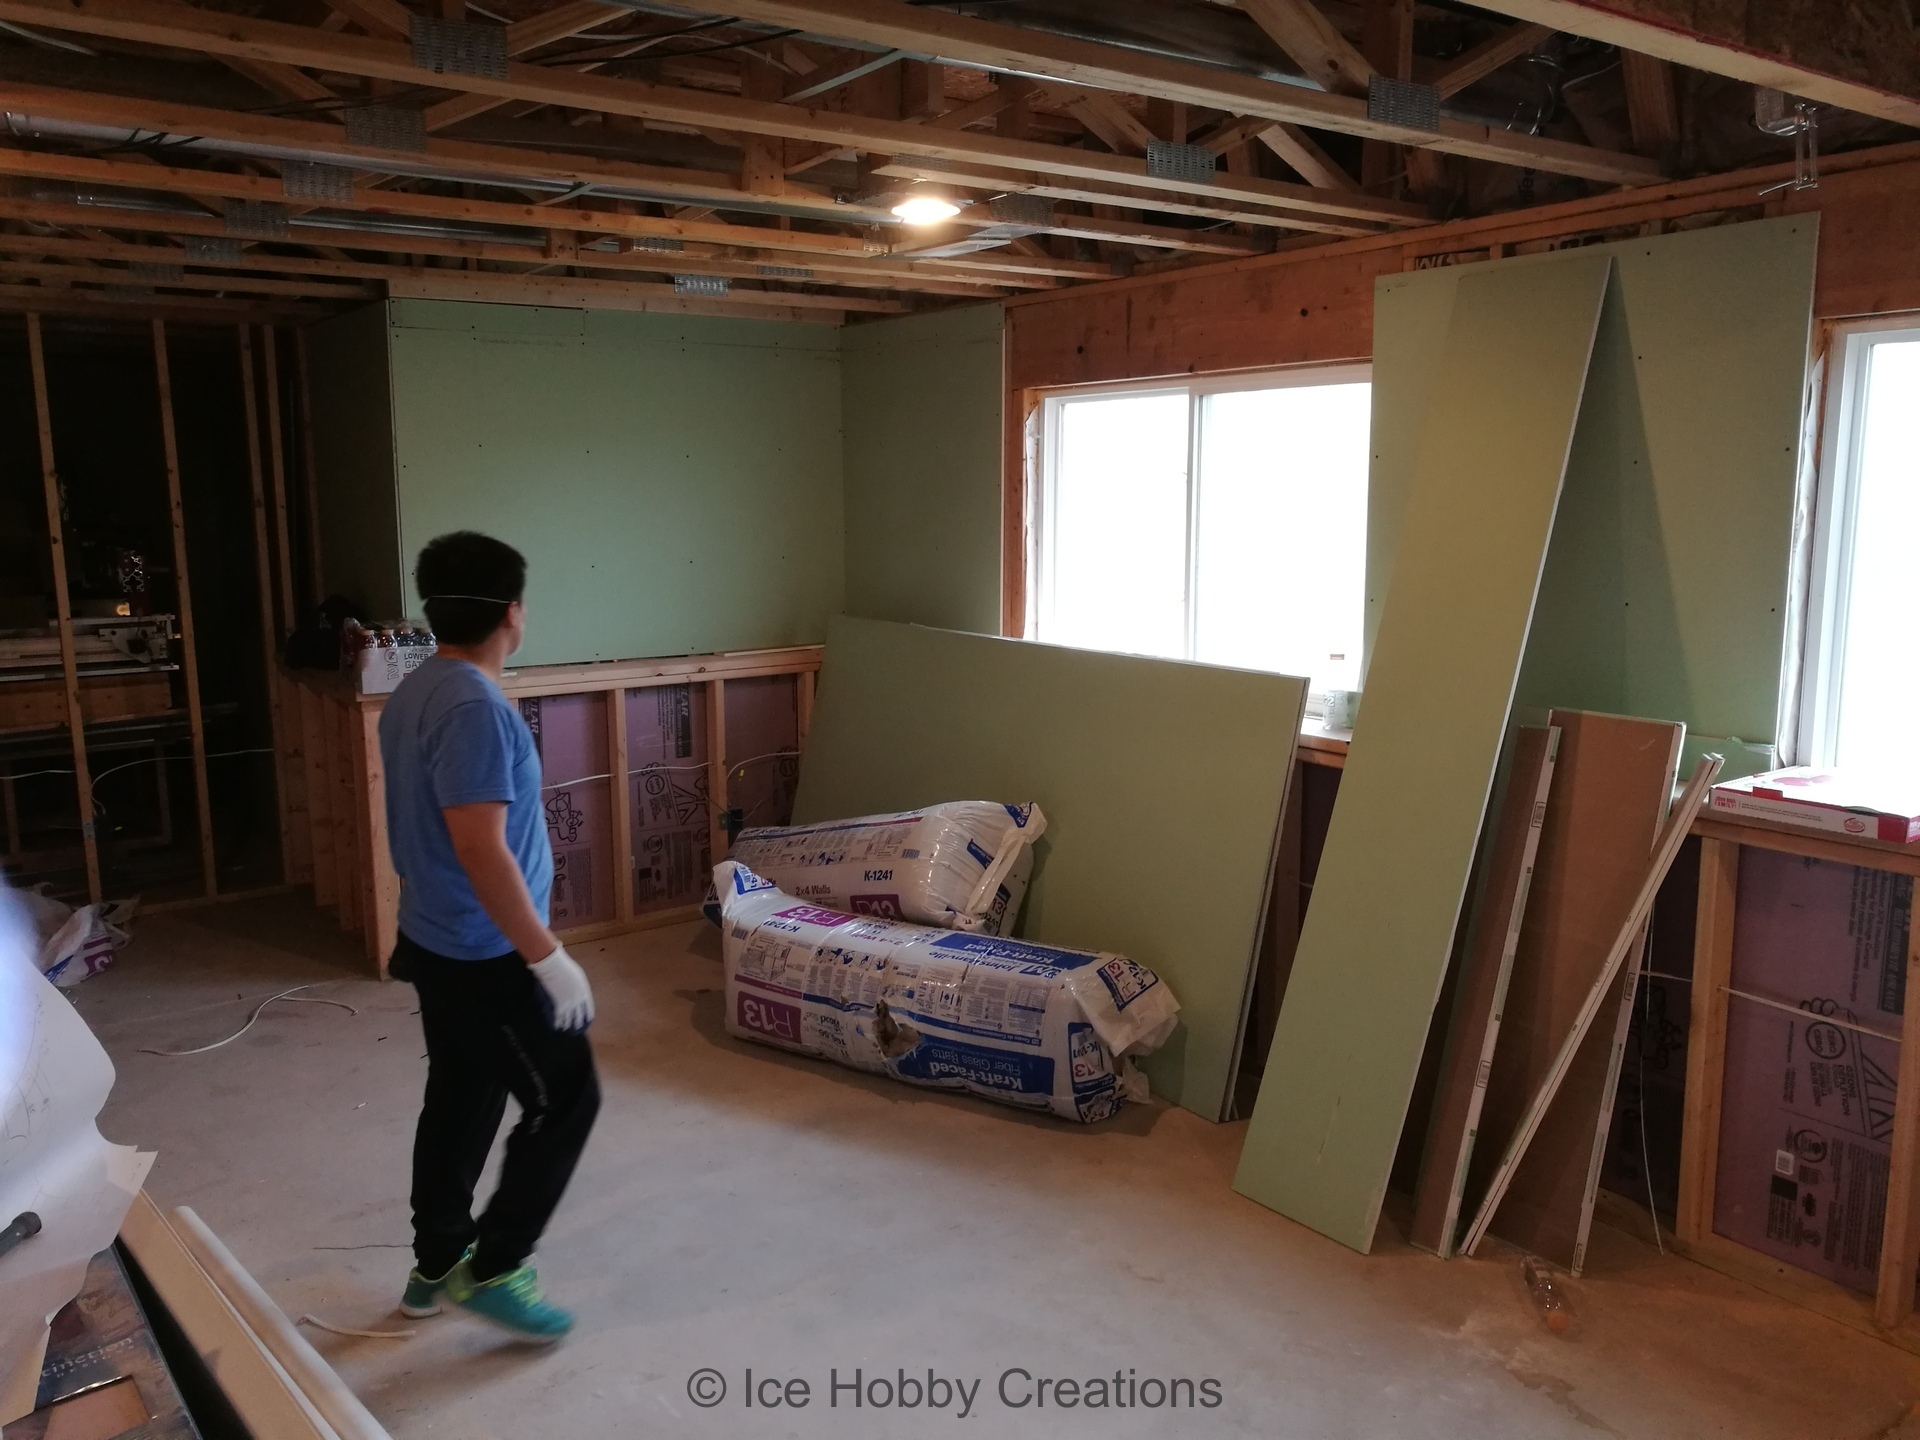
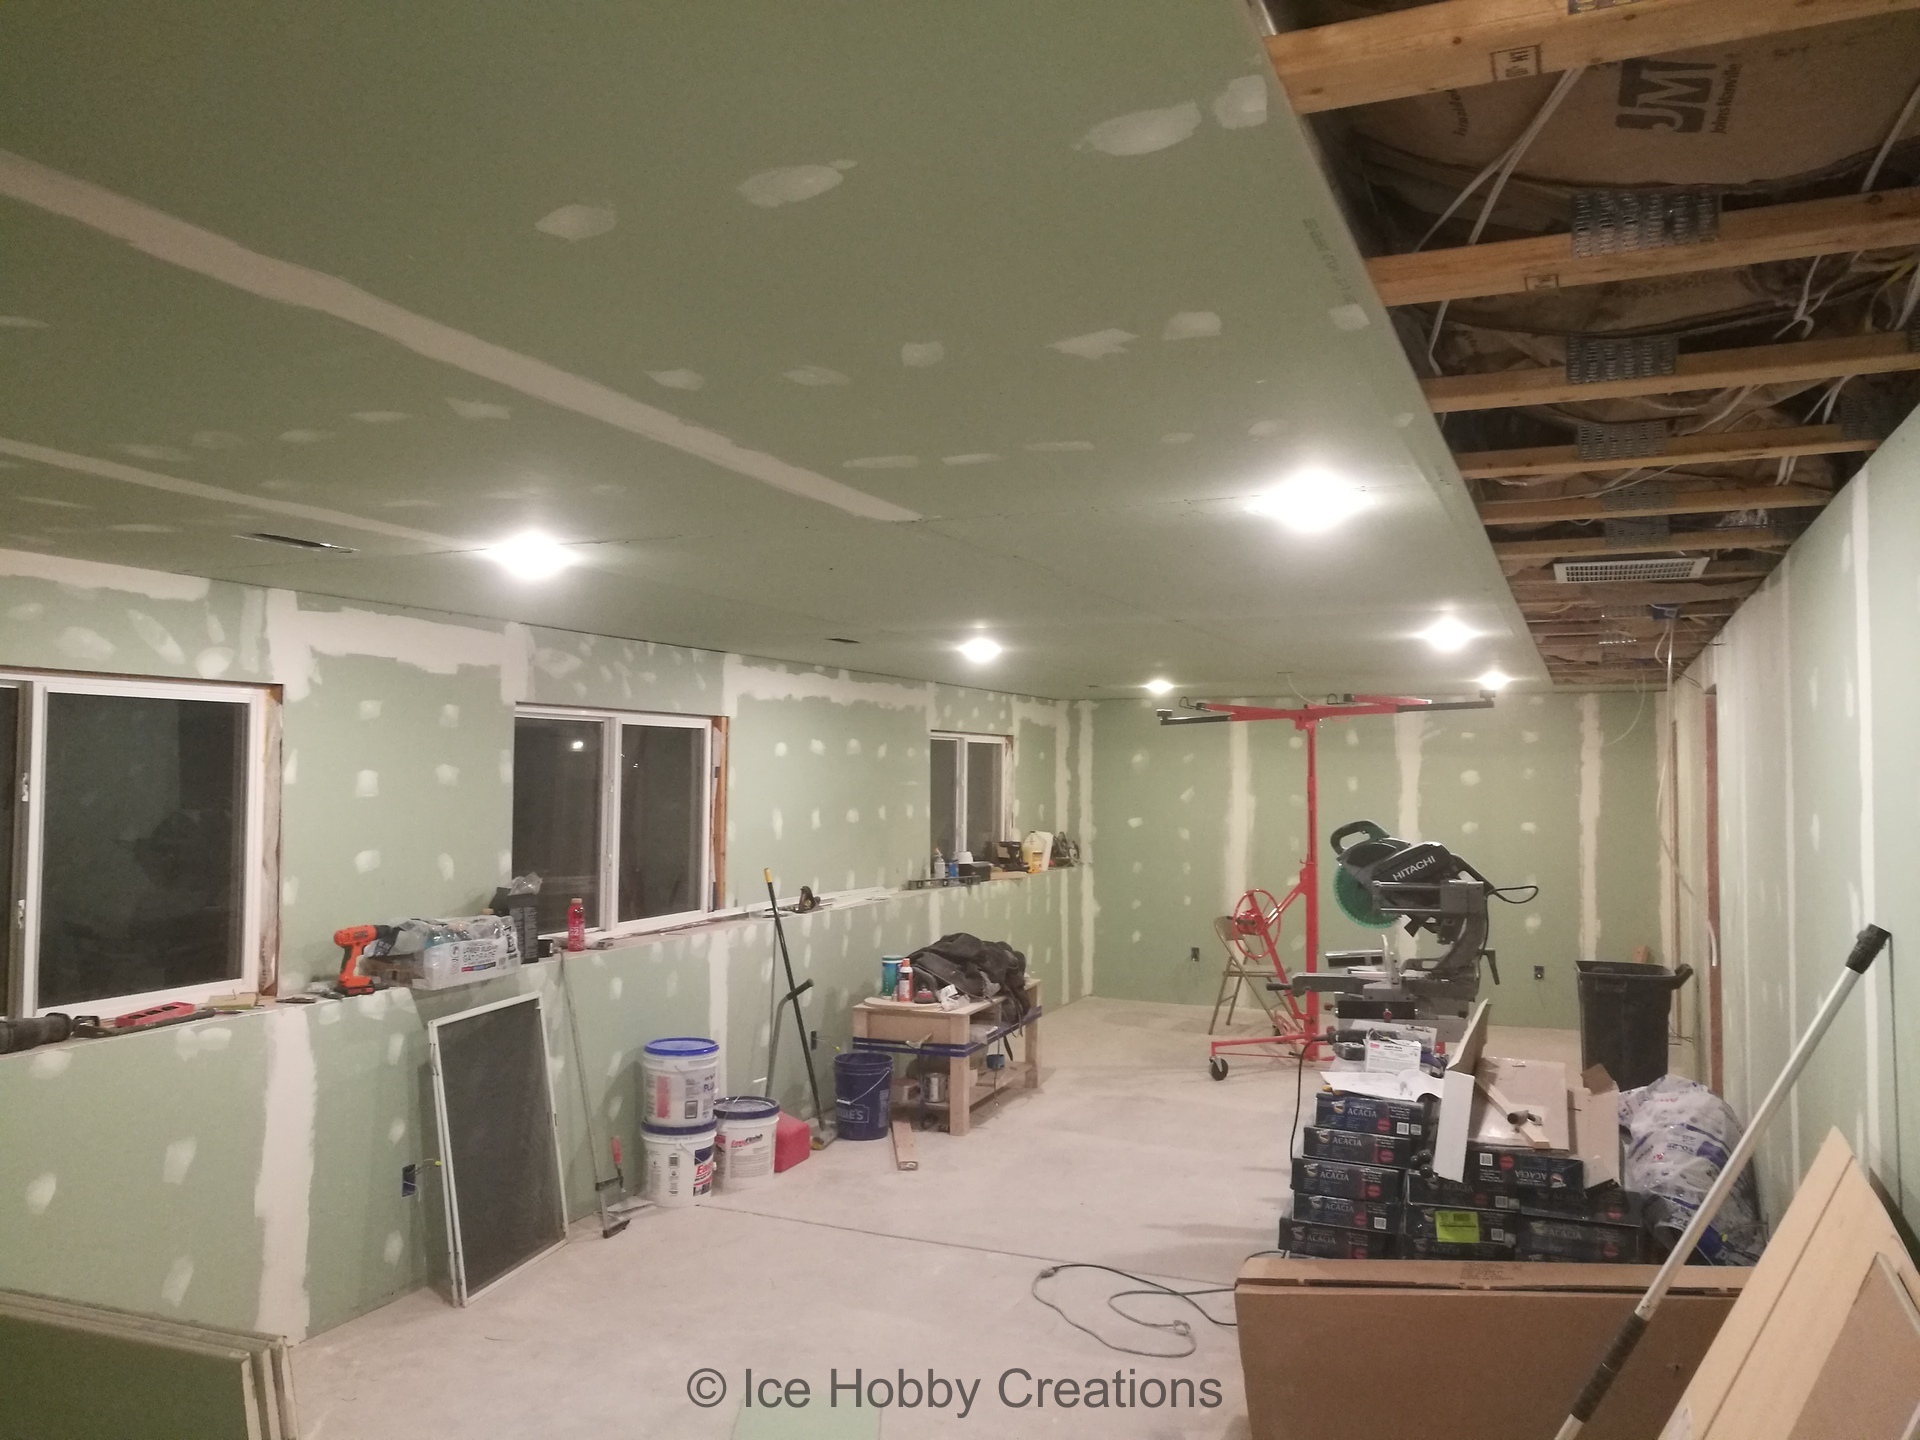
There's something about putting up drywall that just makes you feel that you are making Major progress...
It helps that it means you passed the necessary inspections to be able to close up the walls and ceiling!
Also, helping hands are always appreciated! It is hard to overstate the value of a friend who is willing
to put in hard labor without expecting any compensation (i.e. I probably took advantage of their good-will!).
And finally, green moisture resistant drywall was used, because peace of mind?...
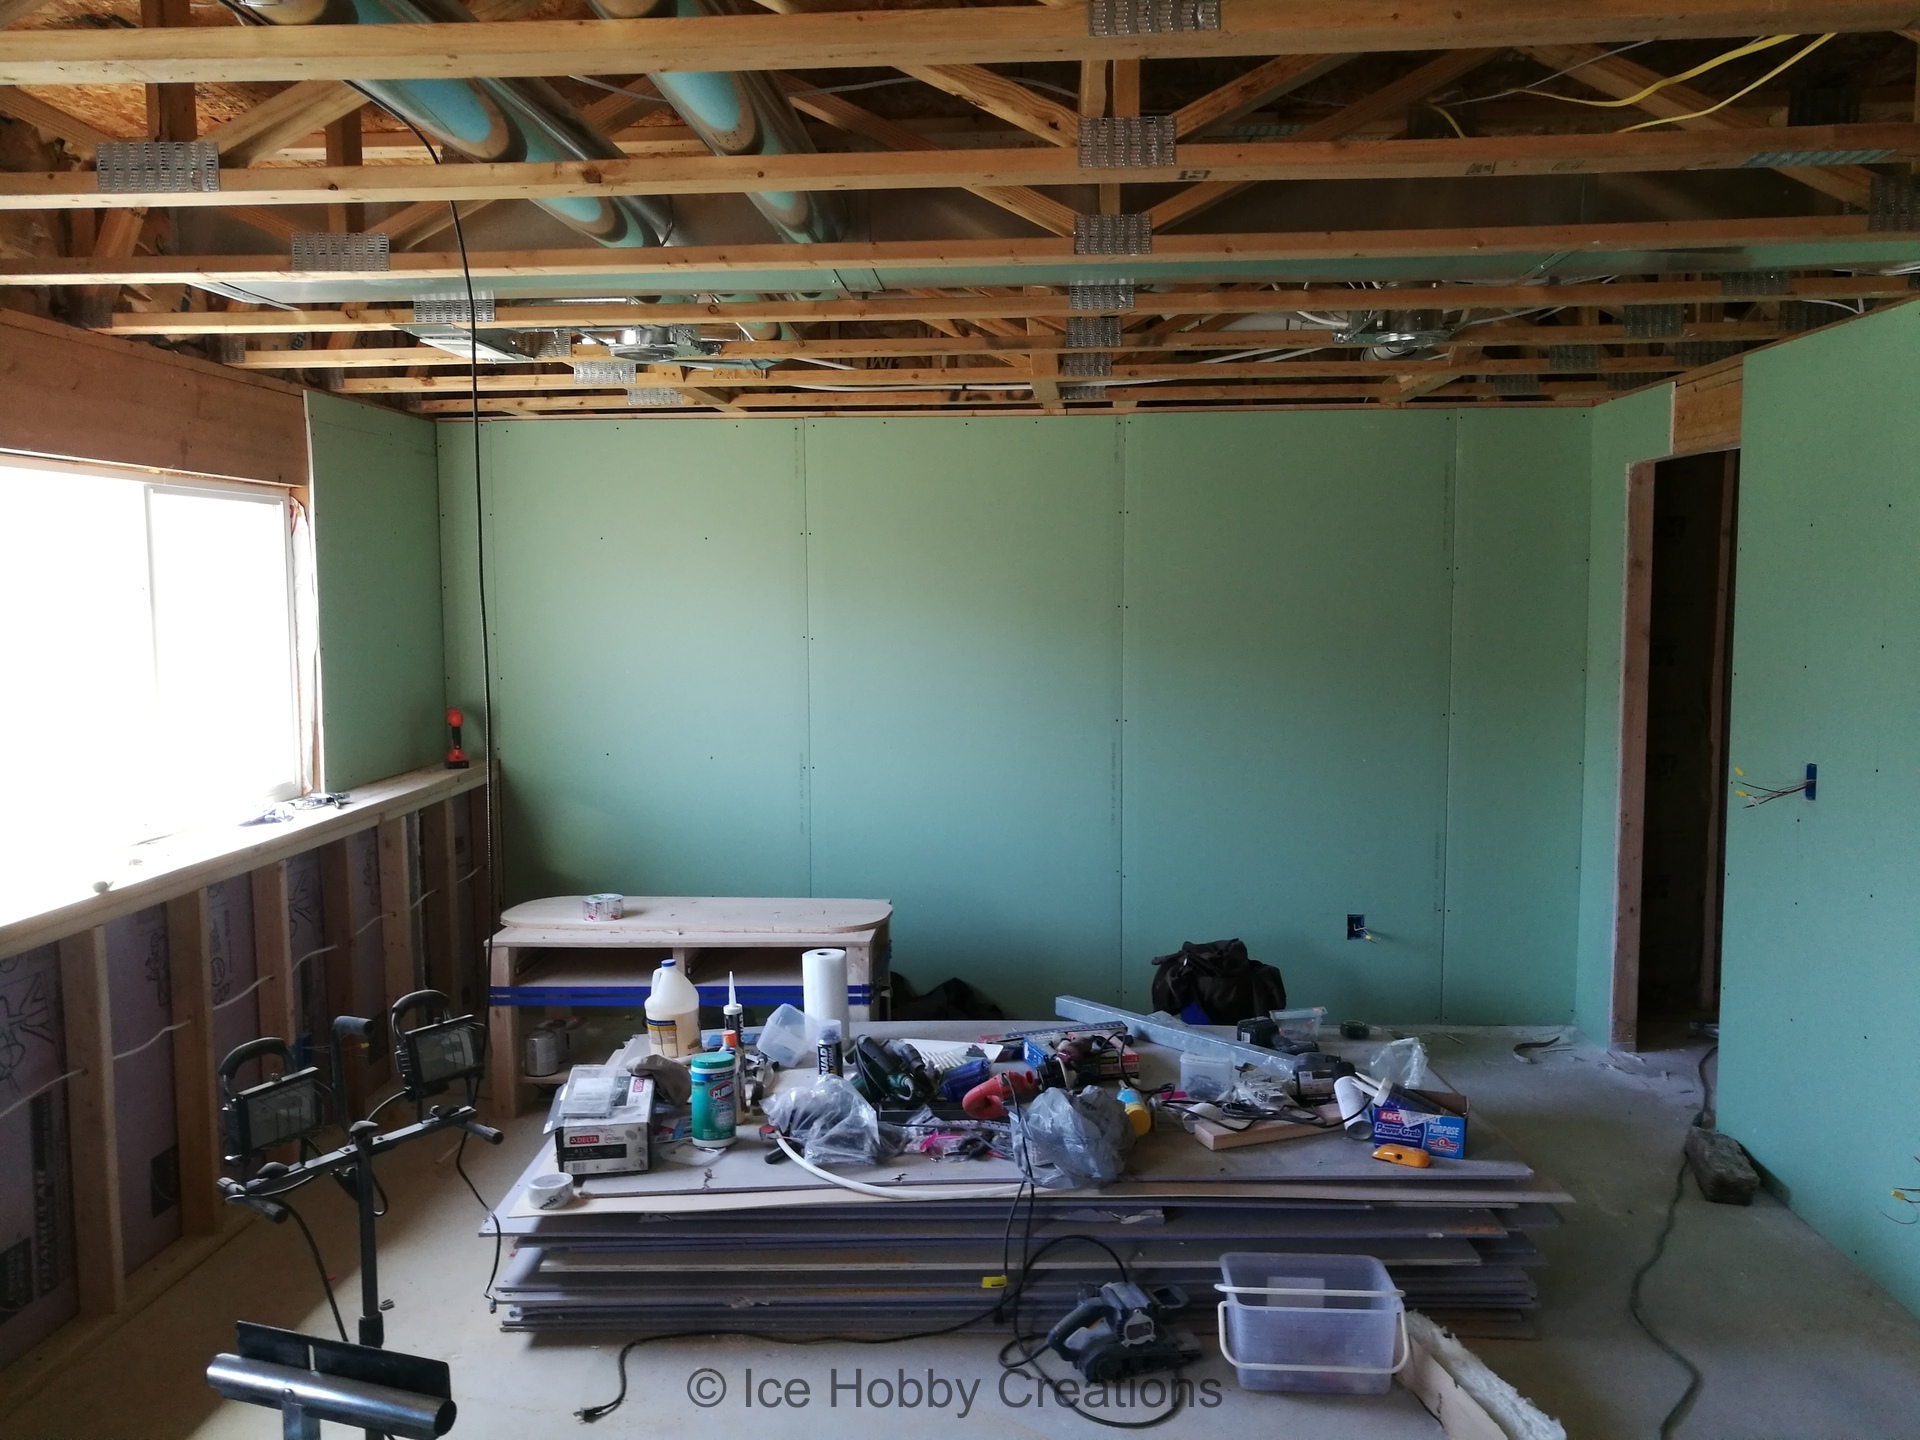
After taking advantage of my friends to help install drywall on the walls, I started installing drywall
to the ceiling by myself and without the right tools. Thankfully, I wisened up
and bought a cheap drywall hoist from Harbor Freight. Even though it never felt super stable, it certainly
sped everything up and made installing the drywall much easier and safer!
I should probably fill the hole with concrete before installing tile...
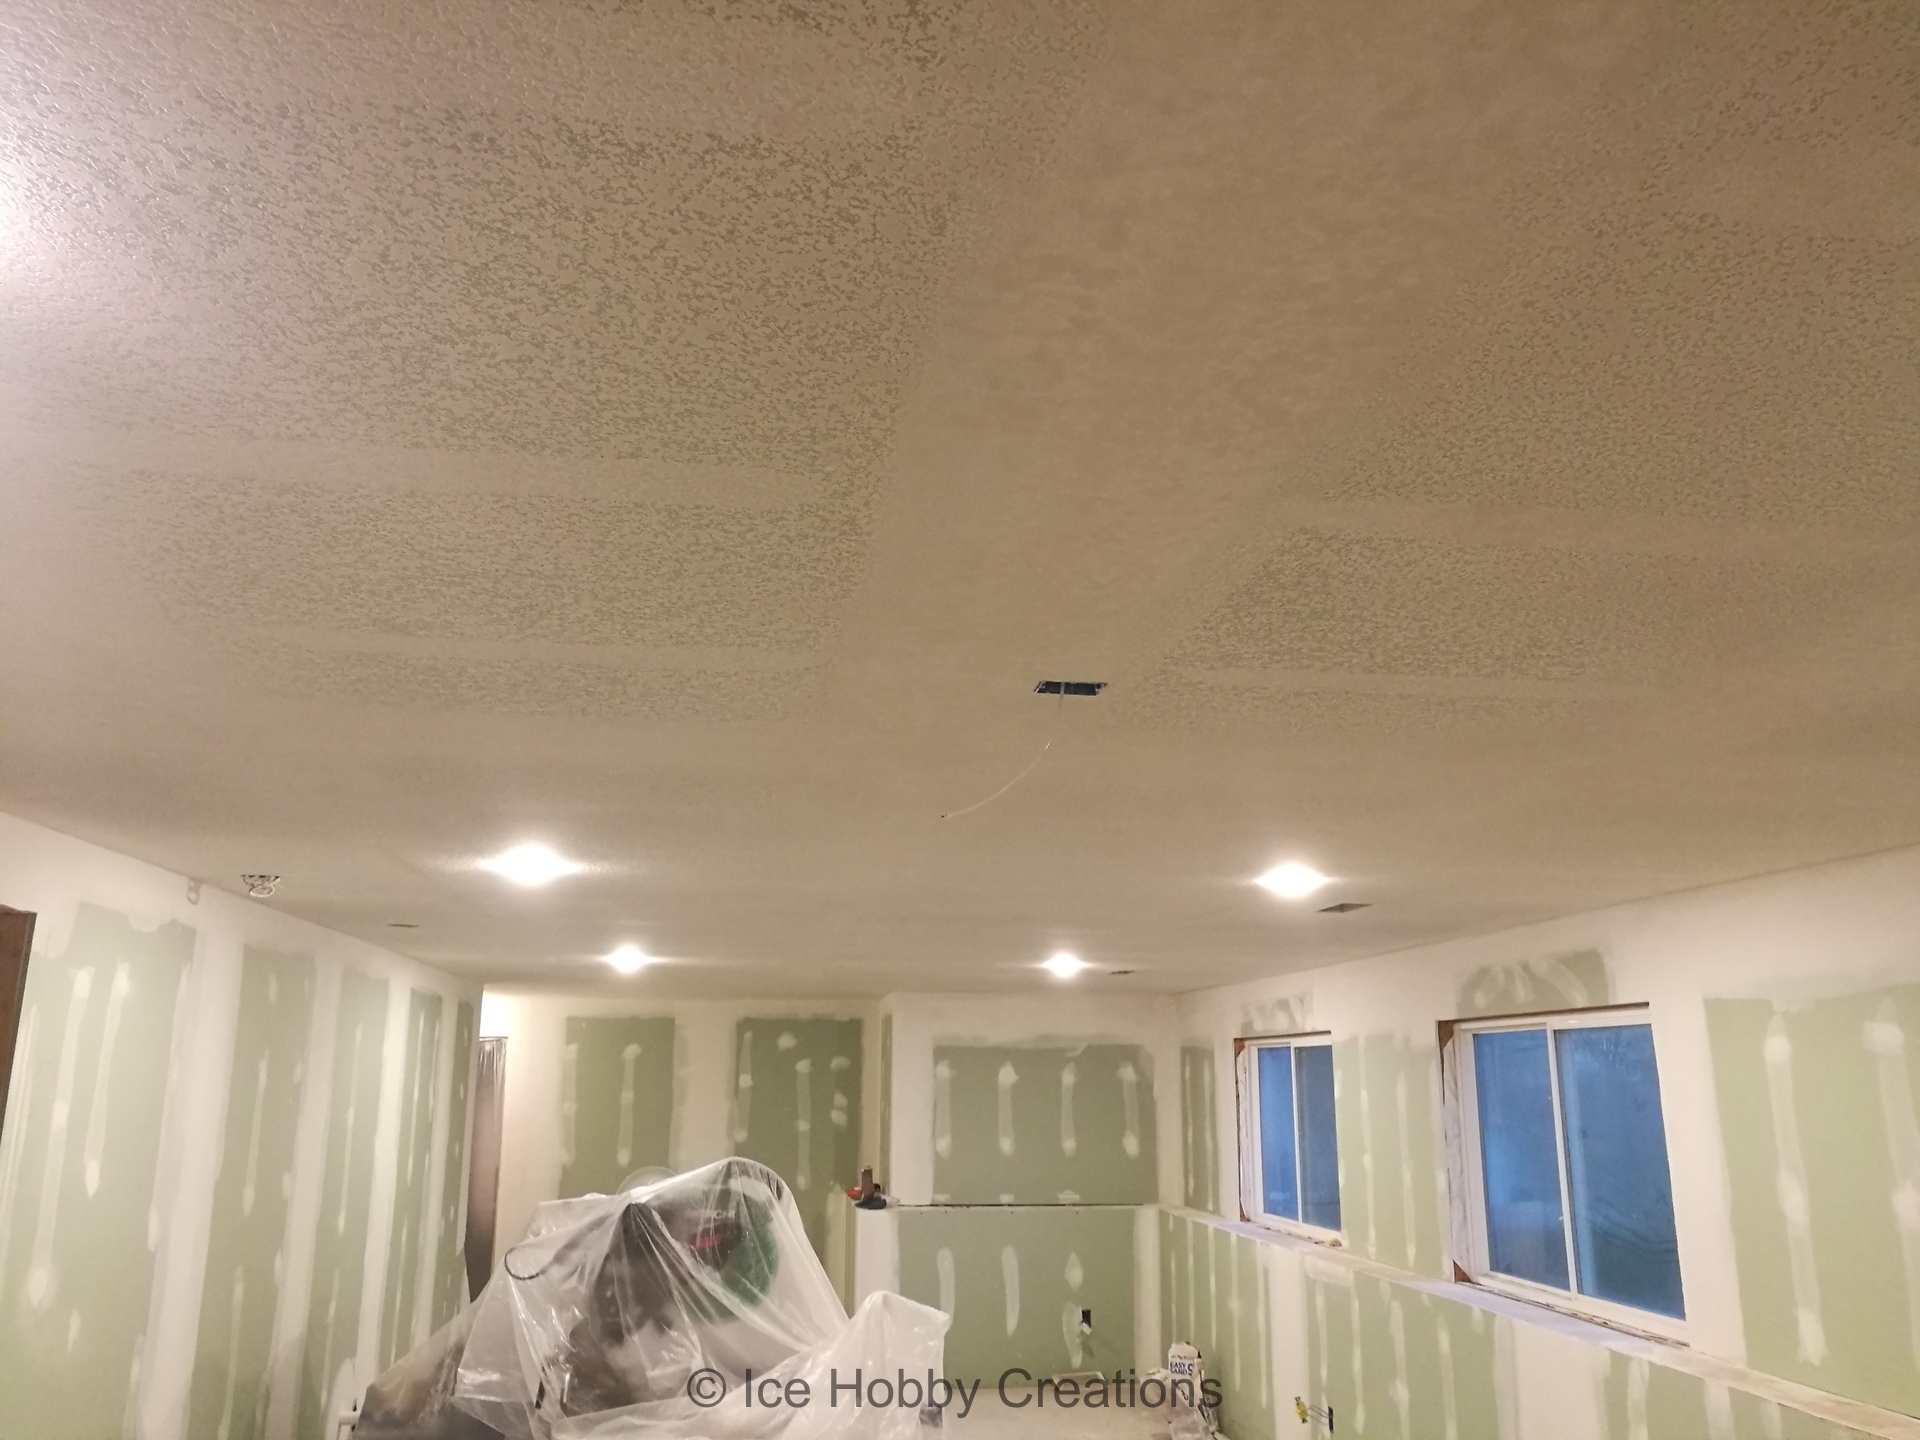
Confession time, I wasn't able to finish all of the taping, mudding, and sanding of the drywall in the basement.
I was taking too long on my own (under the false pretense of "perfectionism"), so we hired some professionals to finish put a nice
knockdown texture on the ceiling.
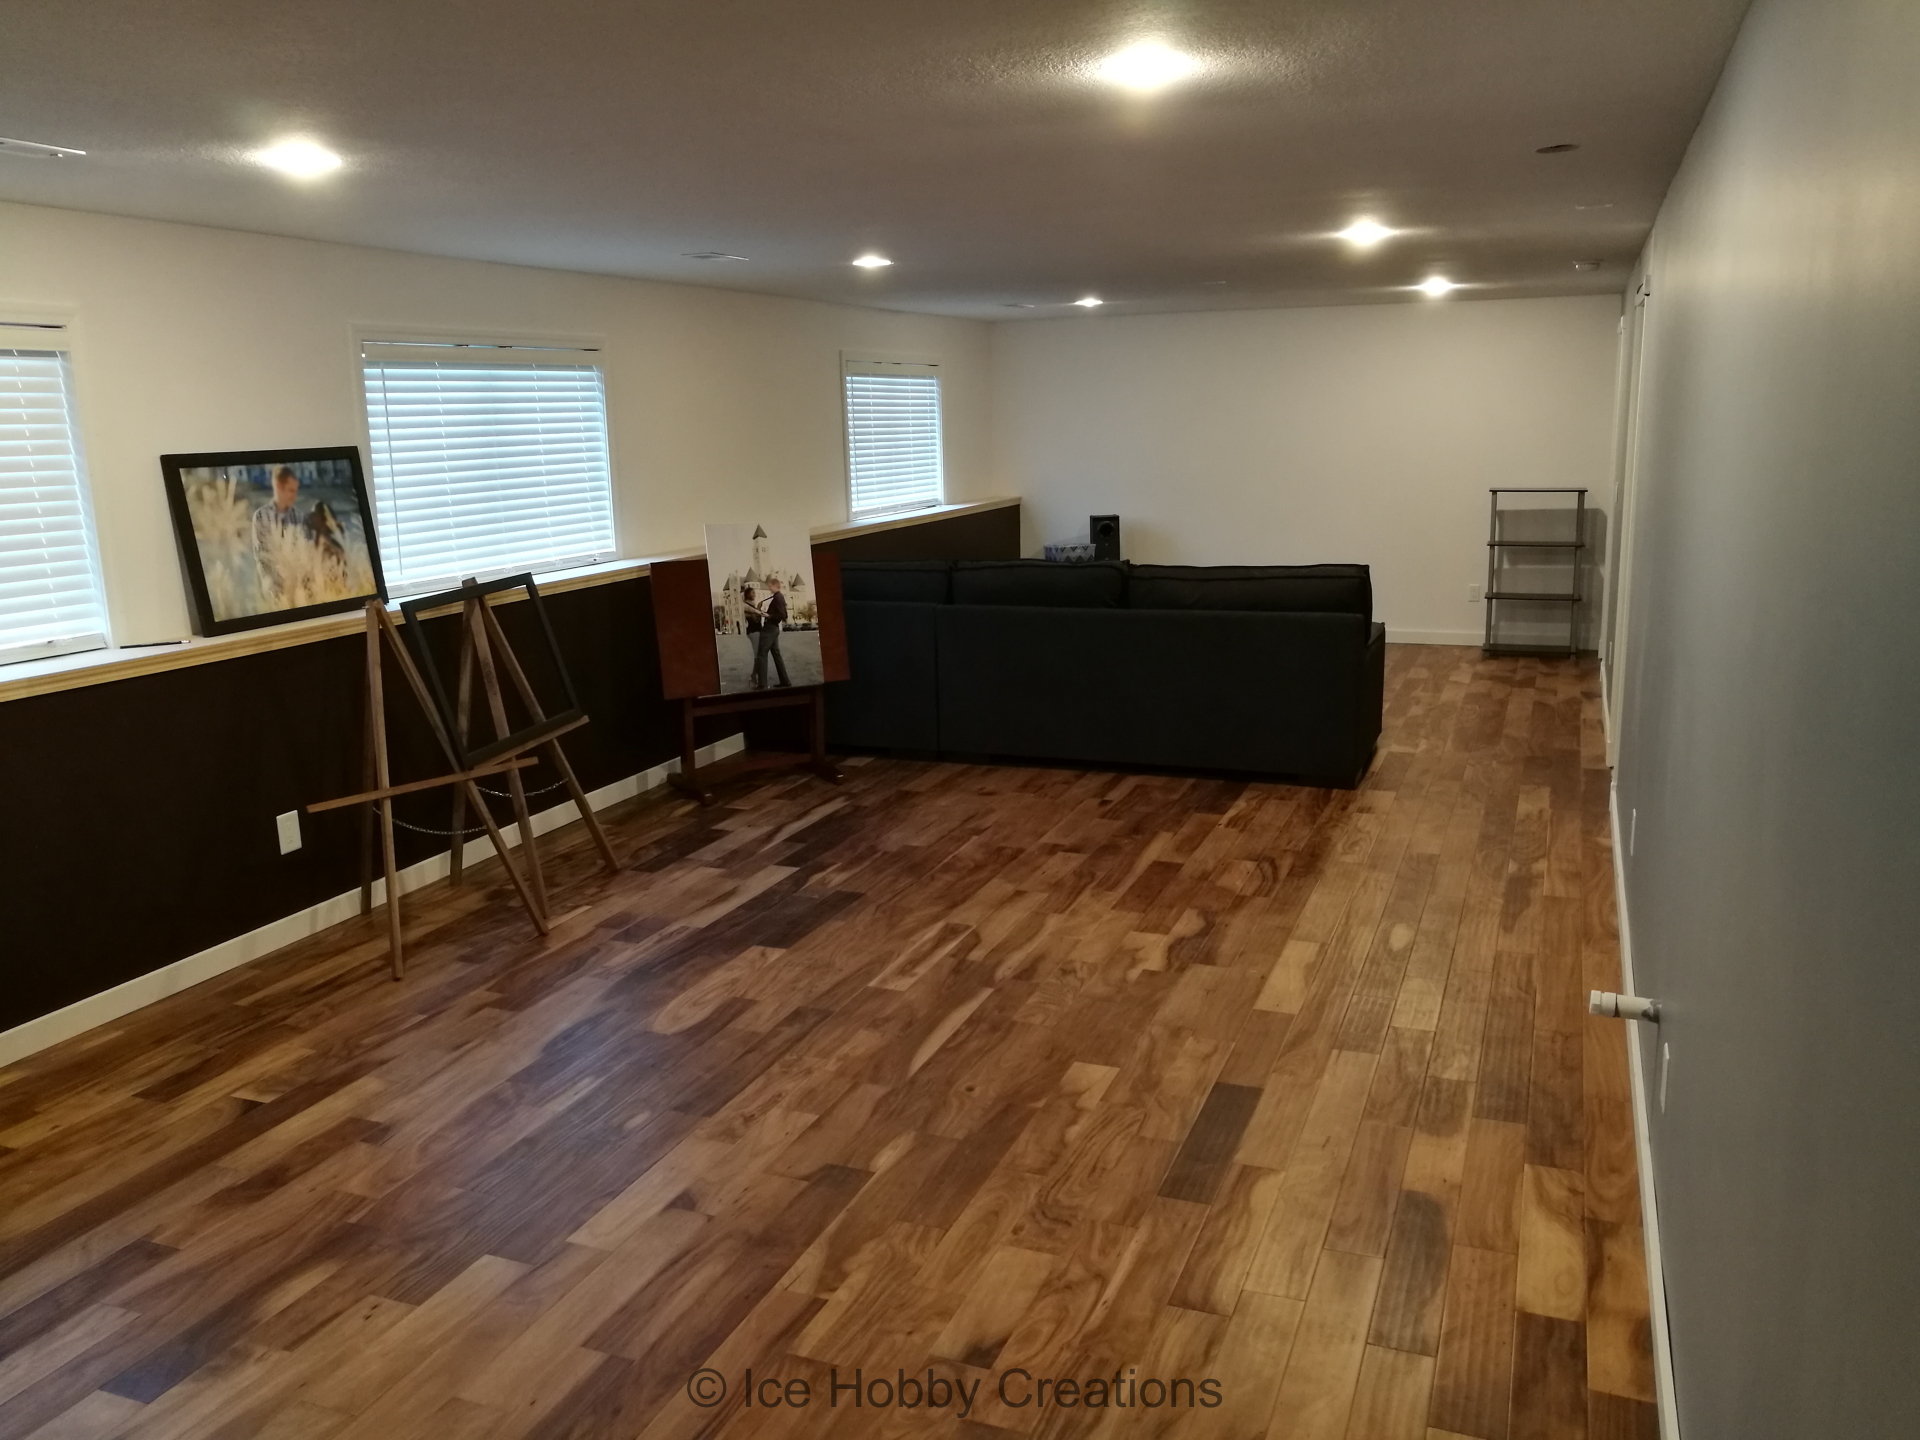
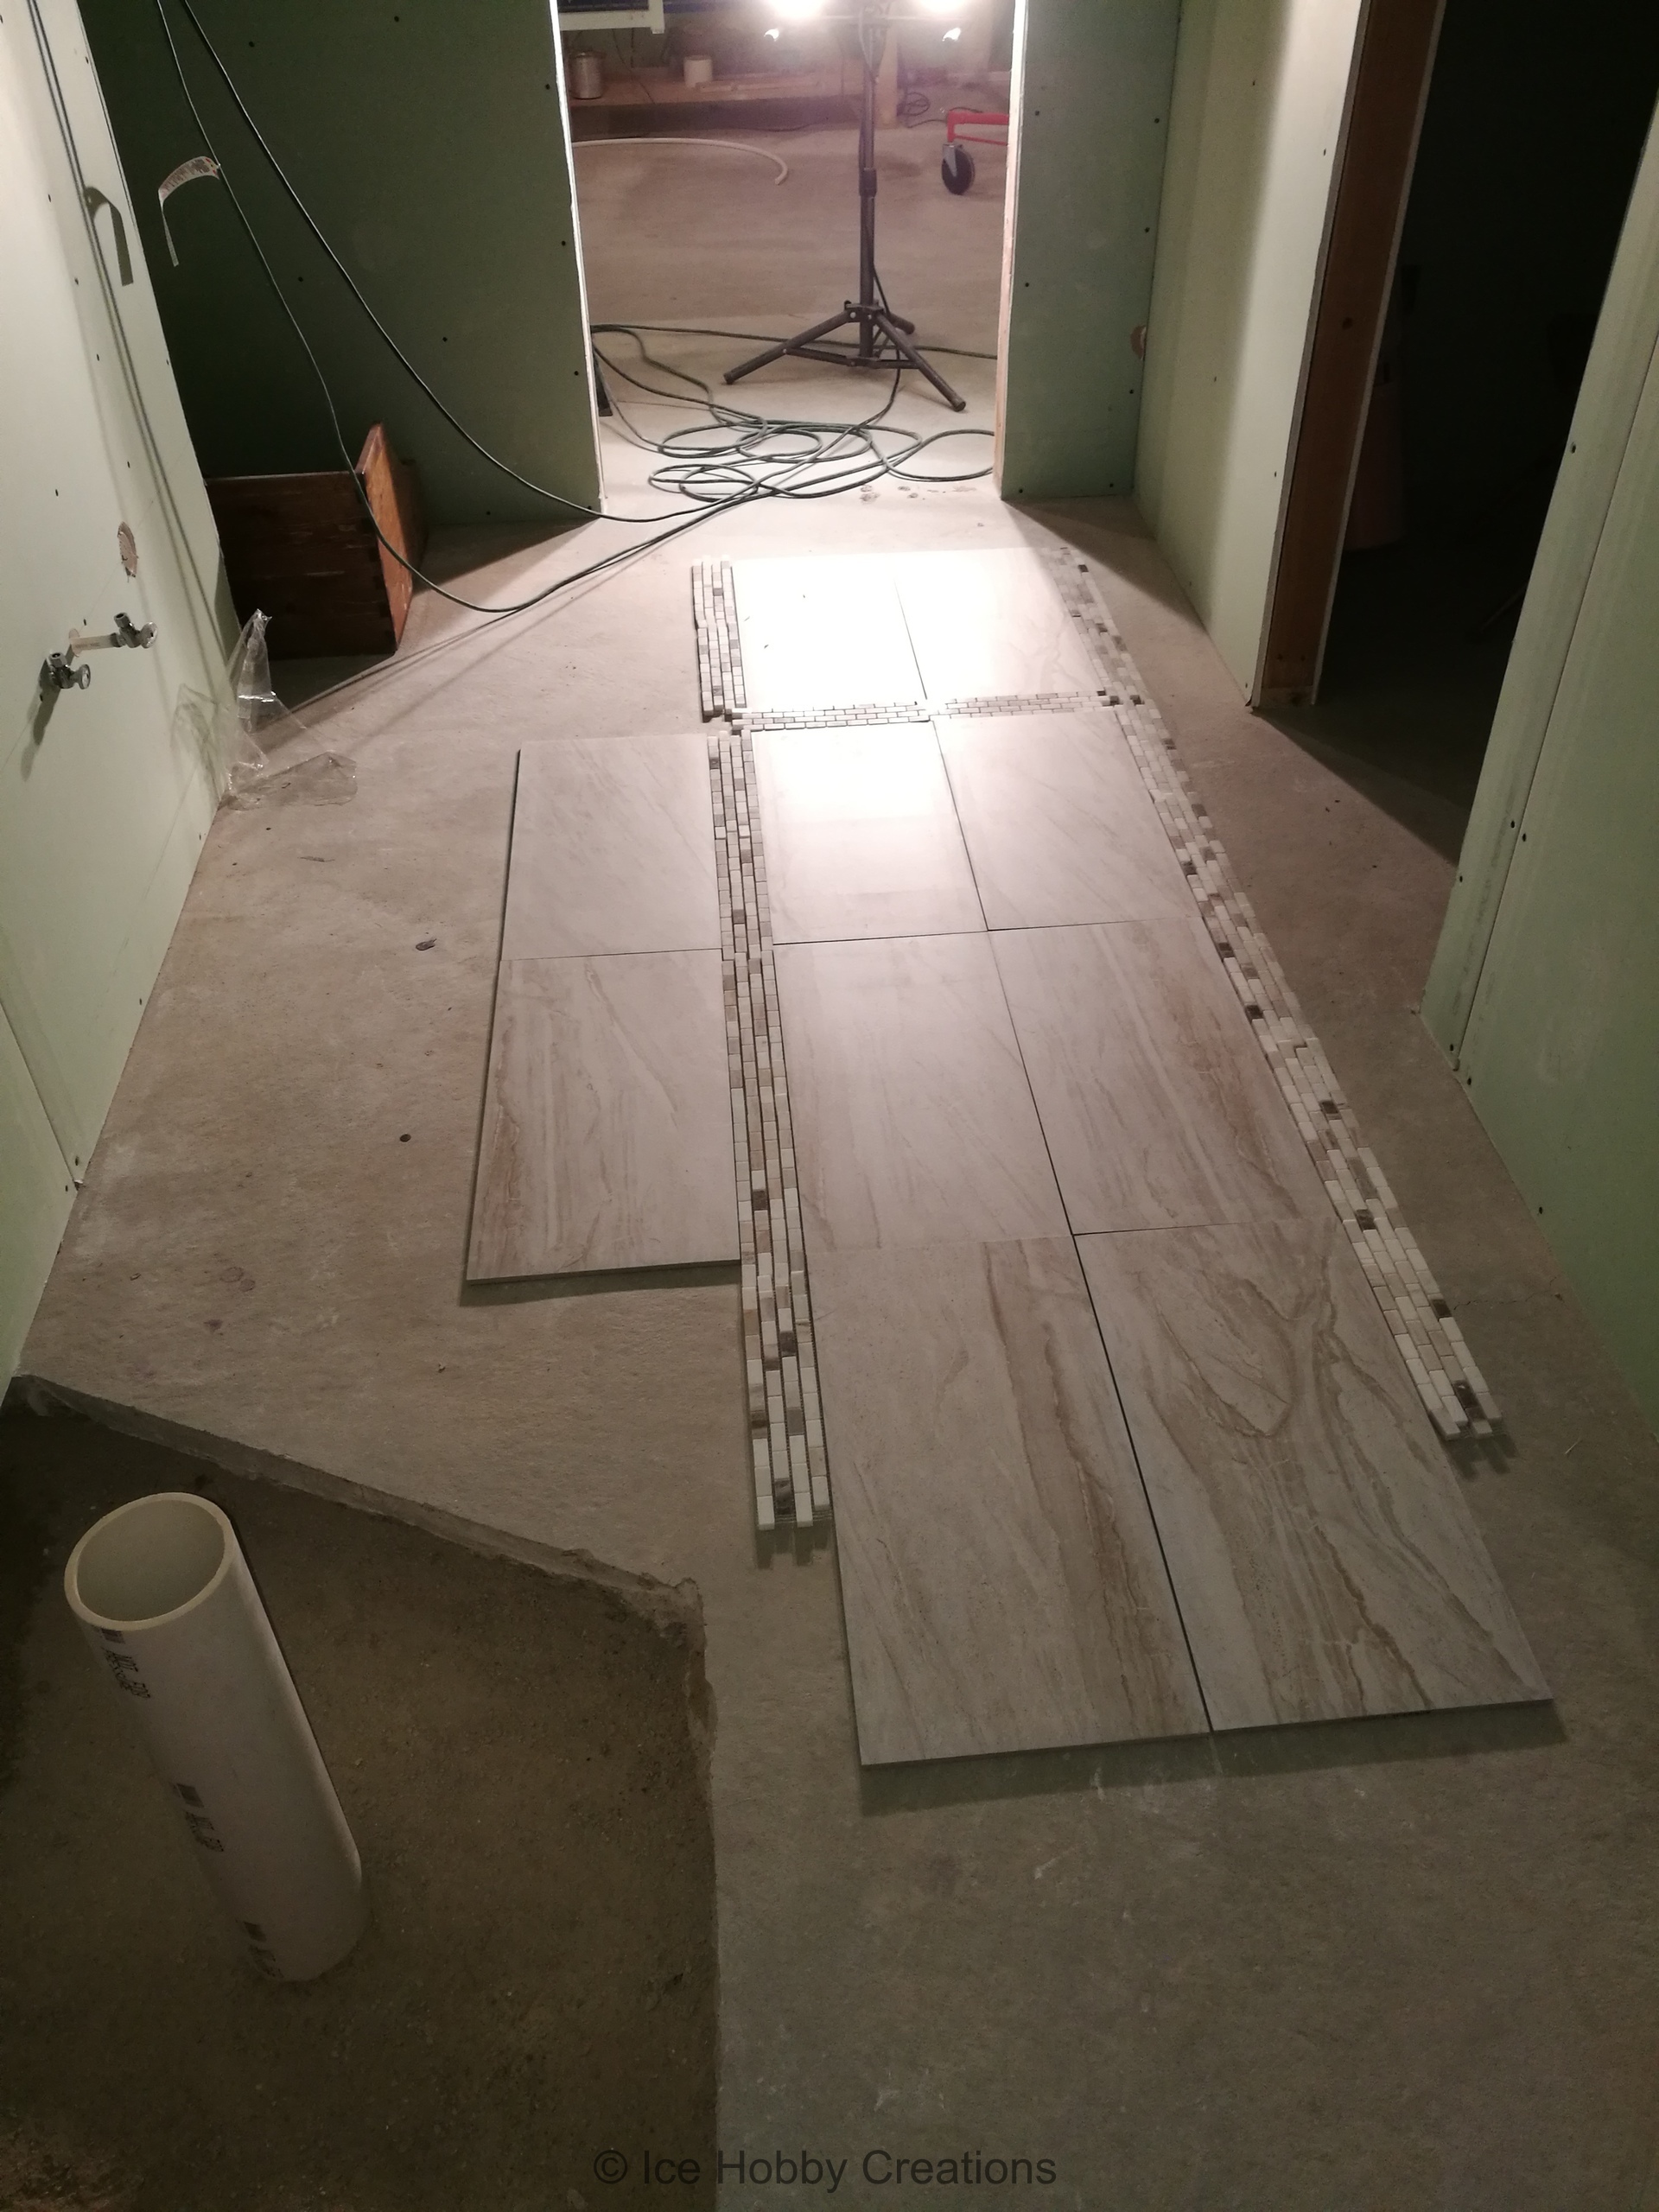
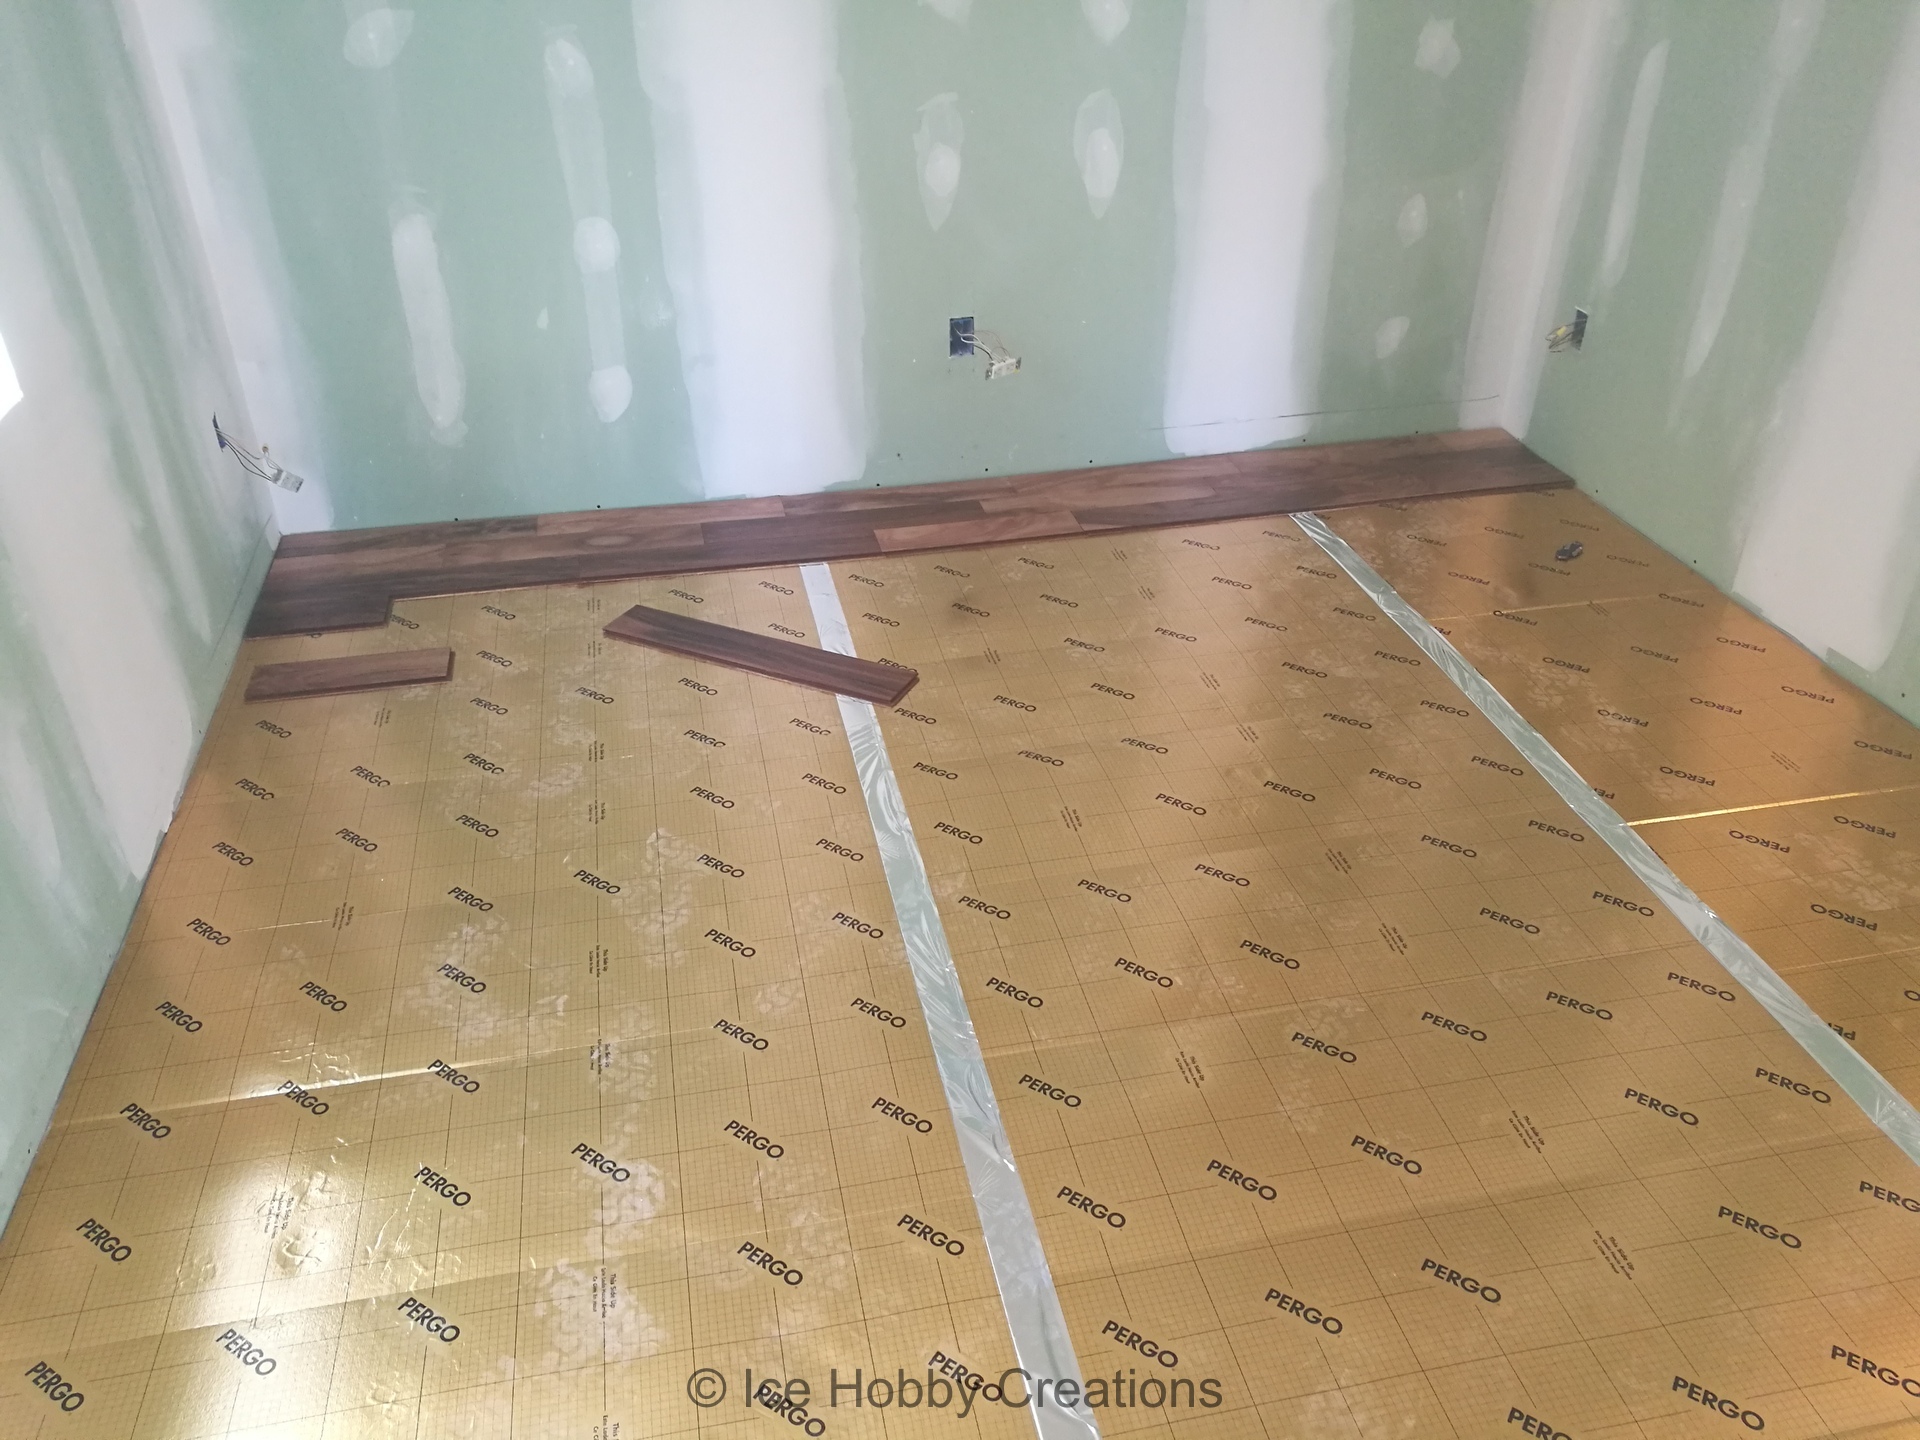
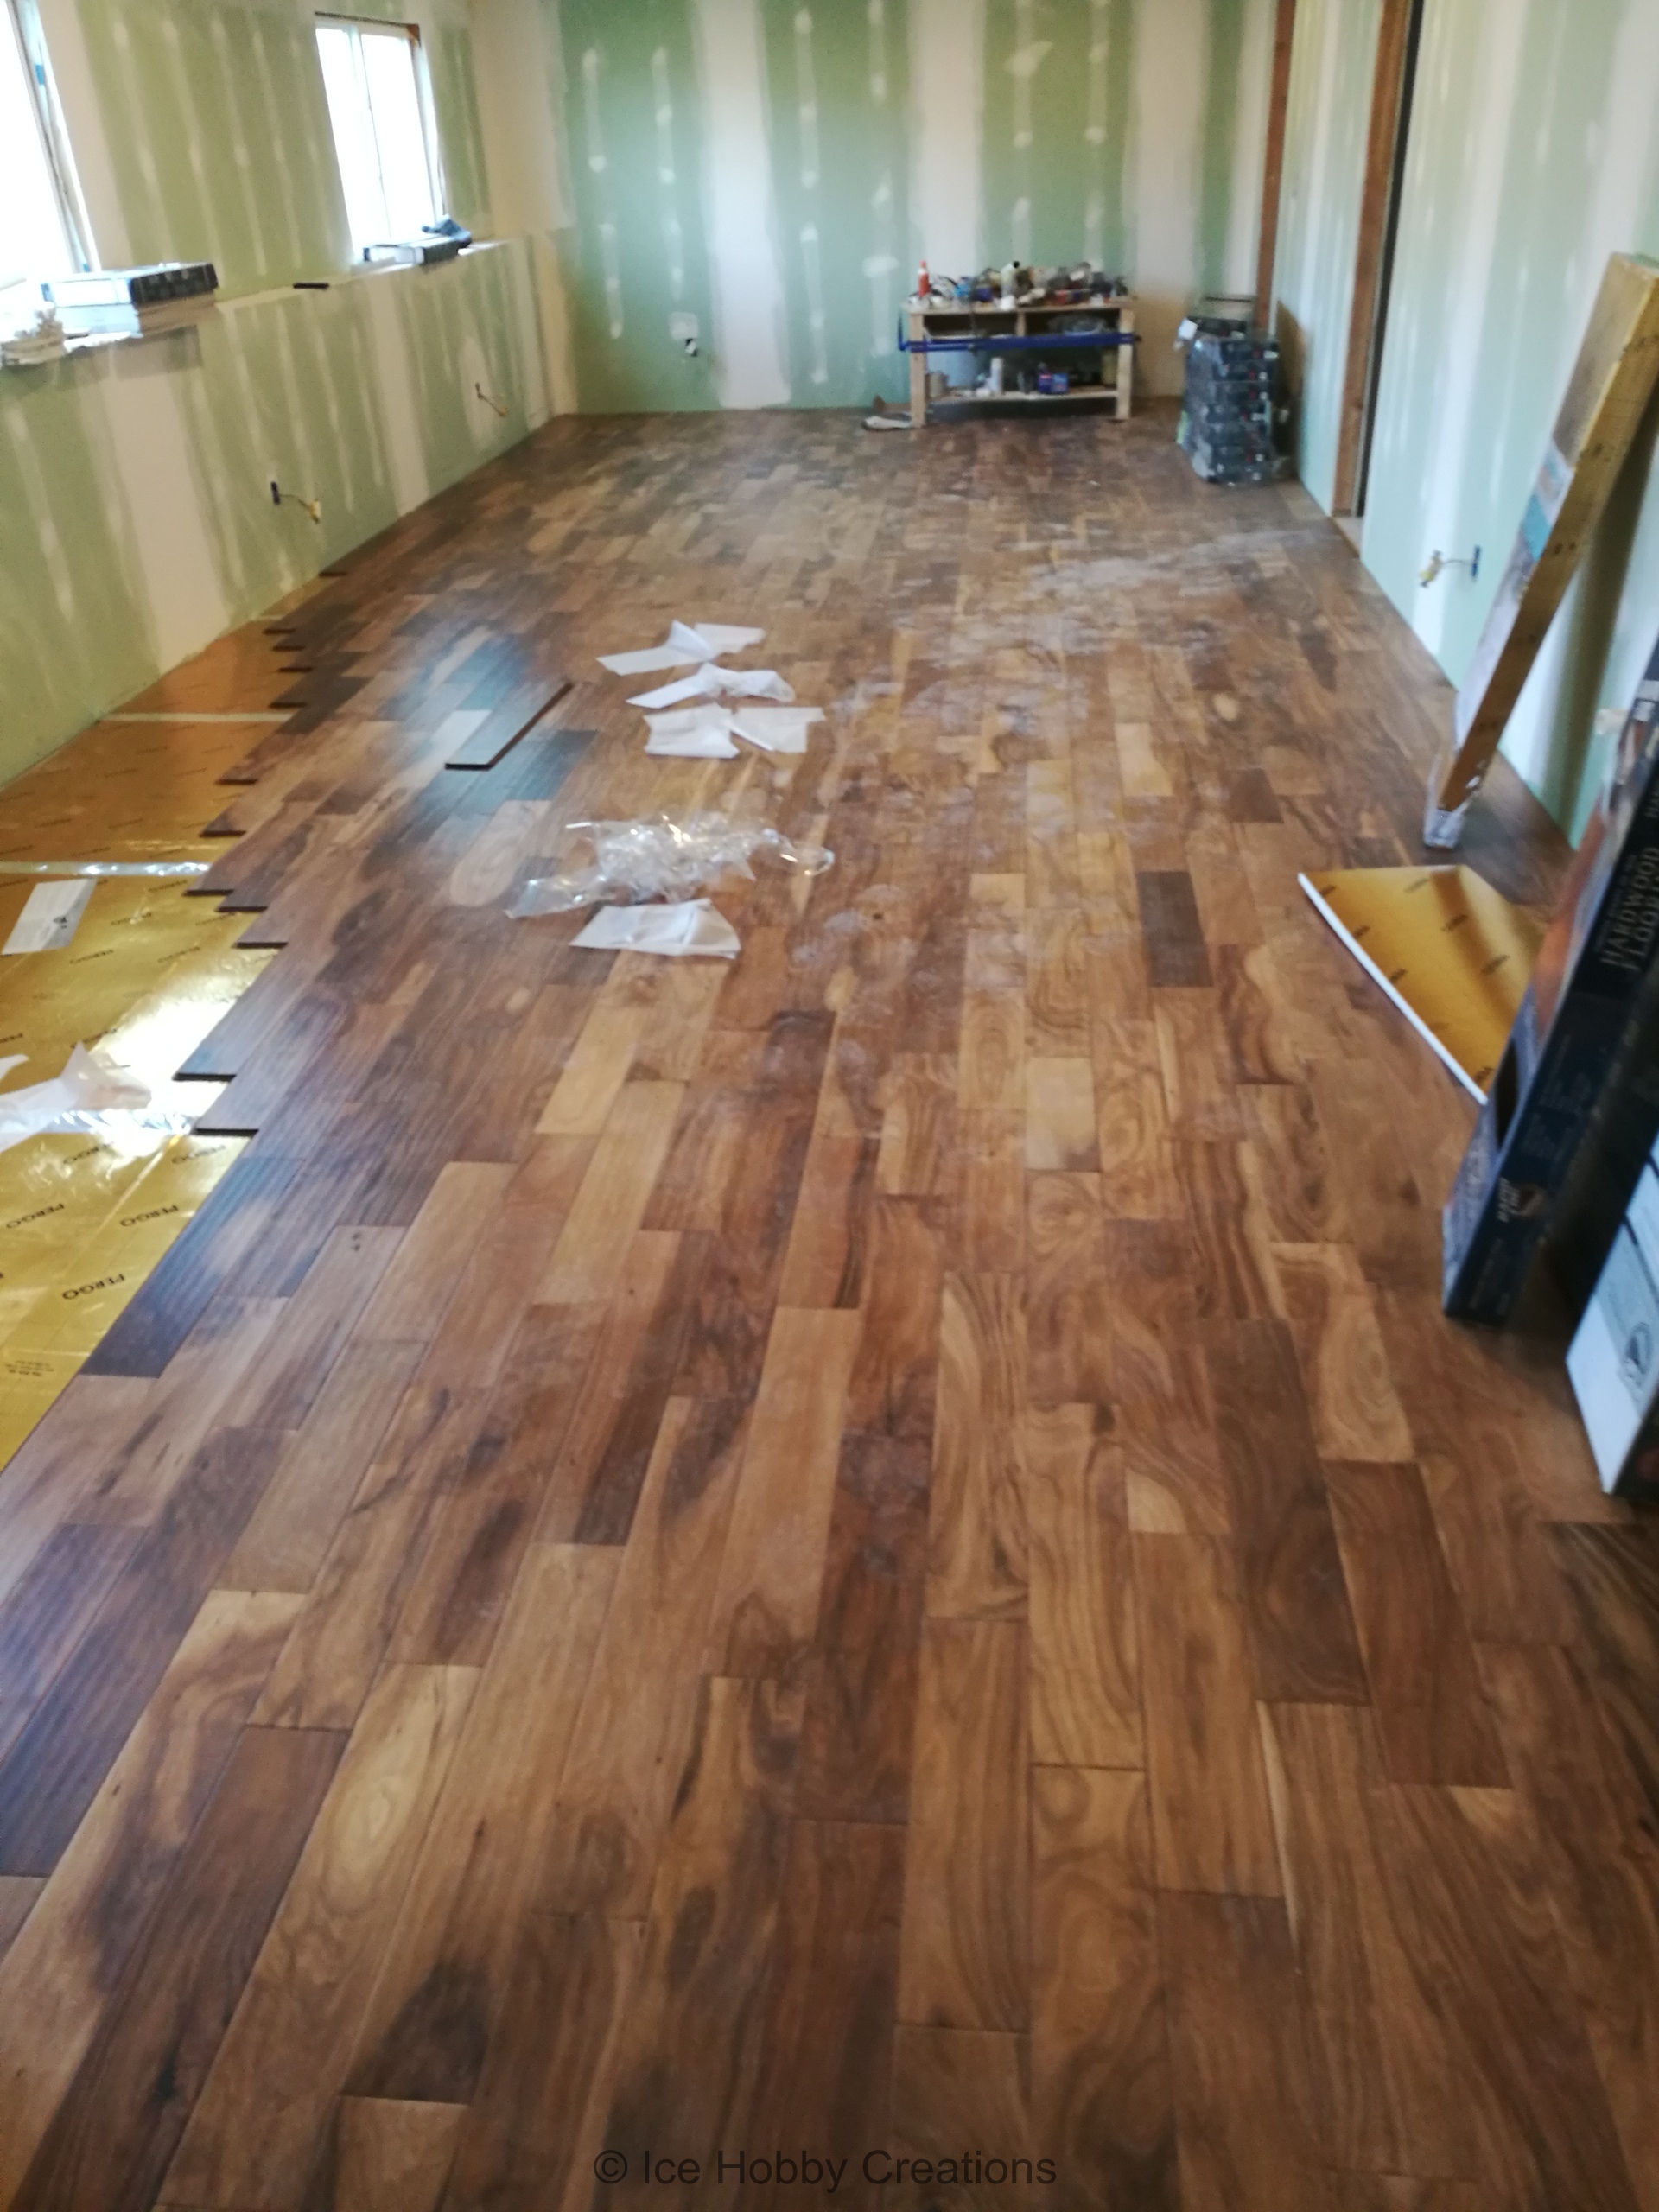
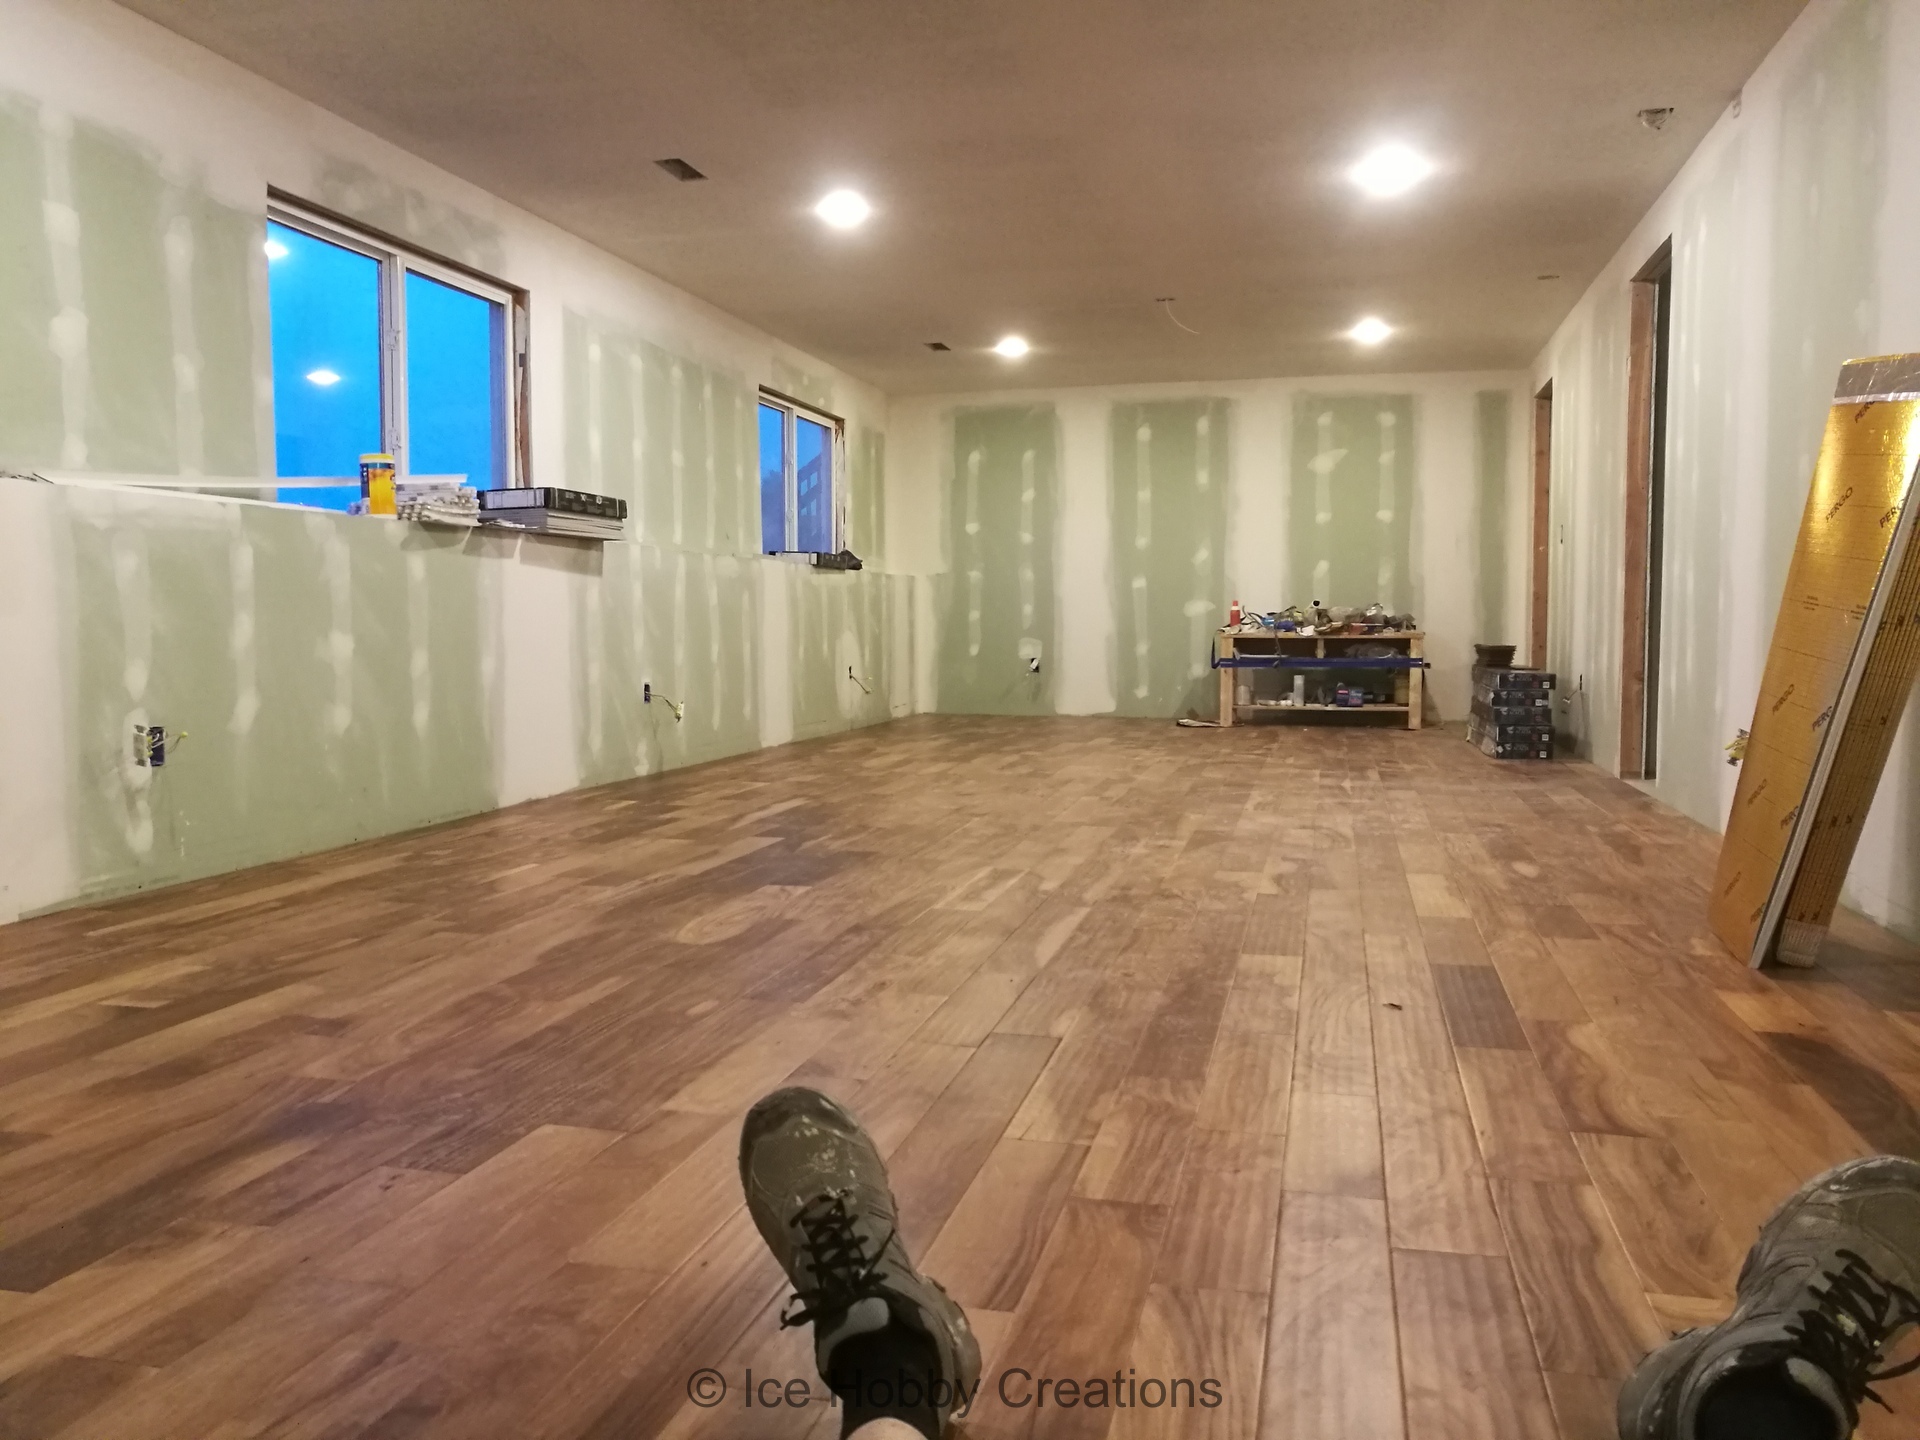
With the drywall taped and sanded, we could start thinking about the flooring. Since this is below grade, we chose an engineered real wood
floor from Menards (it was a pretty good price, and had a Ton of character in my not humble opinion!). Pergo gold underlayment was
used to provide a moisture barrier and some insulation.
Like installing drywall, this is one of those projects where you feel that you are making huge progress really quickly!
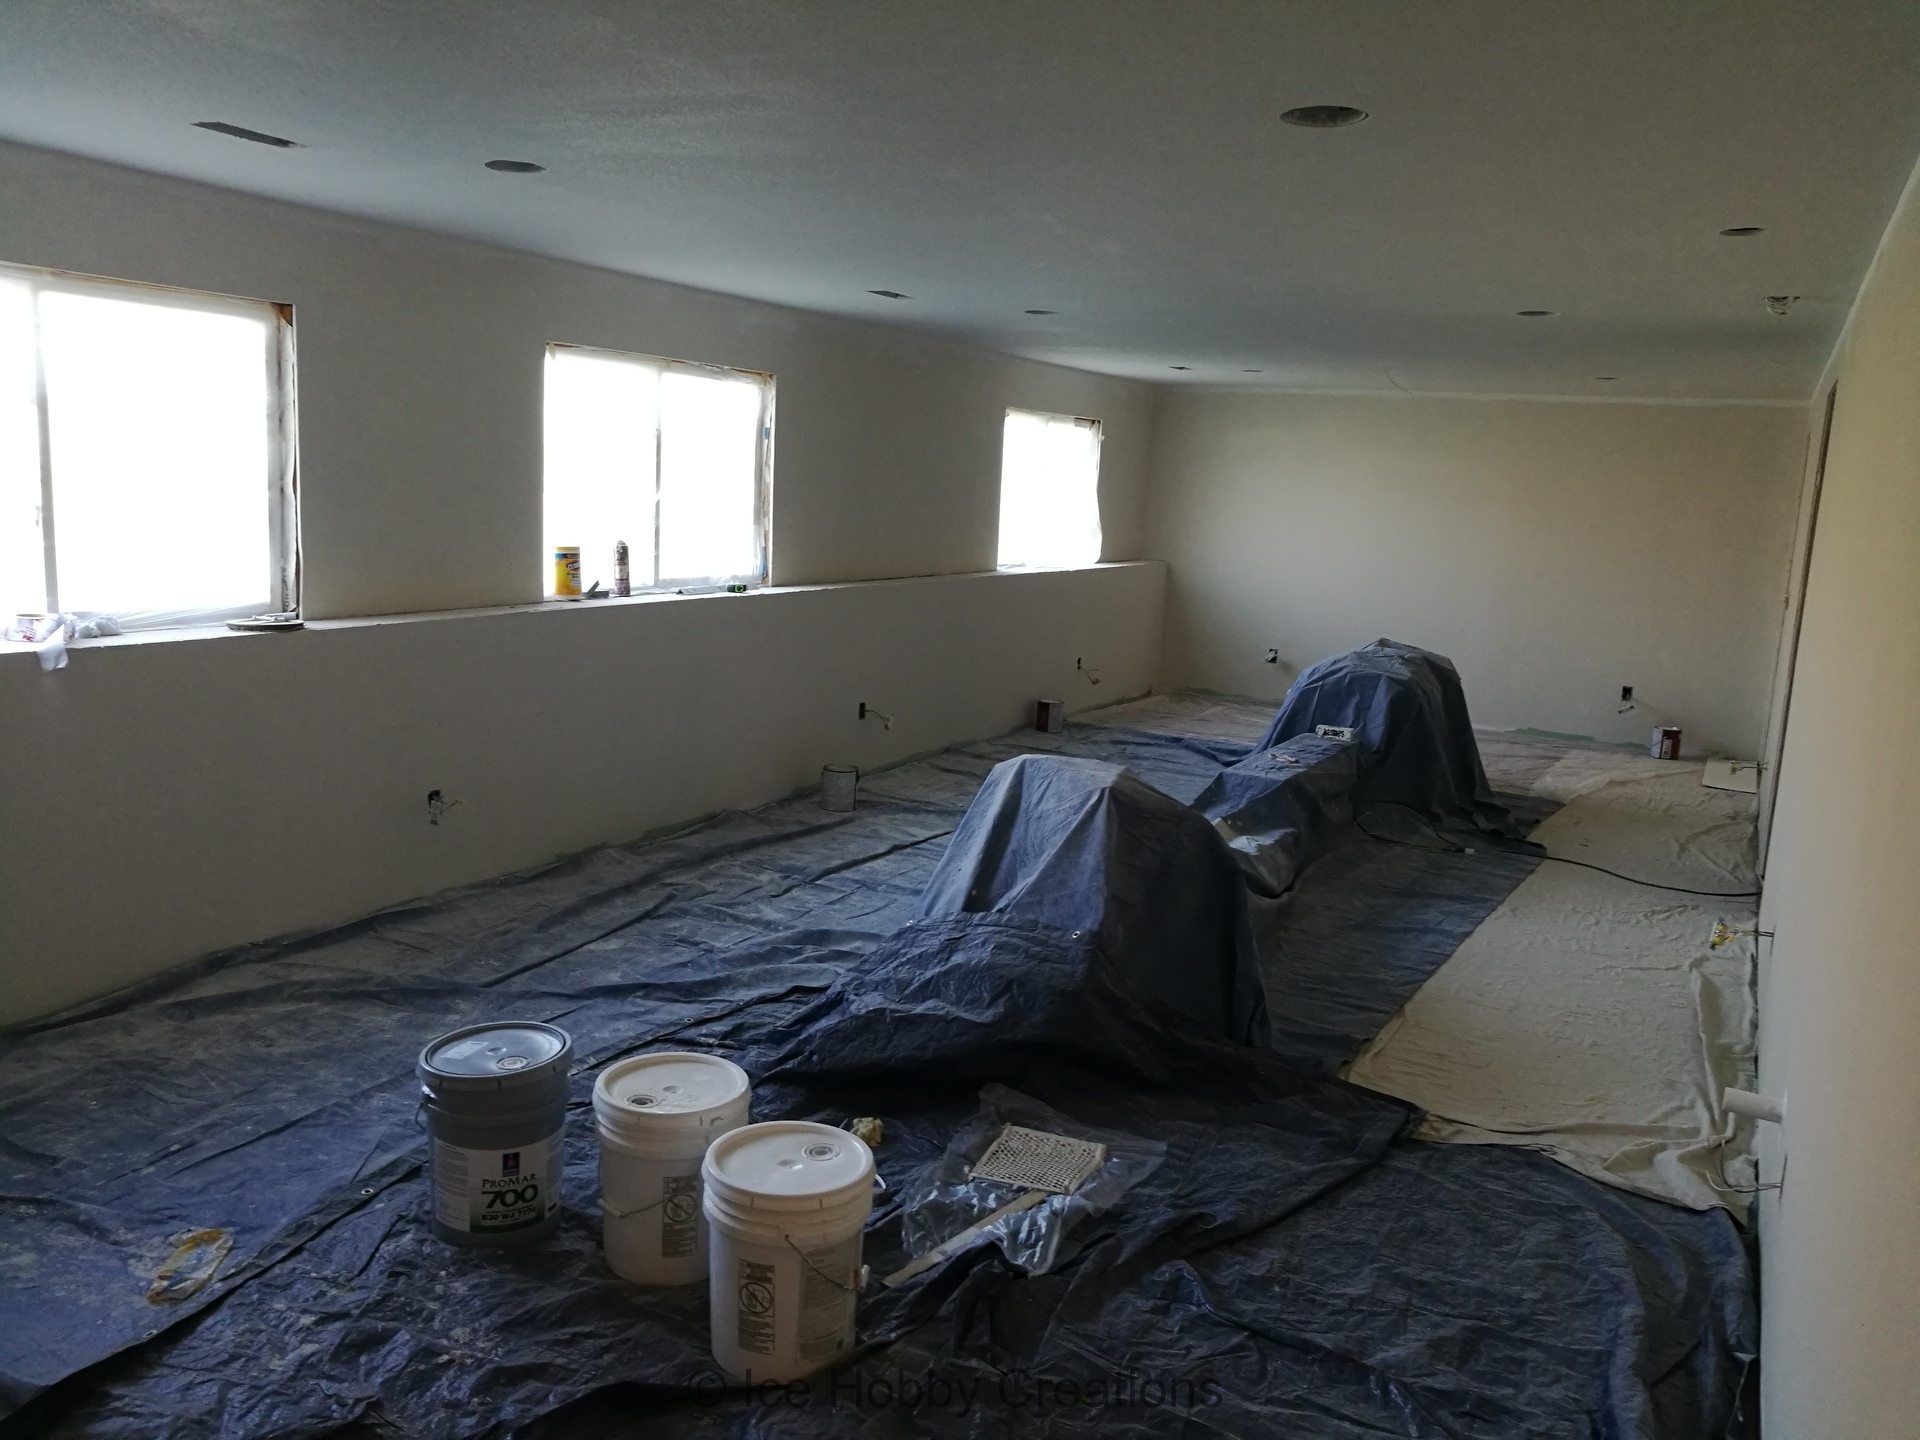
Confession #2: we hired out the painting as well... The future wife picked out all of the
colors, and I think she did a great job. I didn't have the vision initially but with the paint on the
walls, I'm really happy with the way it turned out!

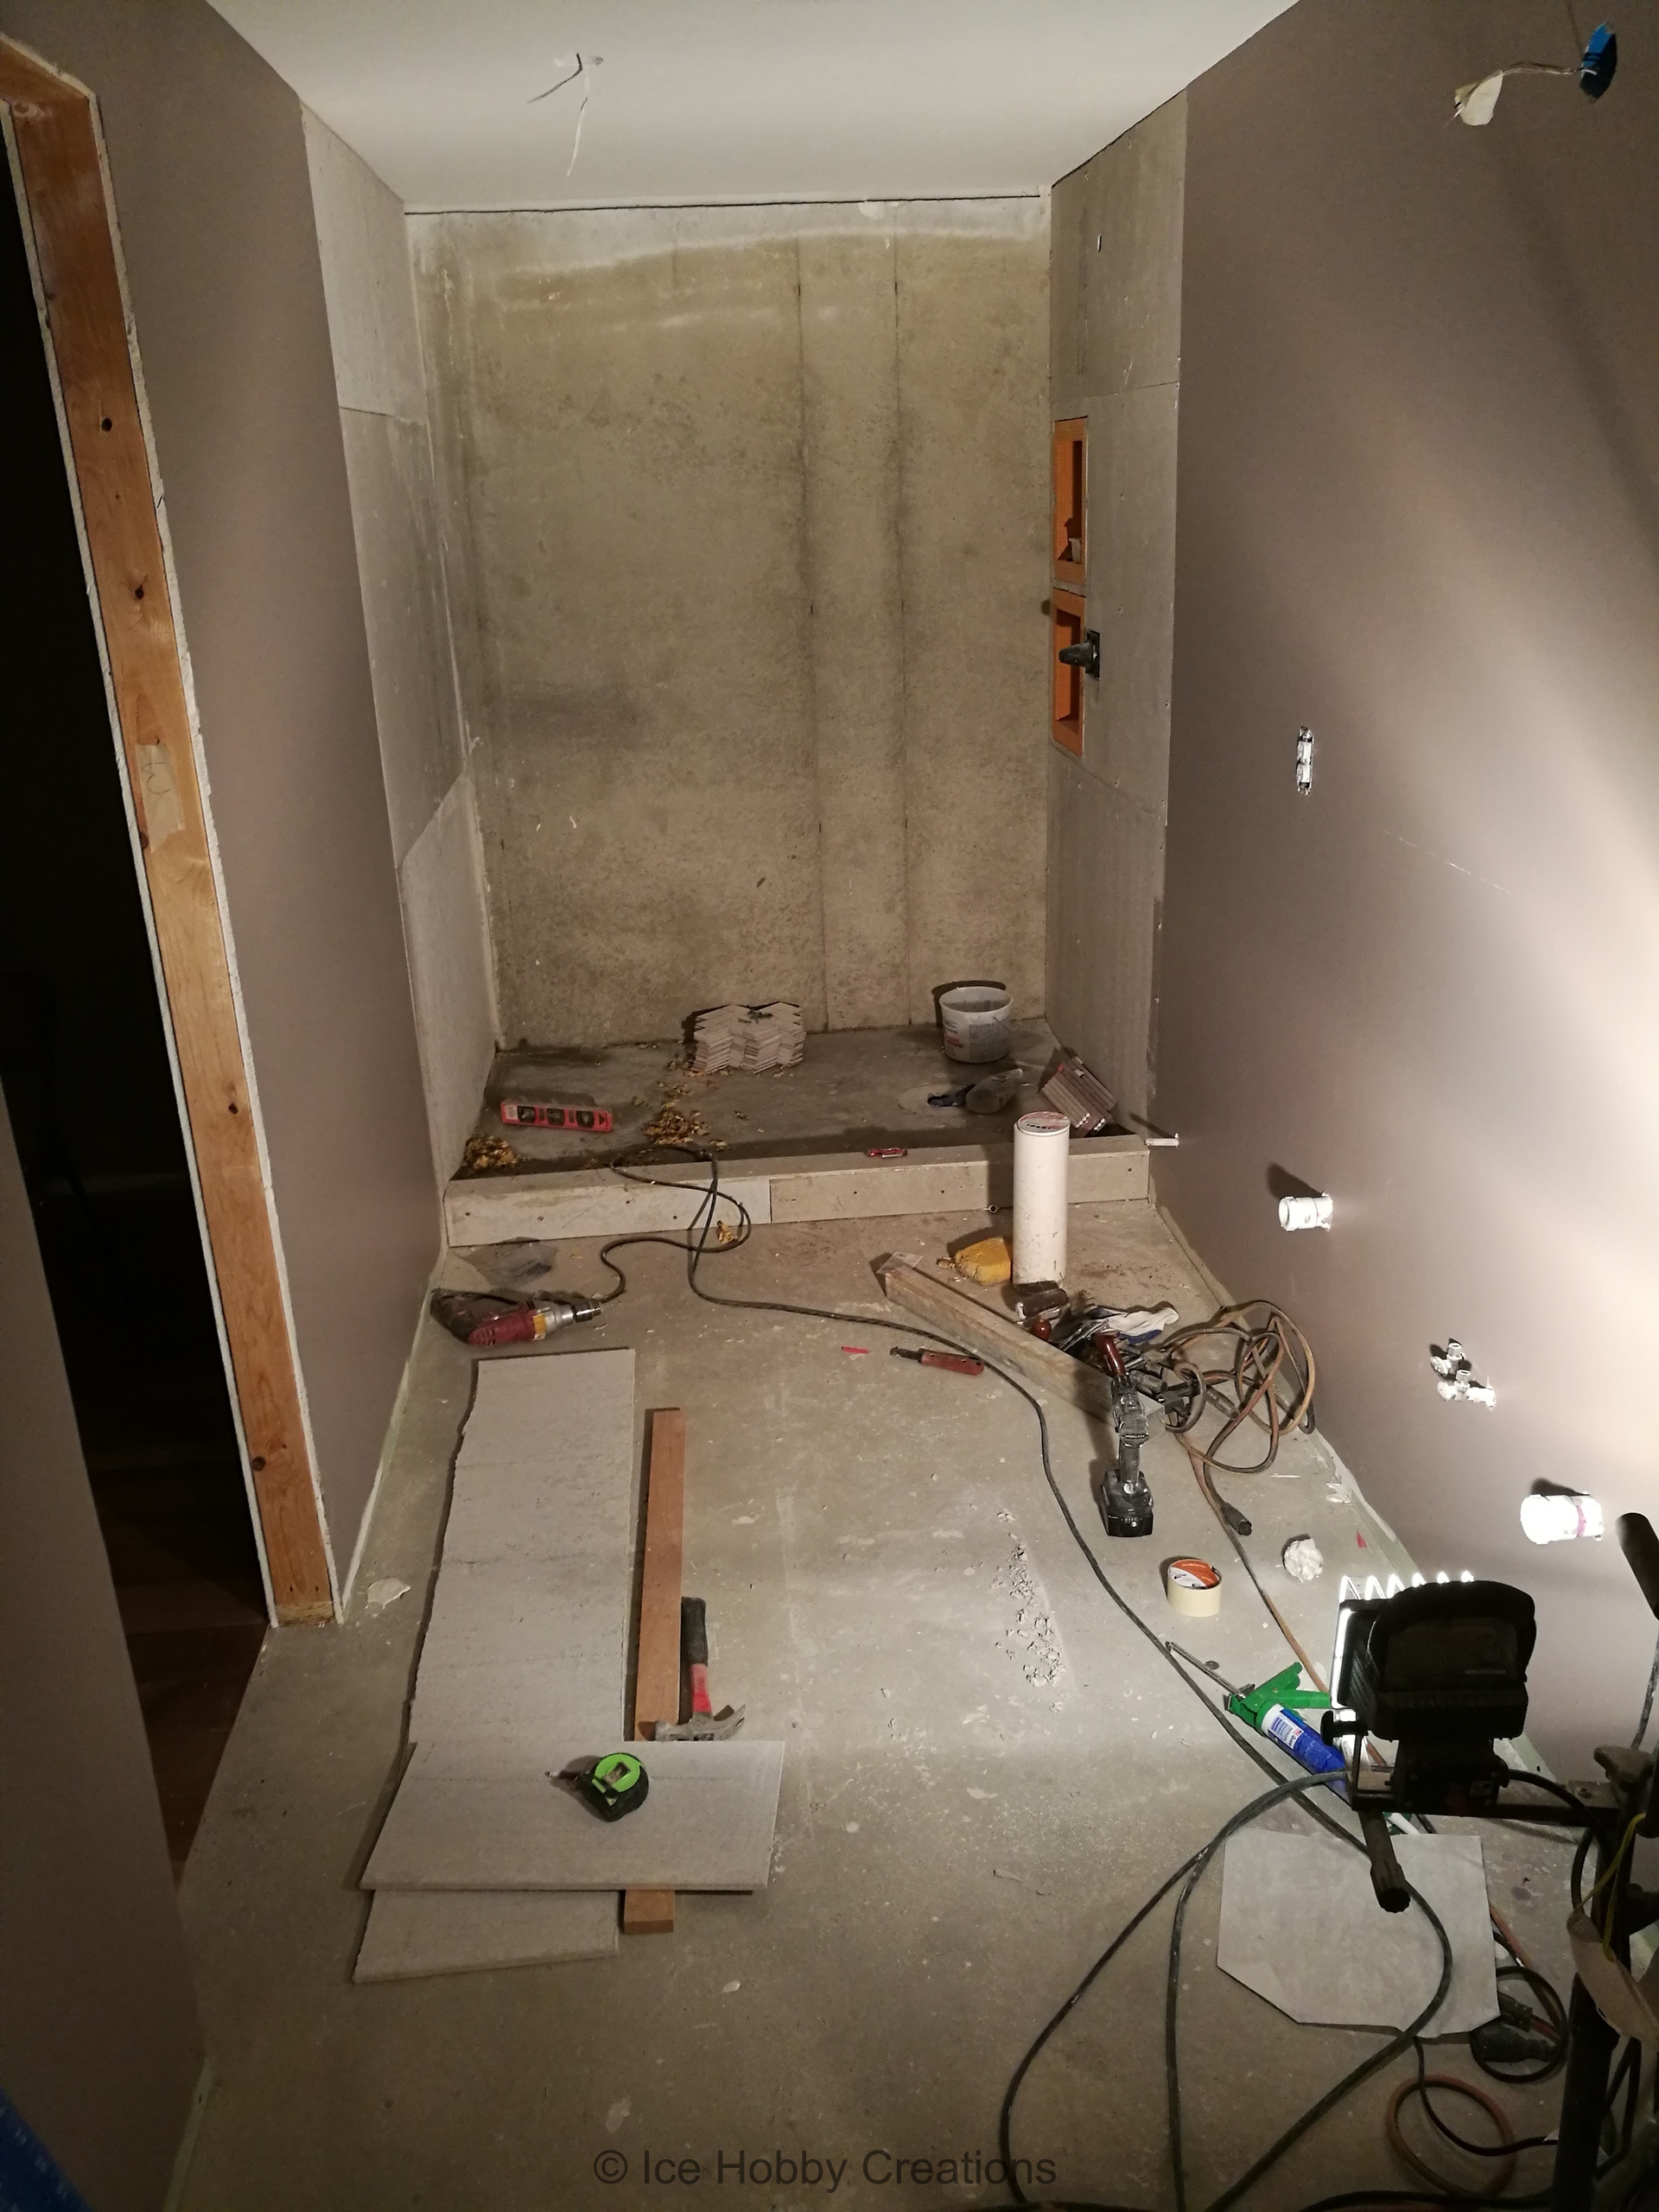
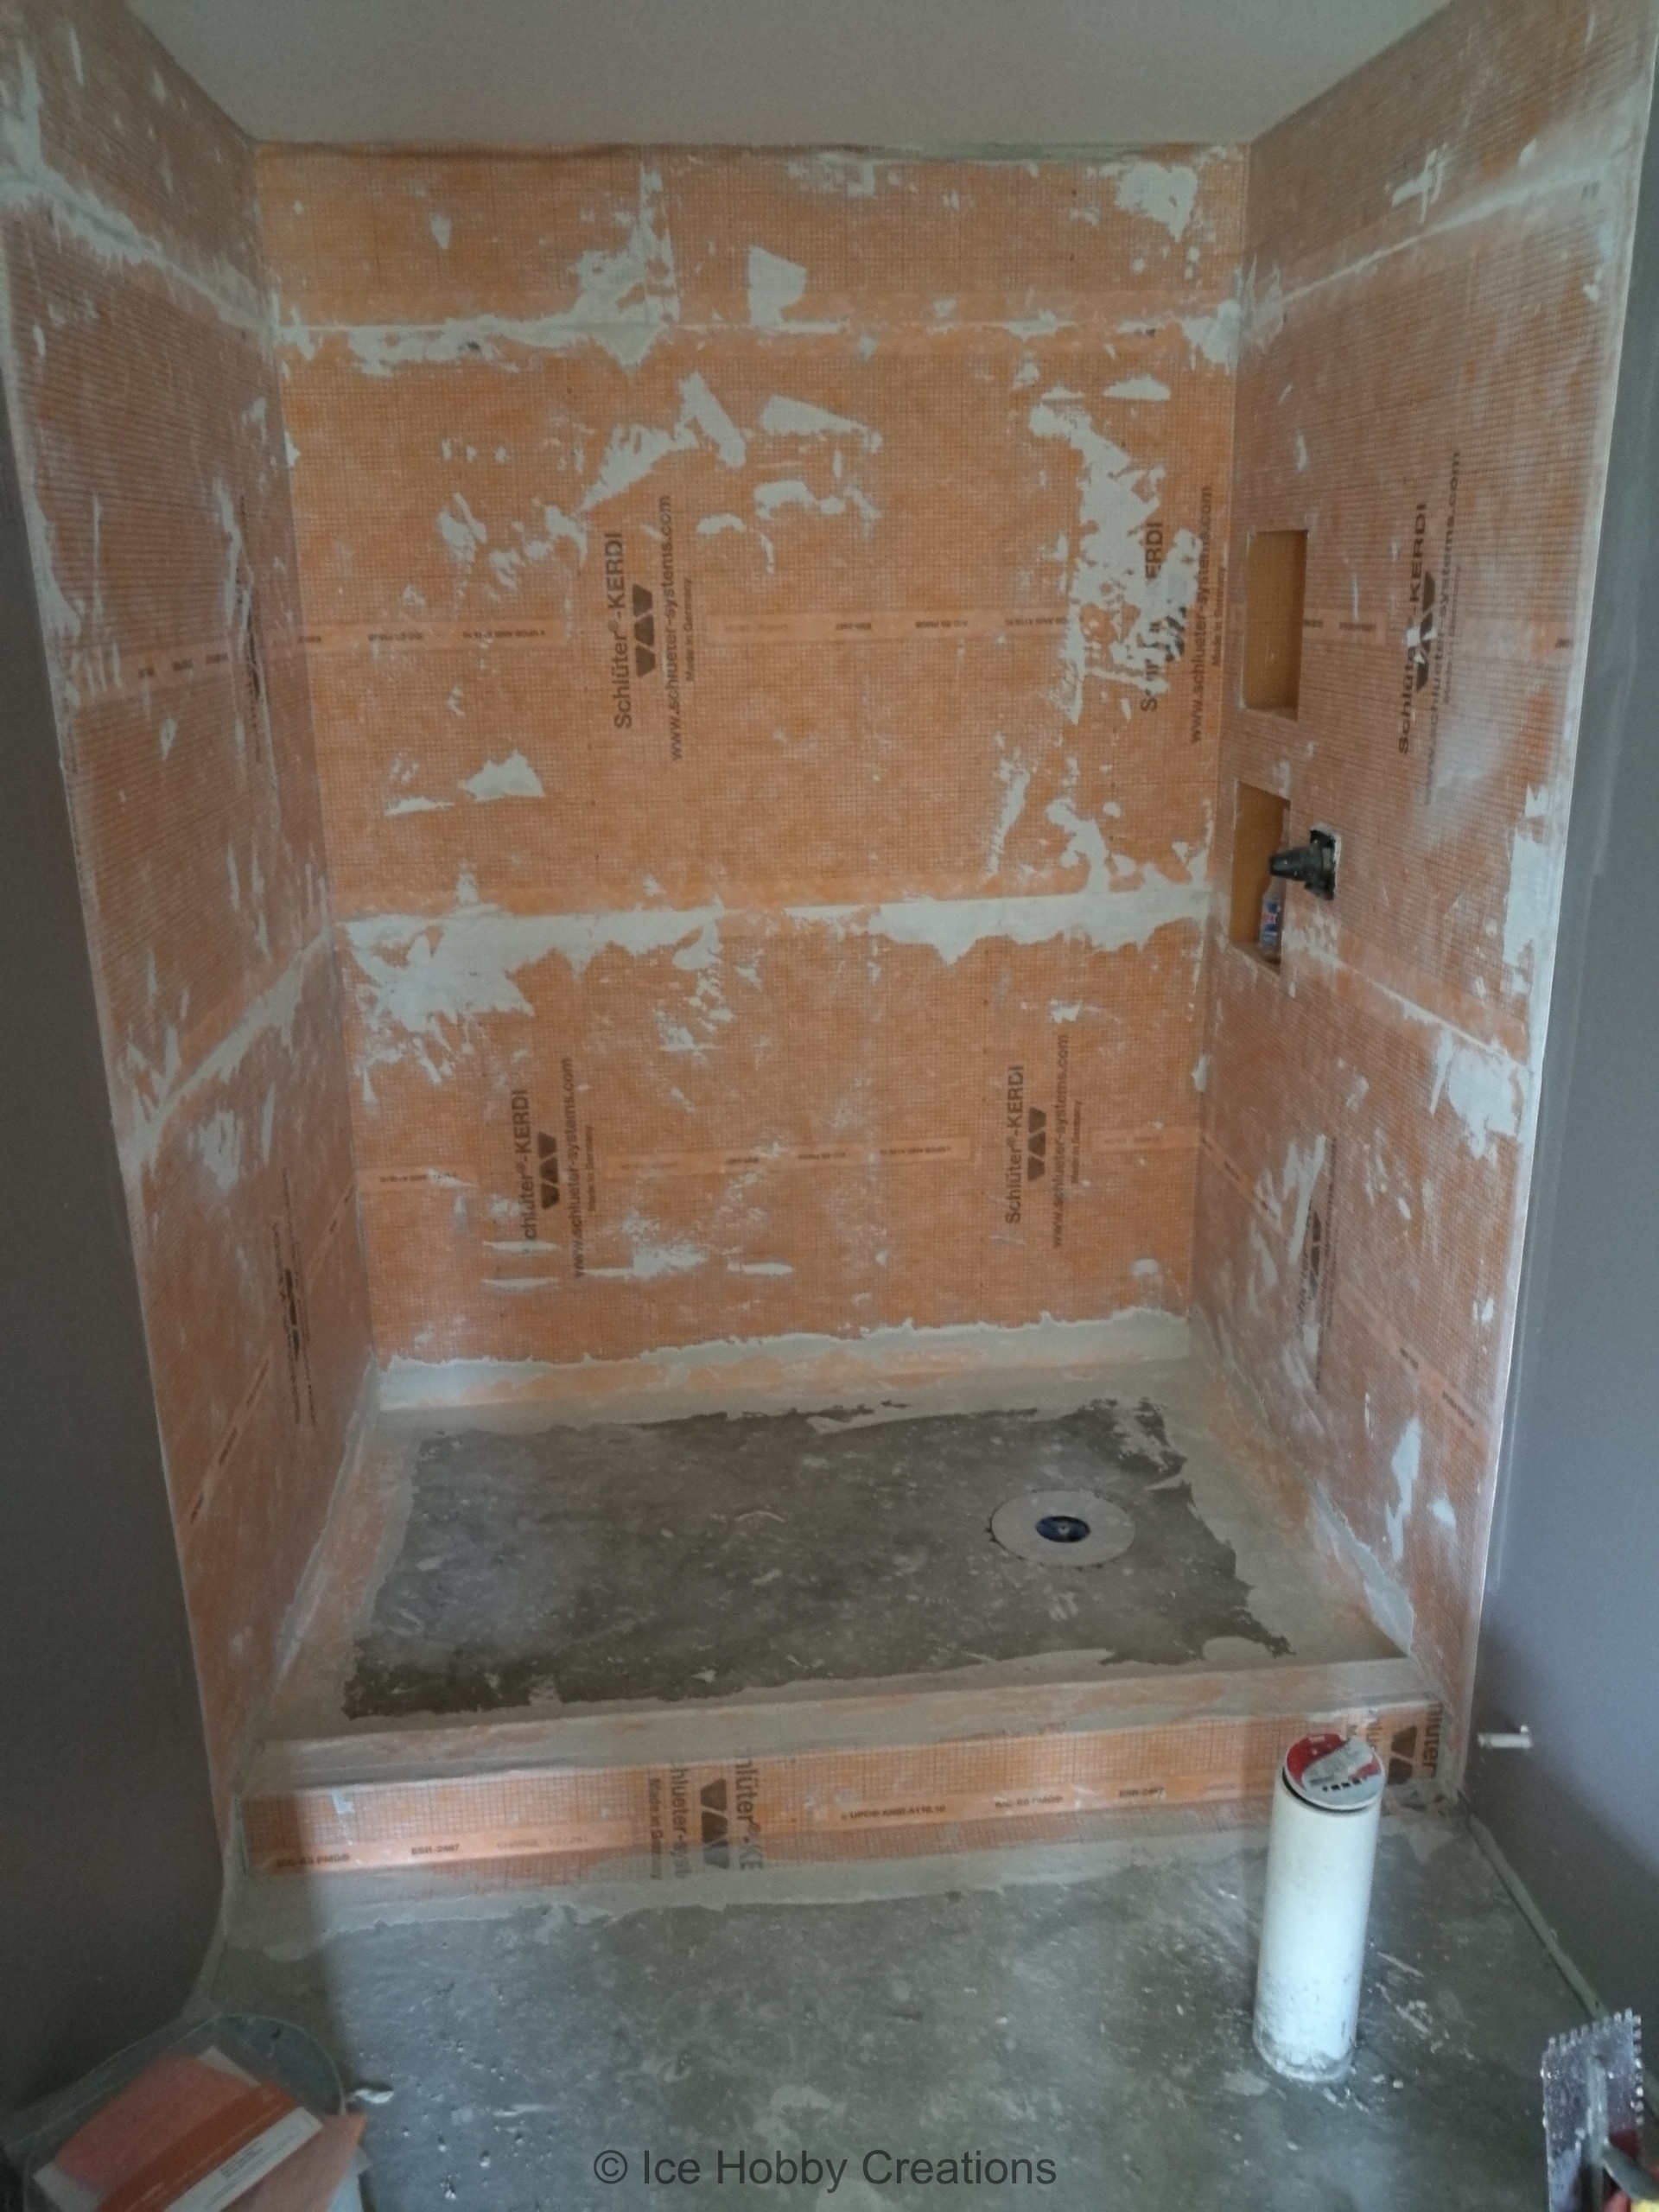
Getting back to the bathroom, I (finally) filled in the hole with concrete and installed Hardie-board on the walls for
the shower and built up a curb. I also put in a dry-pack mortar bed for the shower along with some kerdi-board
shower niches.
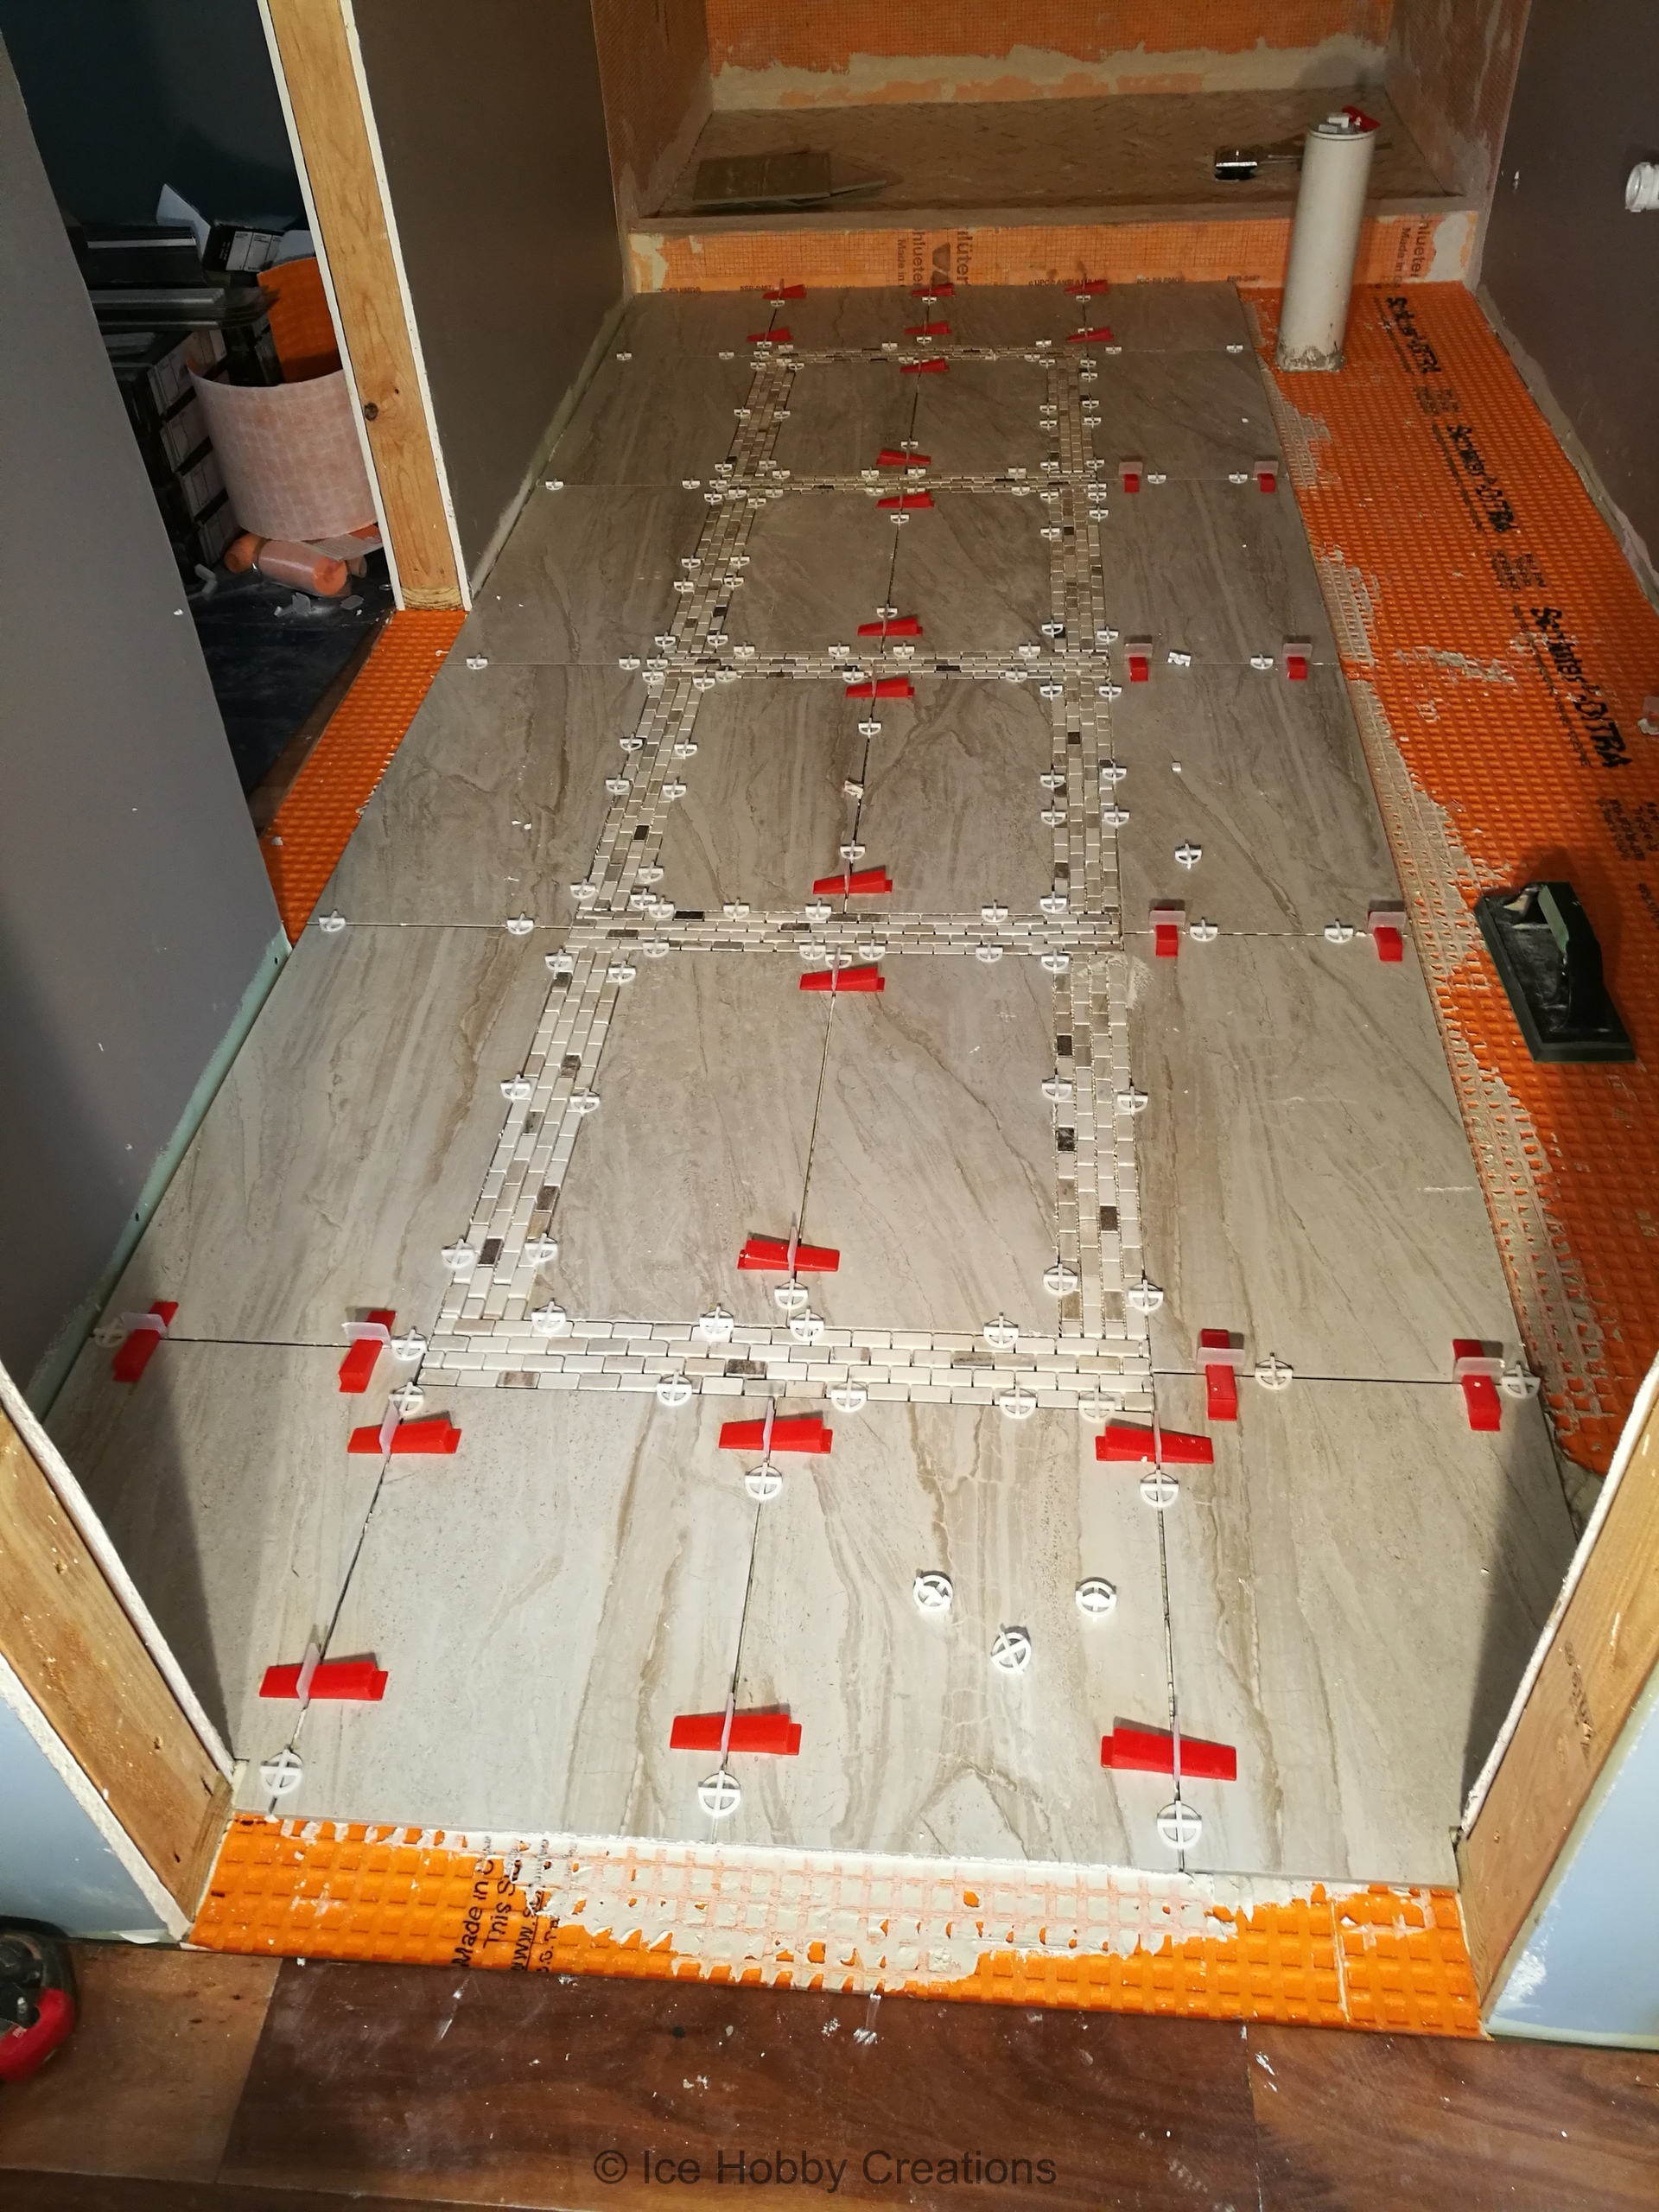
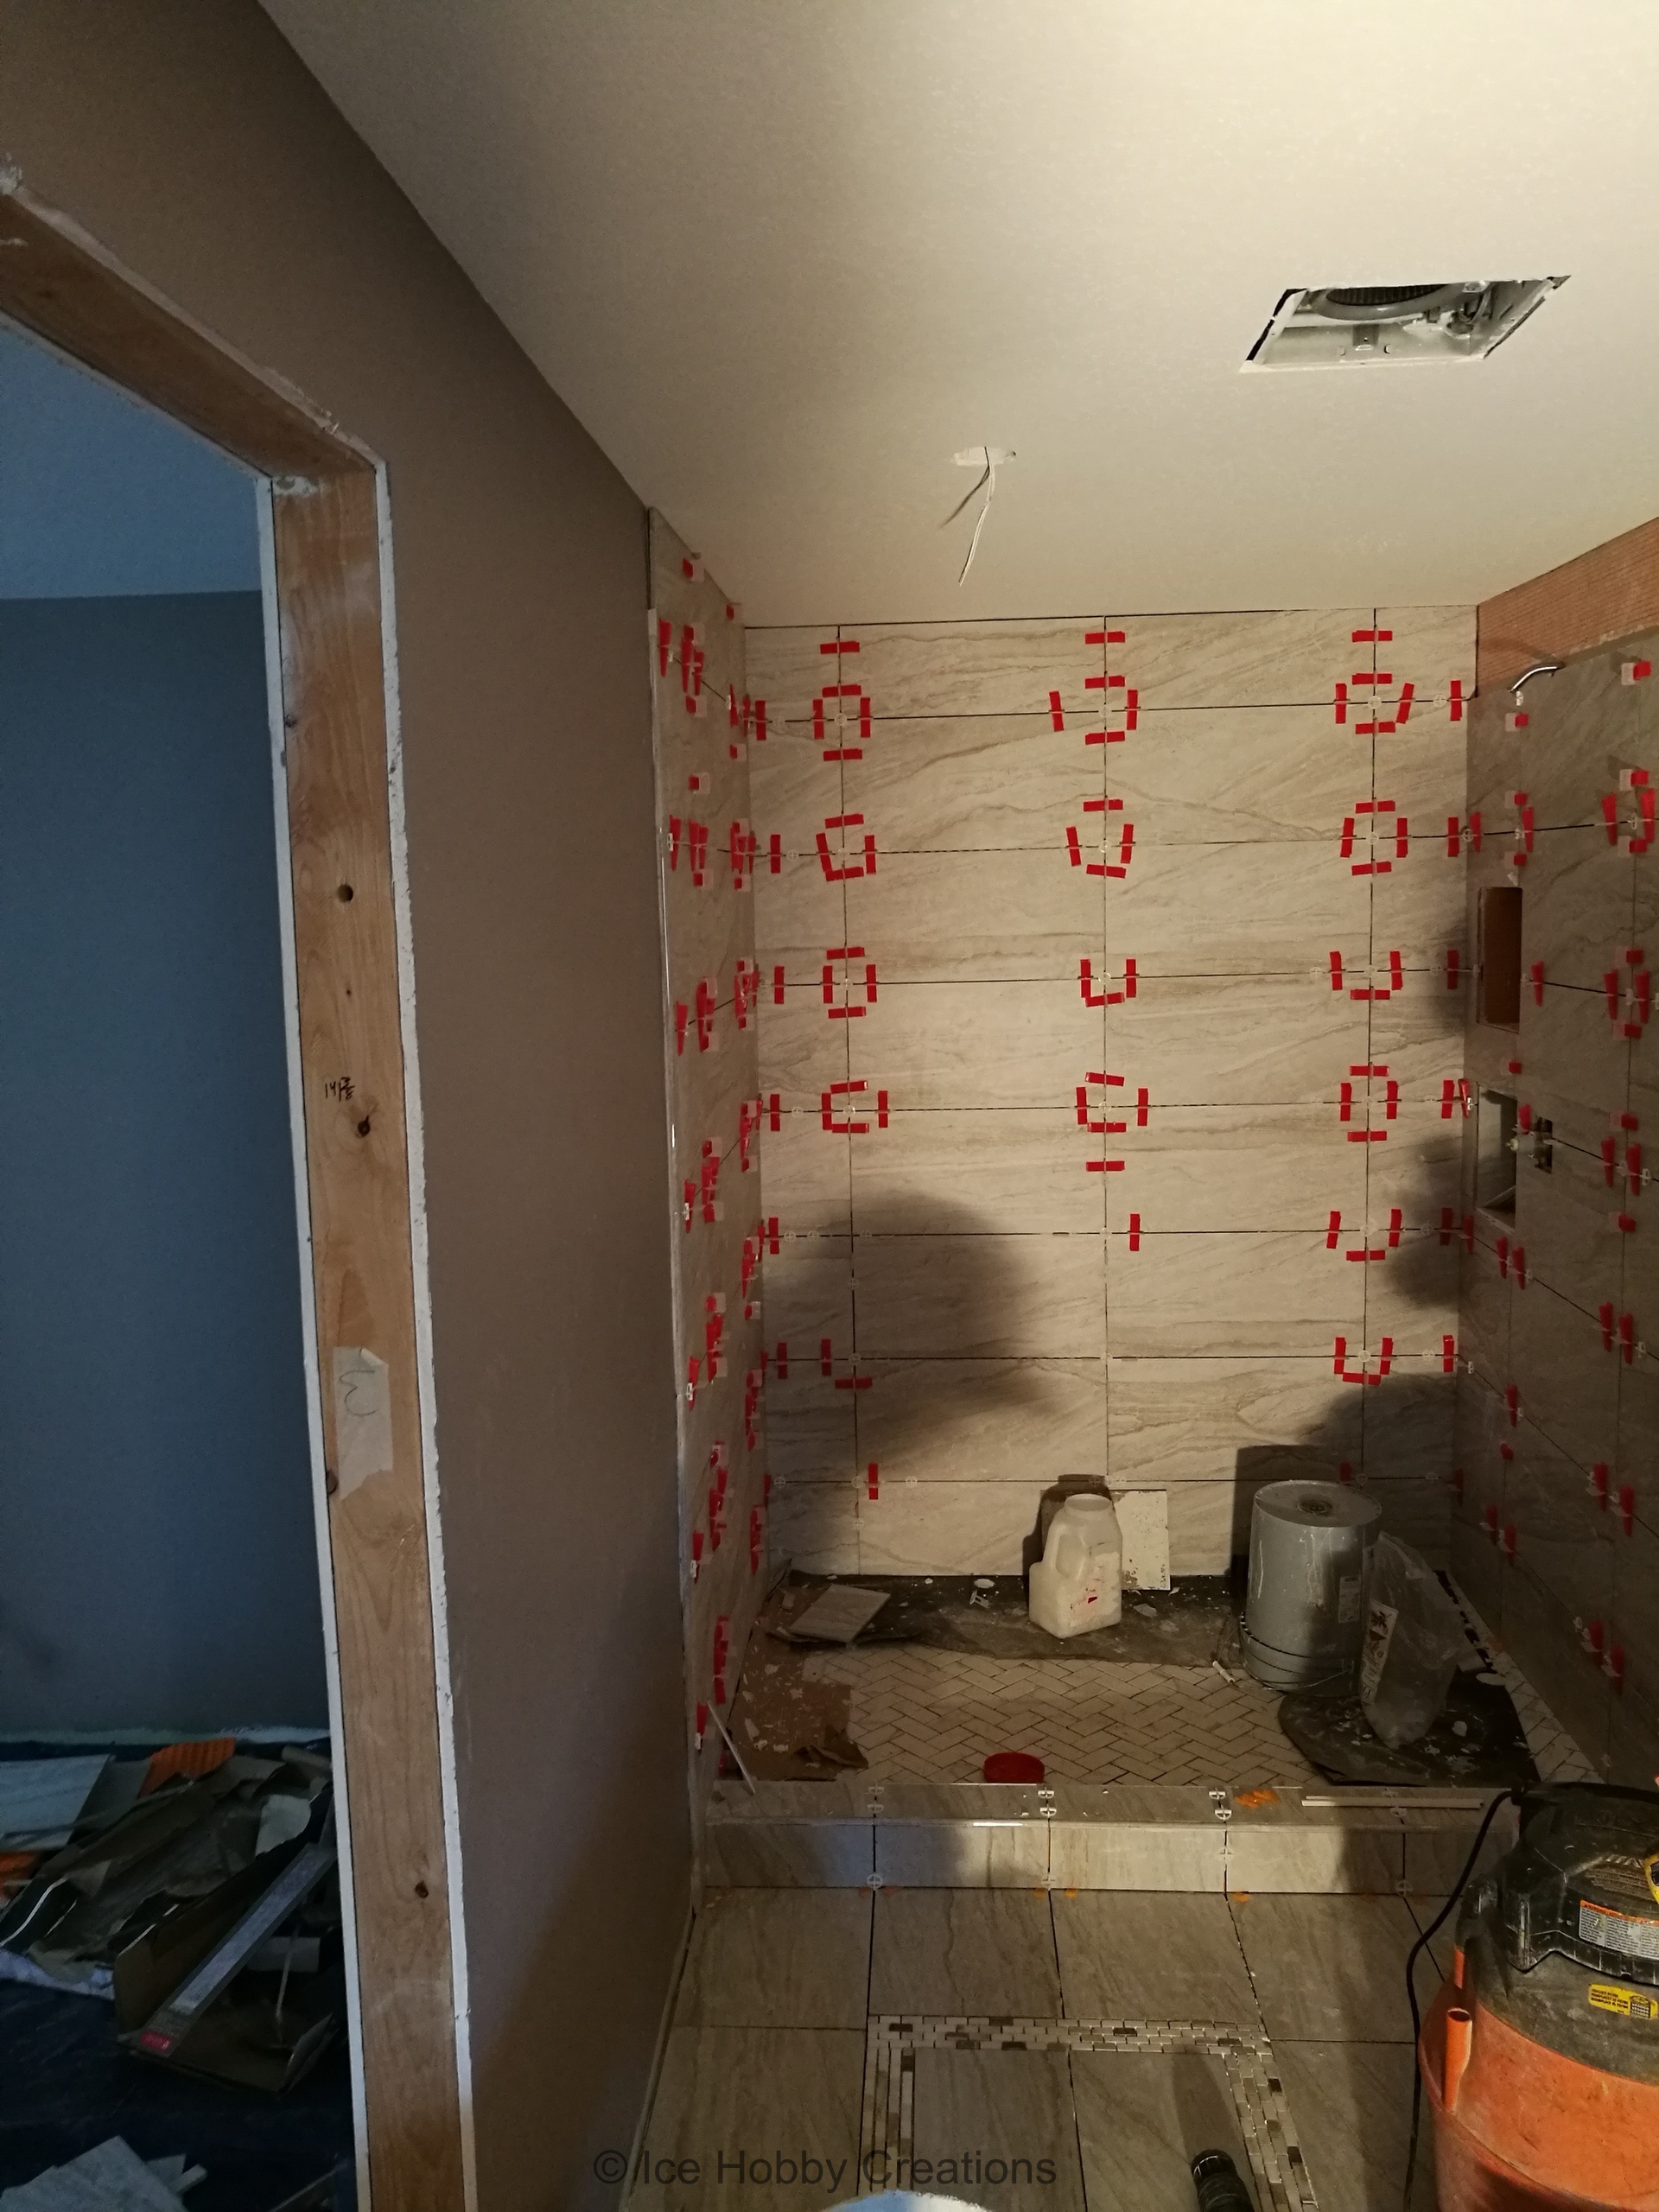
Originally I planned on tiling the bathroom myself, but time stops for no man! We hired out the final water-proofing and tile work,
and they finished it up nicely and quickly!
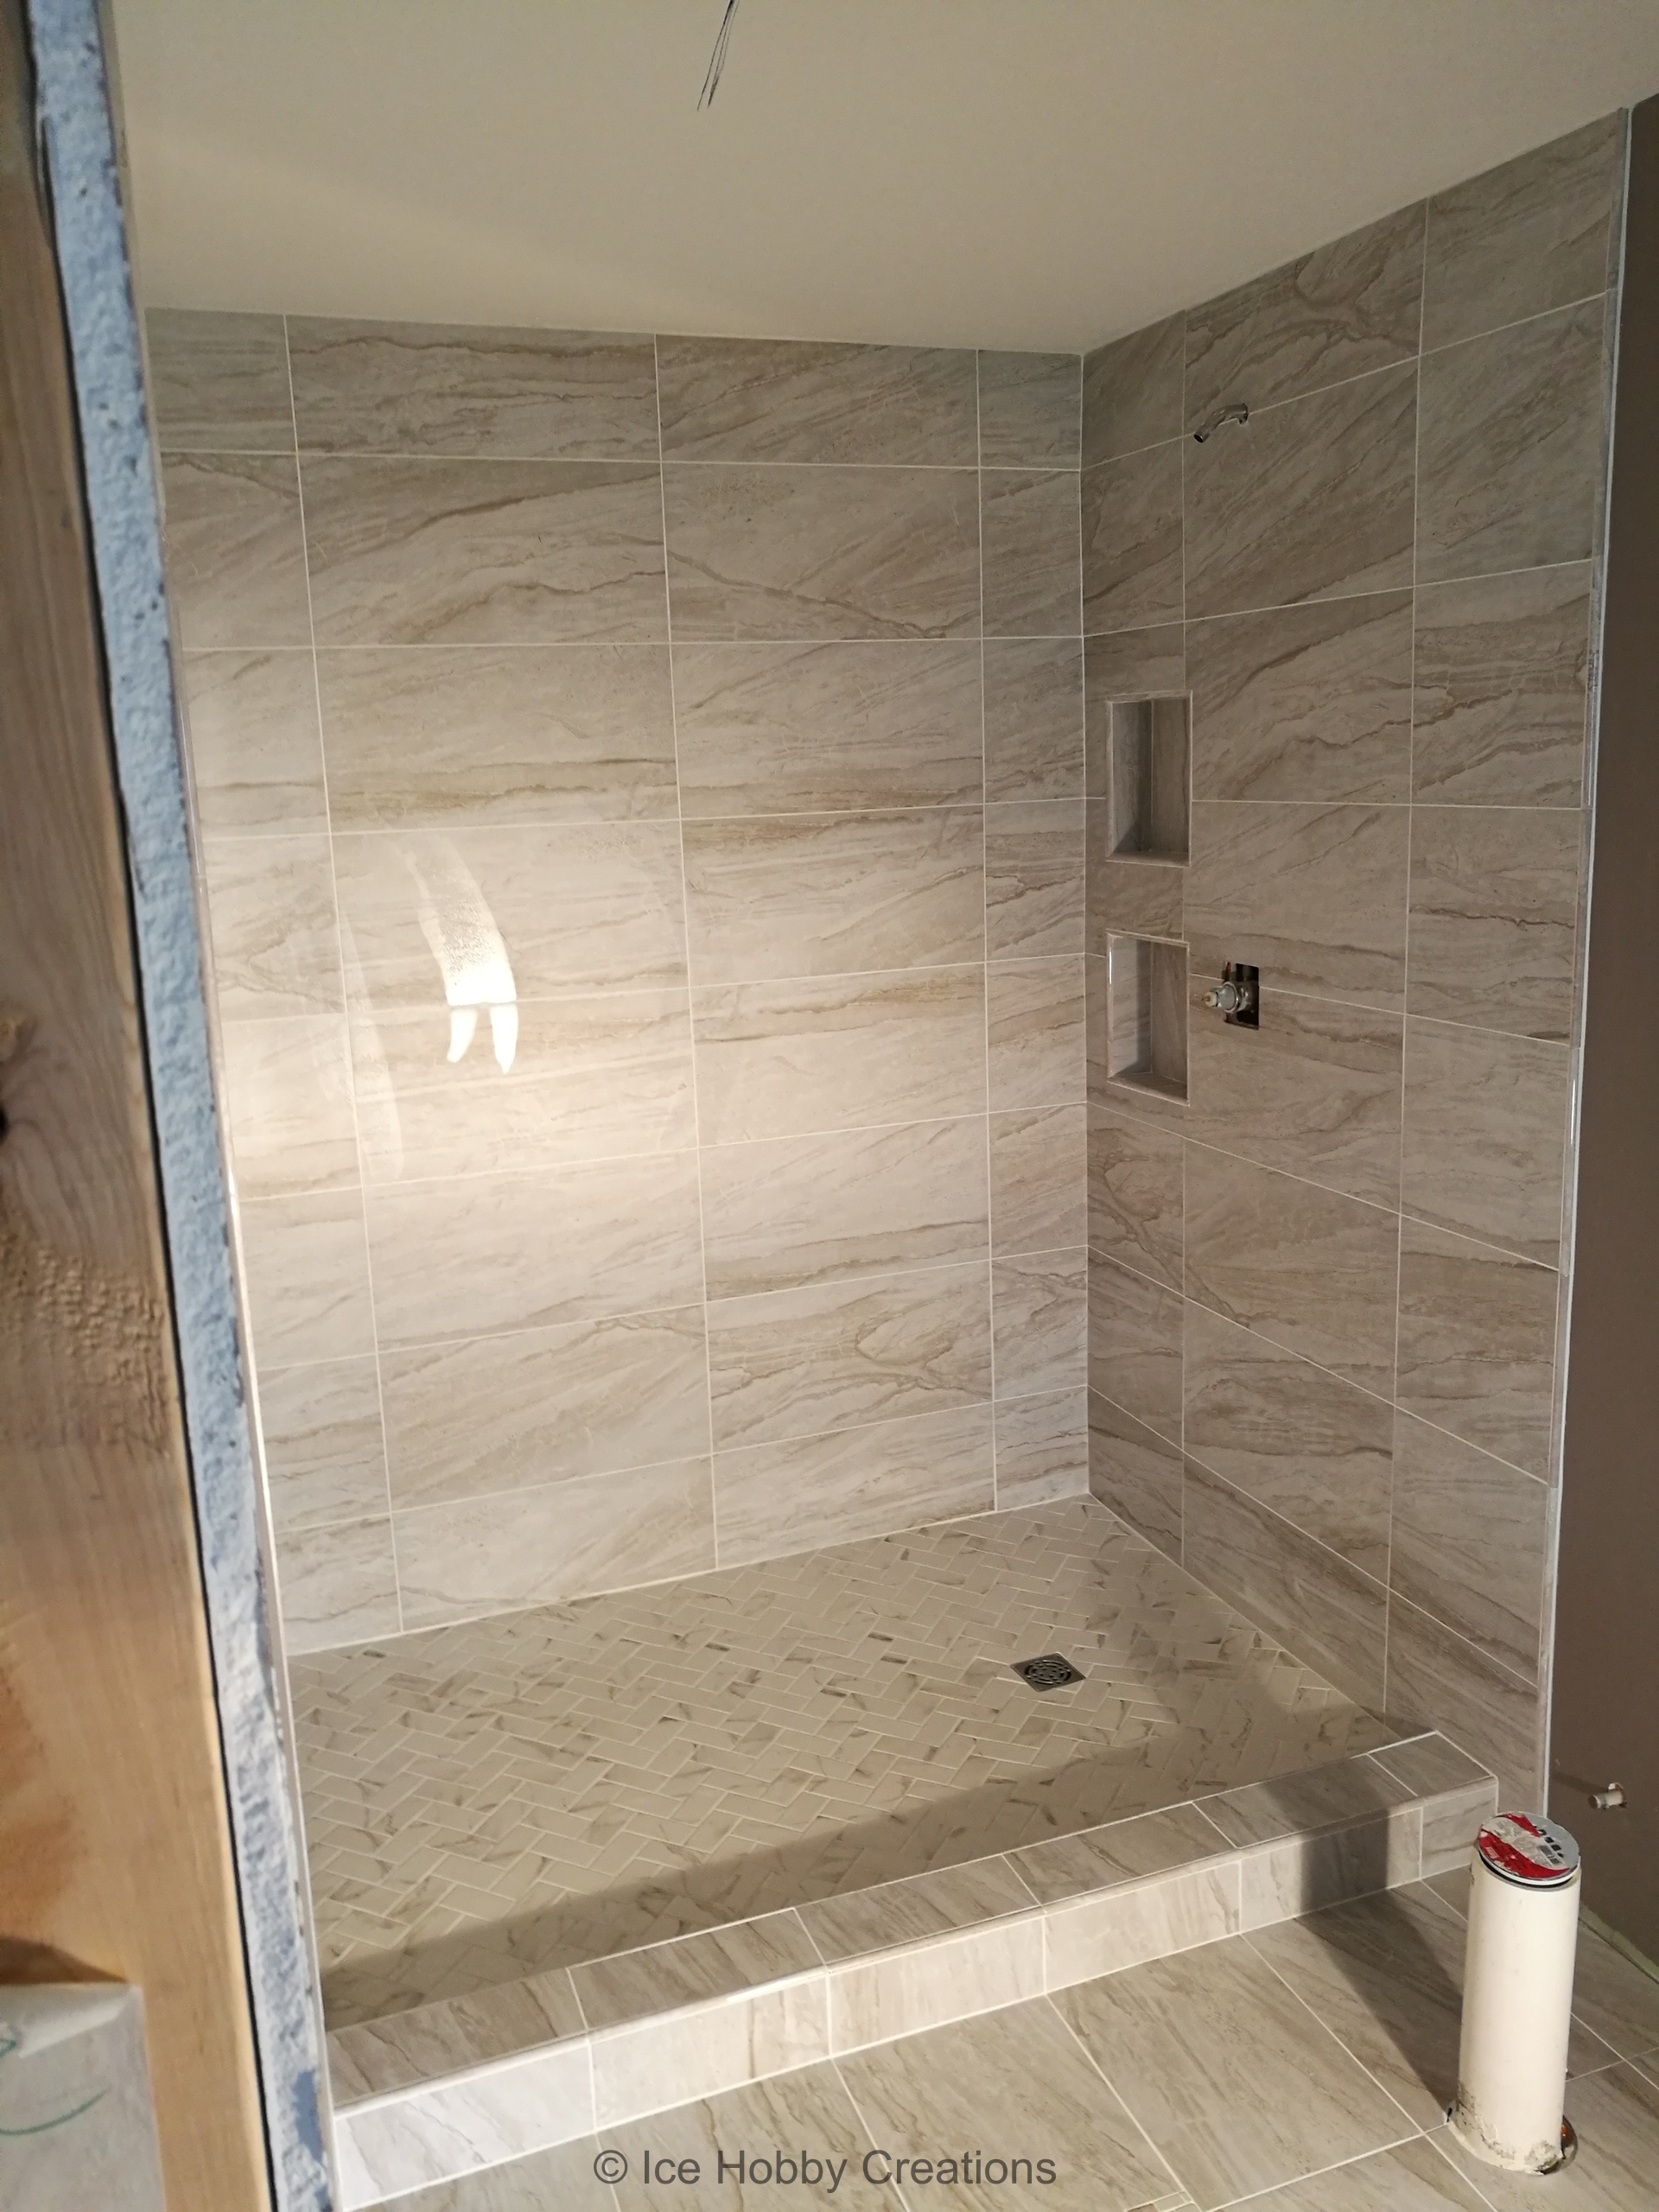
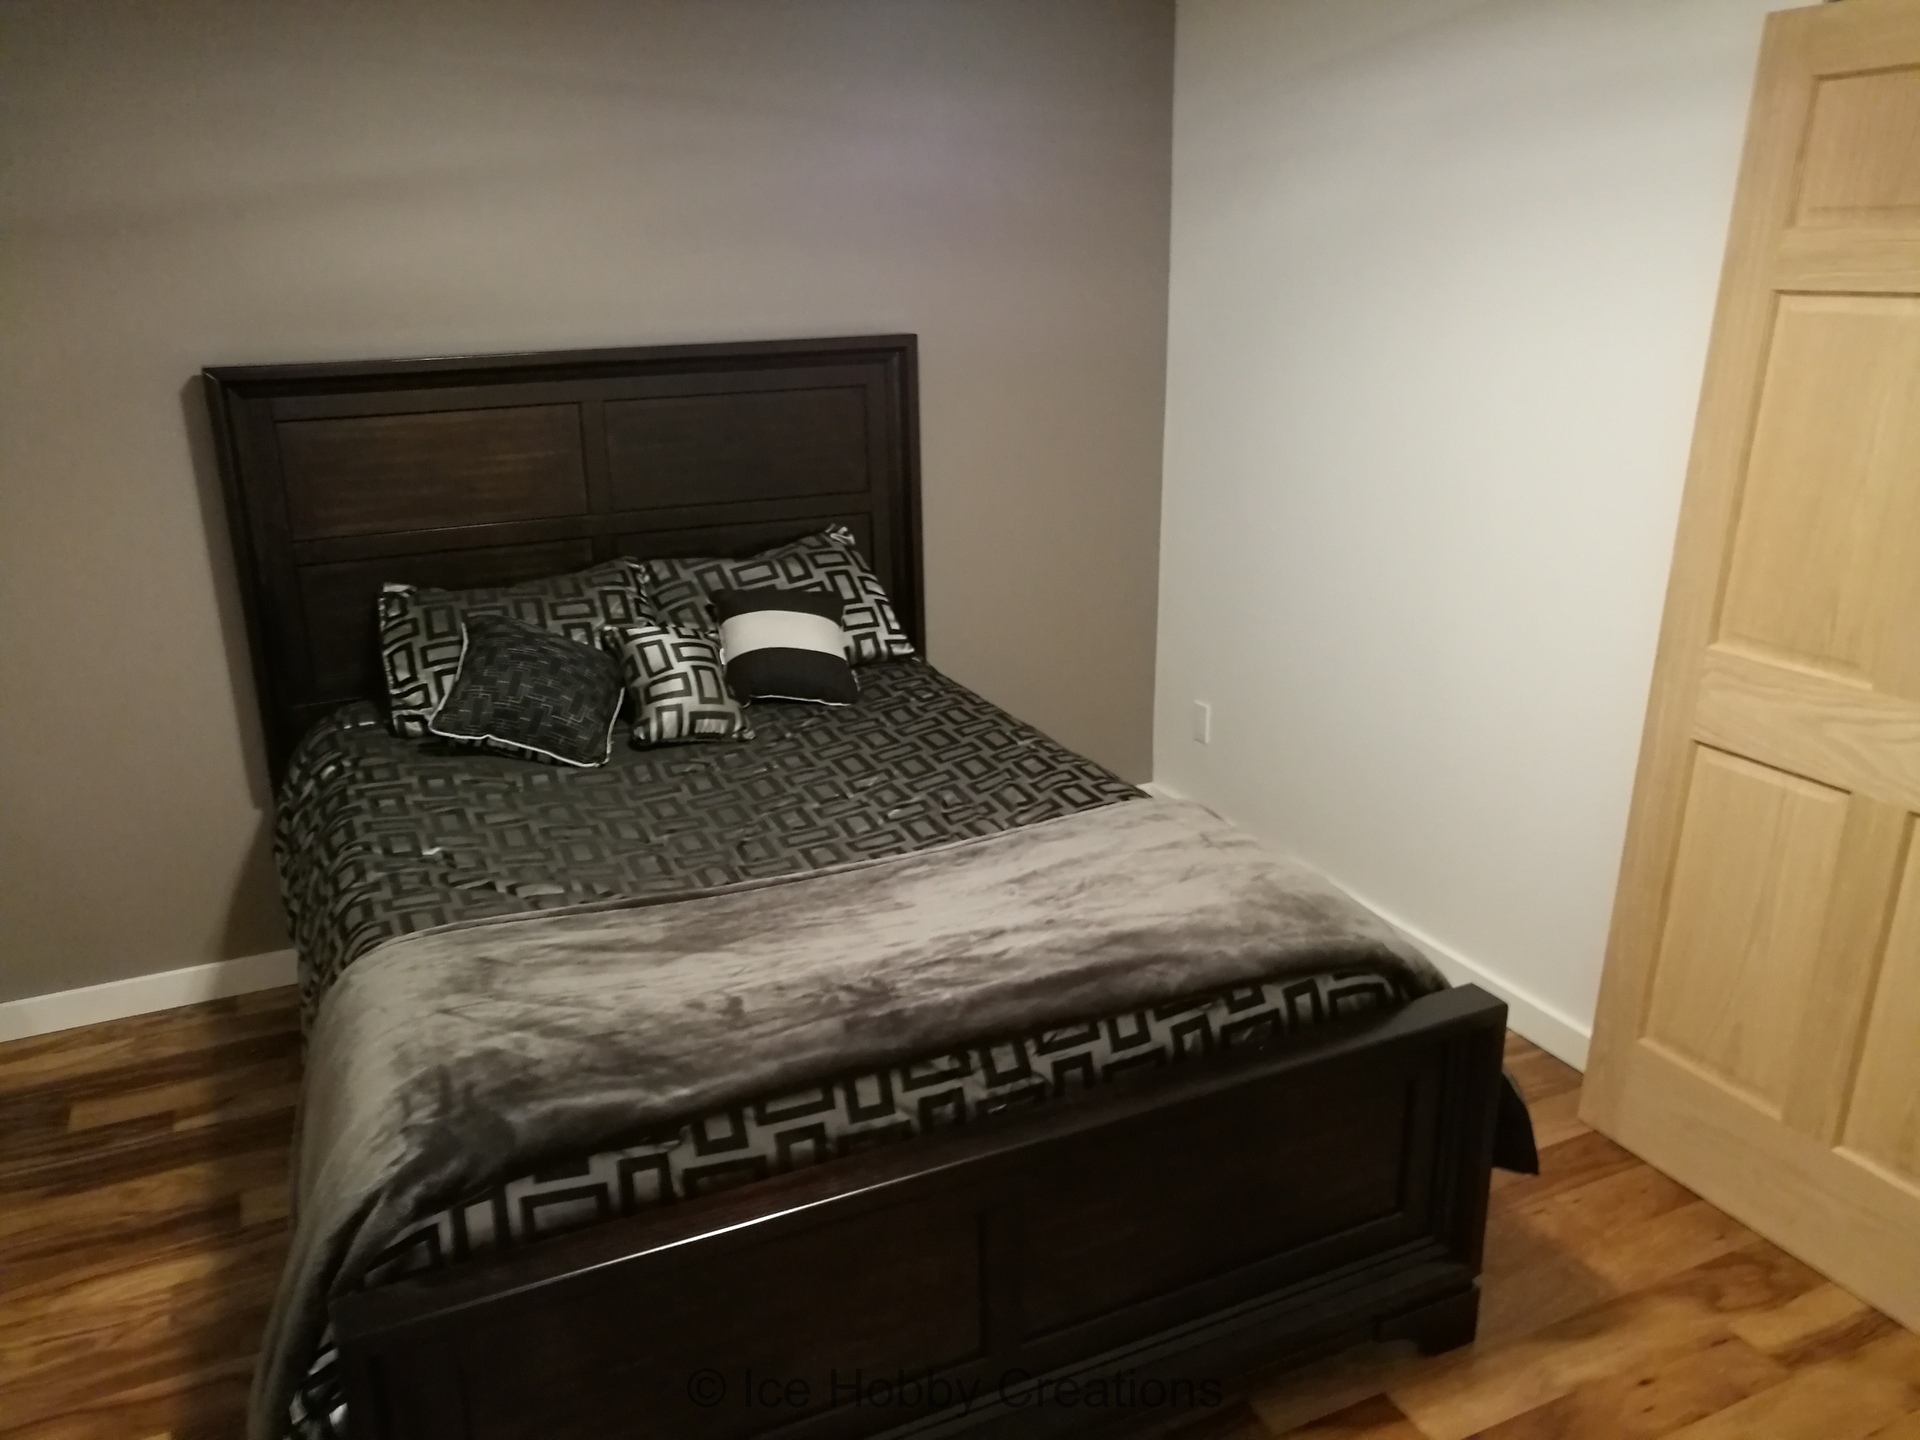
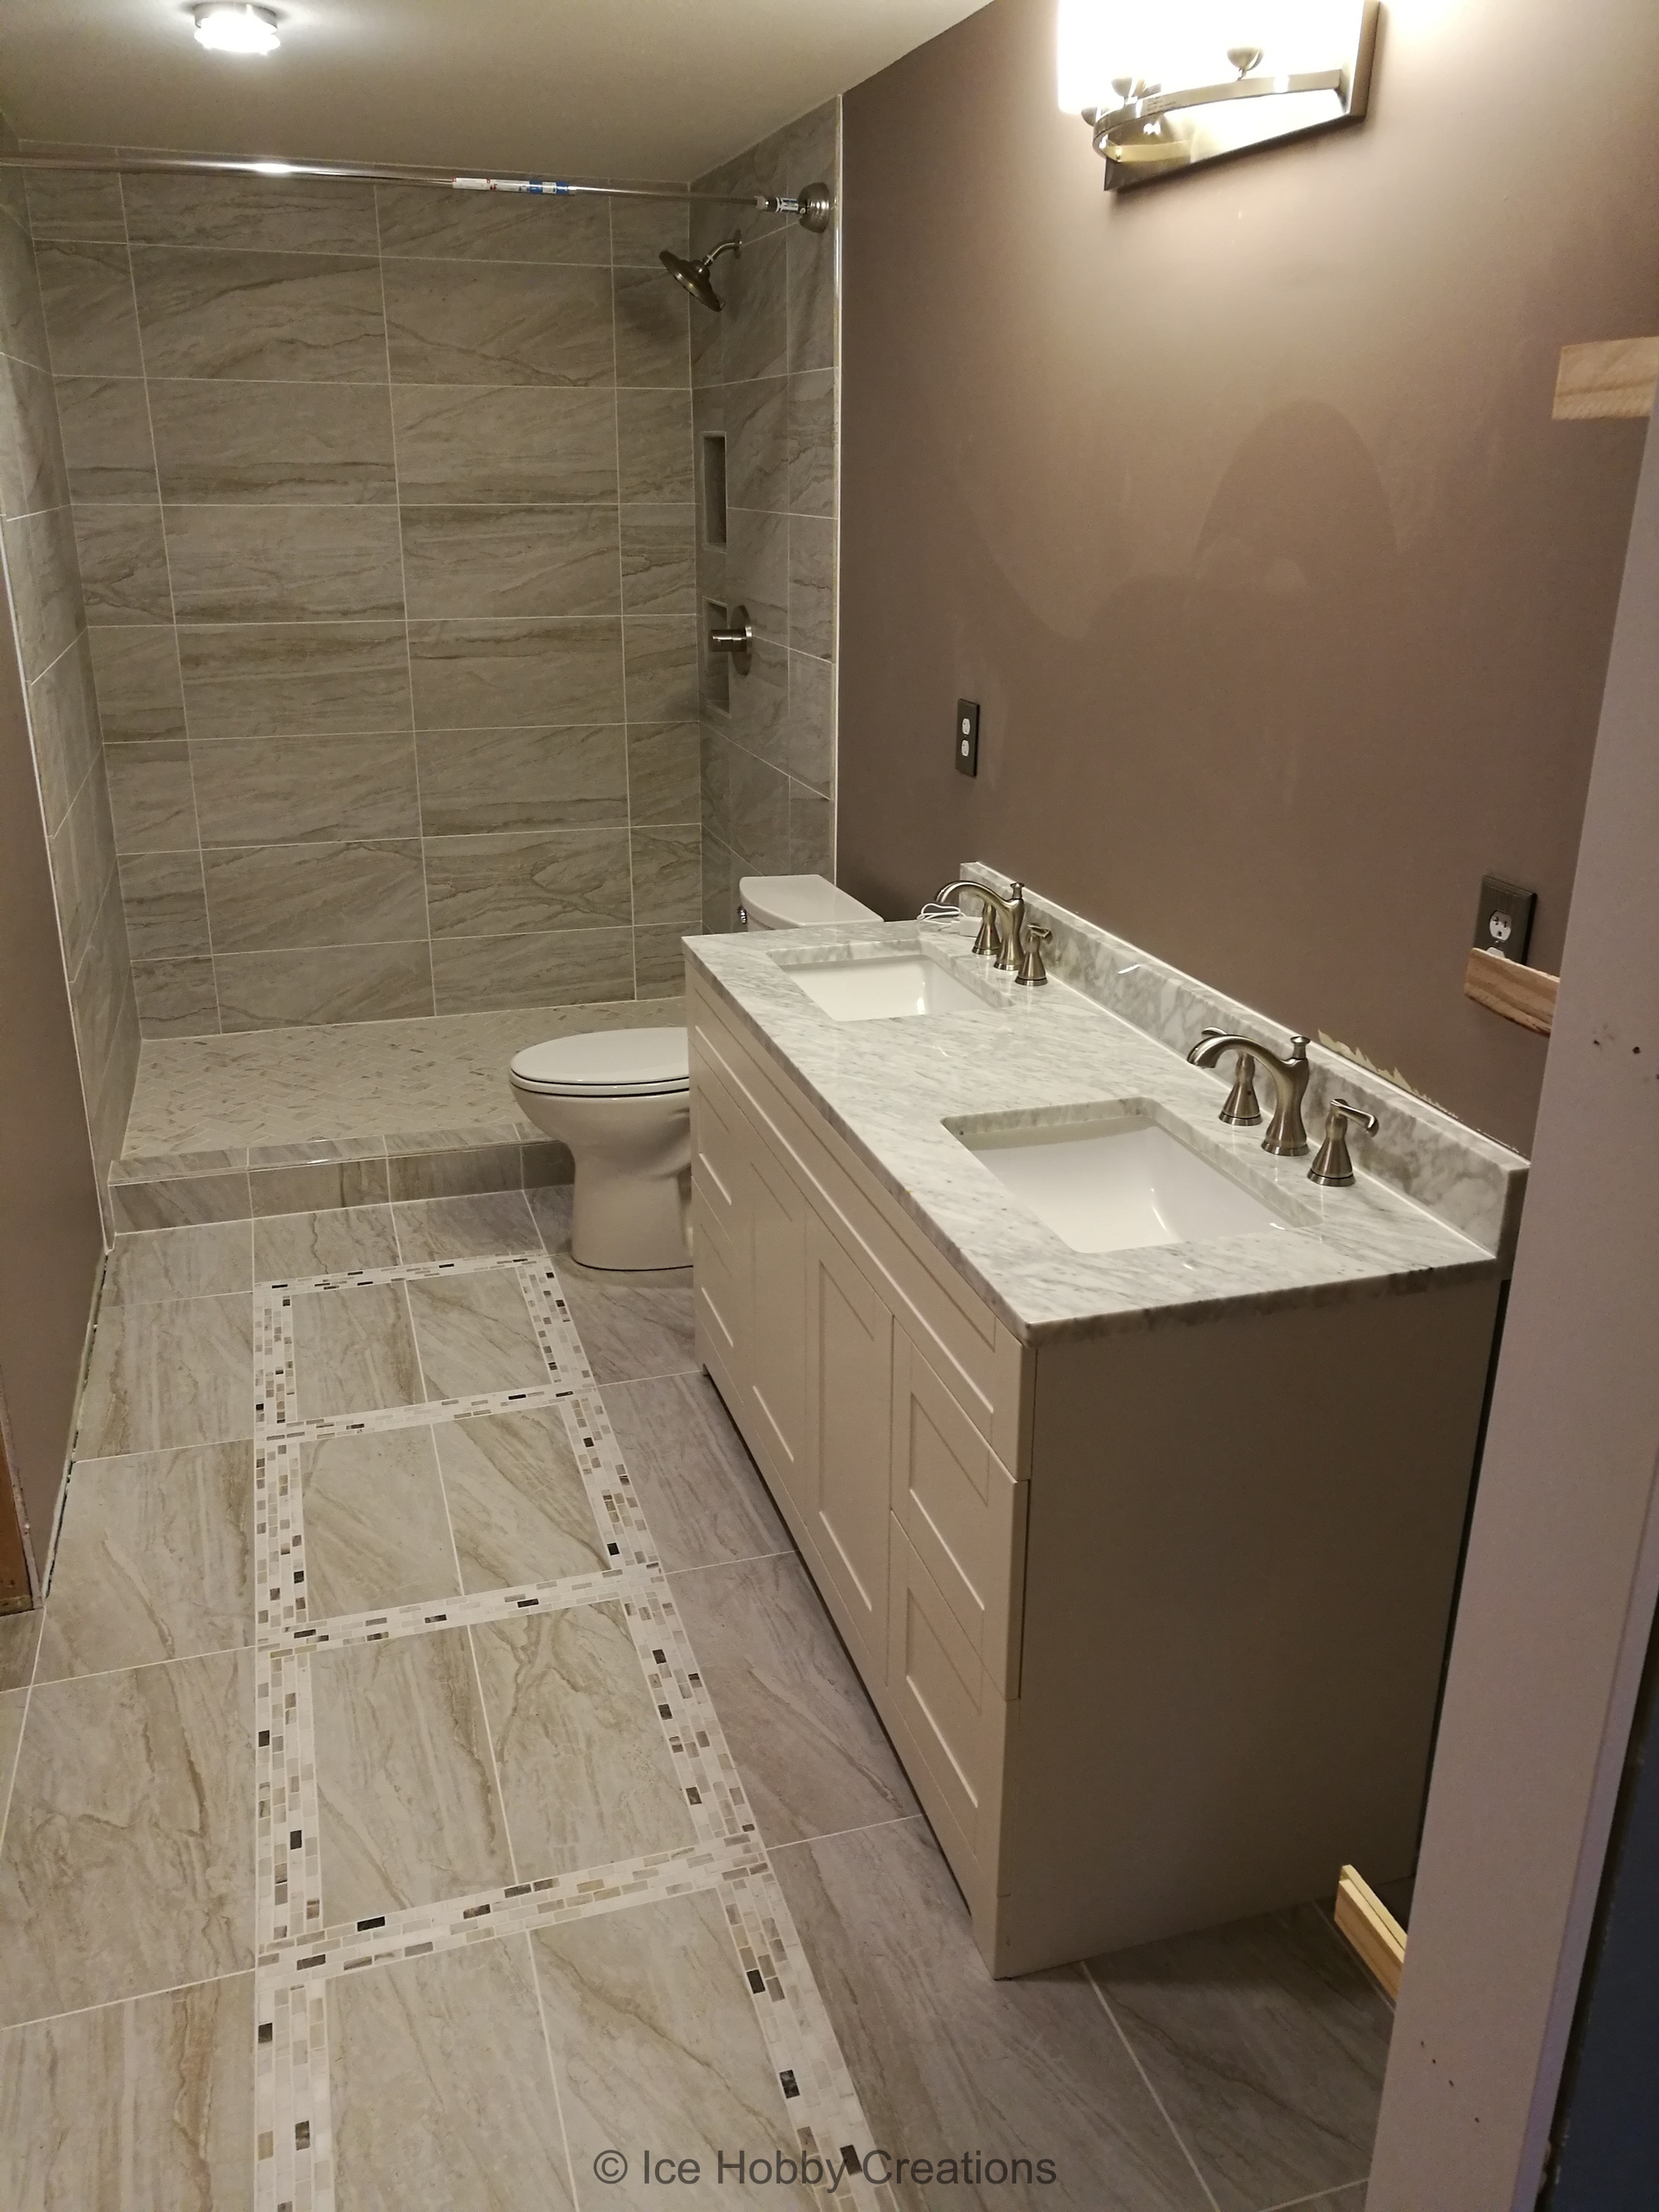
Things are coming together quickly now! I purchased a vanity and marble top from Menards and installed
the toilet, plumbing fixtures, and light fixtures.
We went with sliding doors from the bedroom to the bathroom so the door swing
wouldn't eat up bedroom space, and Finally, everything is done! Well, as done as anything with a home ever is!