Yearning for another BIG project
Sometime toward the end of 2015, I got it in my head that building a Gazebo would be a "fun" thing to do. I have a friend from my hometown who built a very nice gazebo one summer, and I was so impressed that I thought, "I can do that!"... Something that I am very prone to do is to undertake a project just to show that I CAN do it, even if I don't have a reason to say that I SHOULD do it! Anyways, before much thinking had occured, I'd whipped up a 3d model and decided, "Let's go for it!" Of course, instead of building a standard fare gazebo, there had to be something unique about My gazebo... I guess I decided I wanted a gazebo that could double as a storm shelter in the event of a tornado, because before I knew it, I had poured a 6-8" thick foundation with full rebar reinforcement!
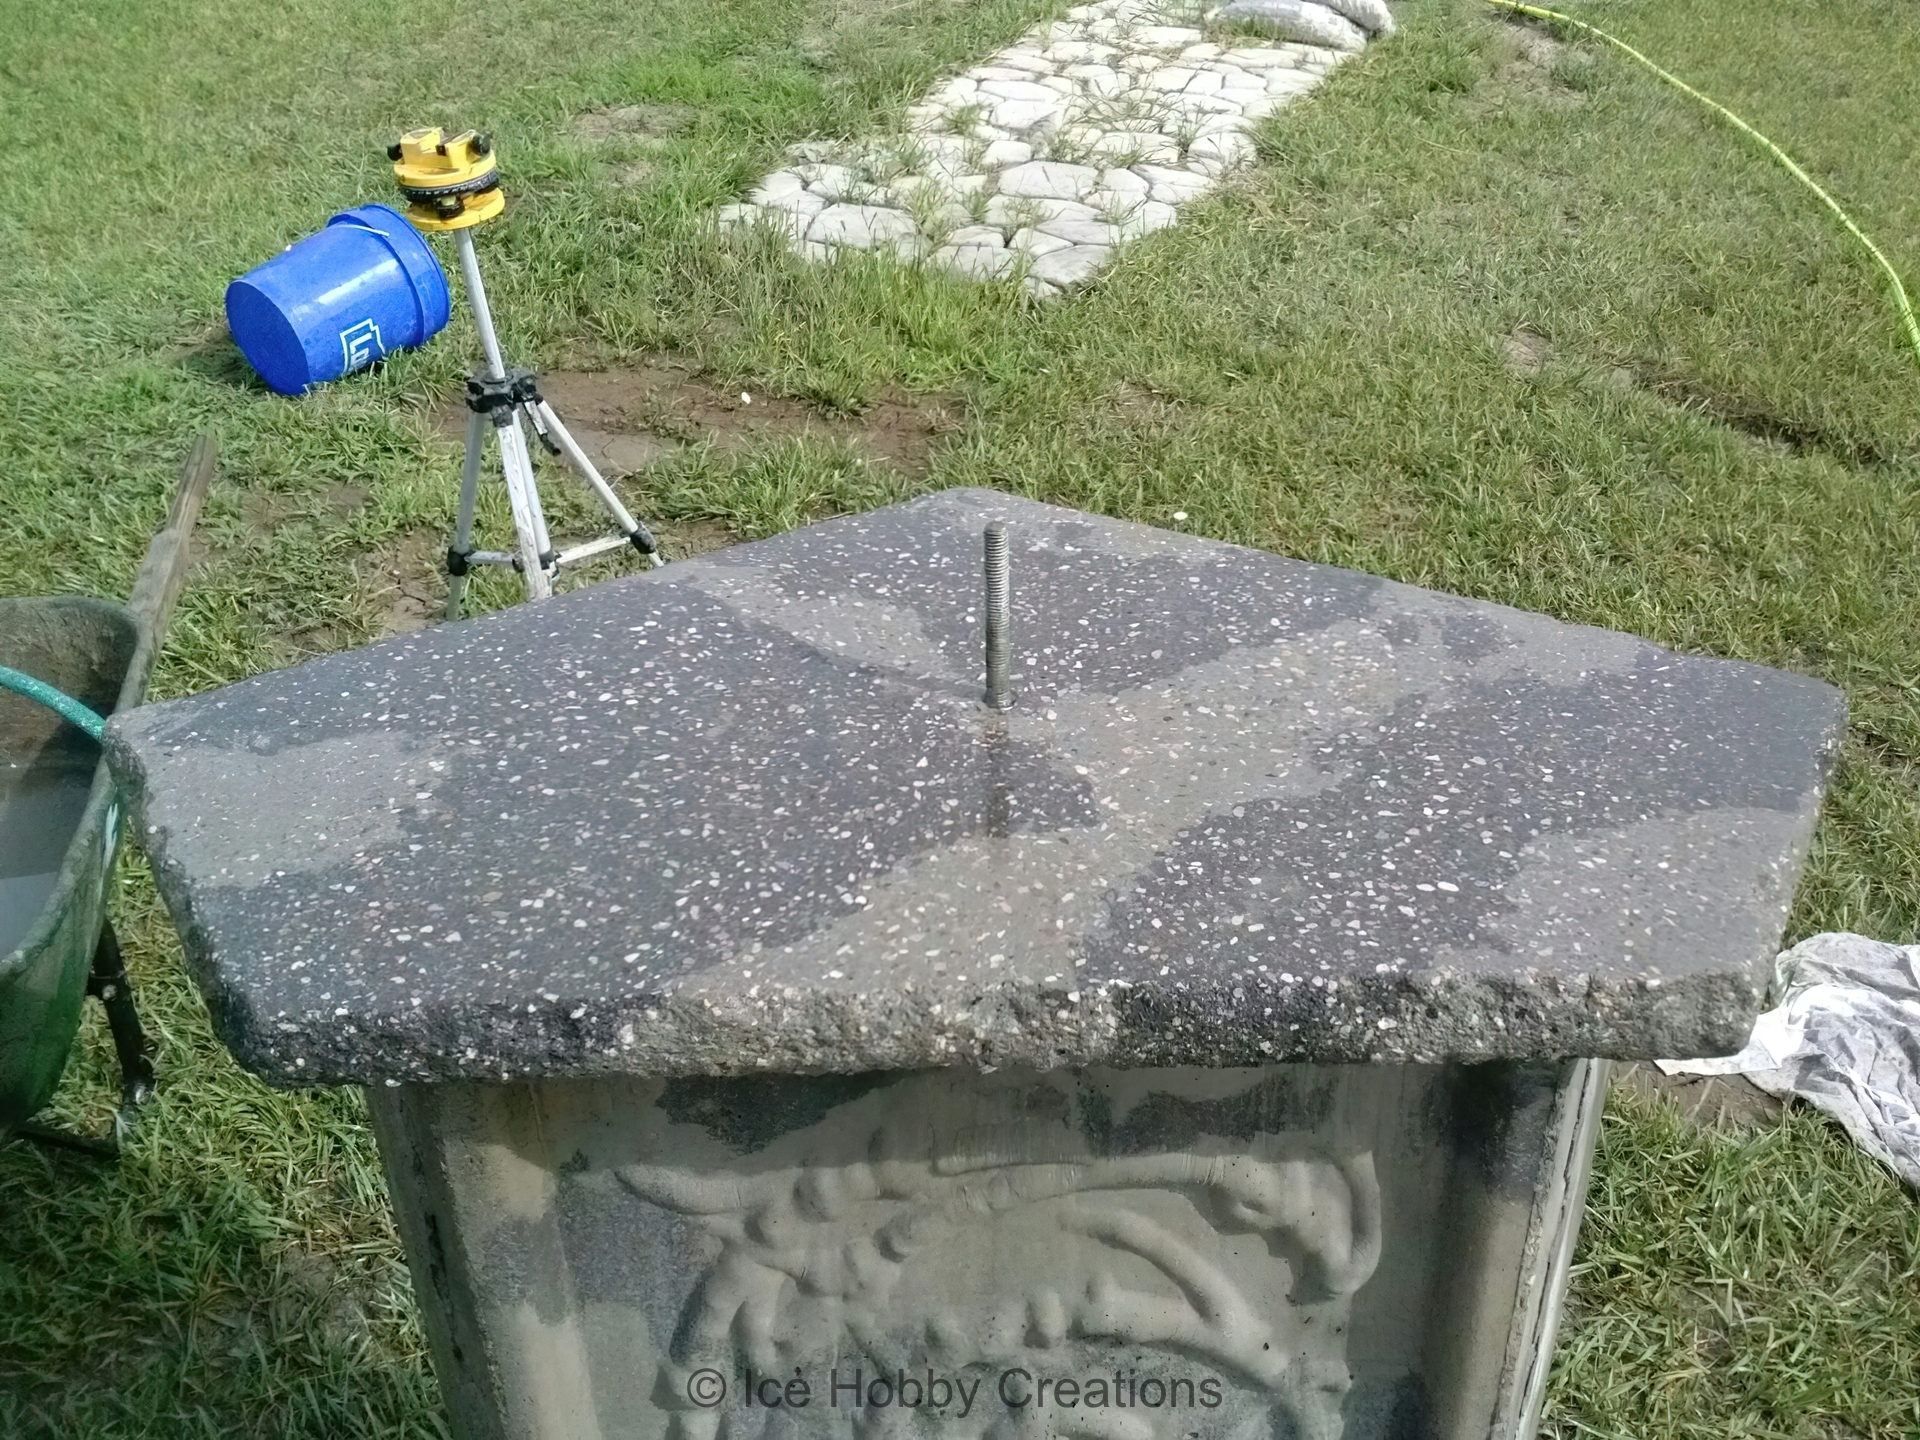
Of course, this wasn't enough, as surely plenty of gazebos had been built on a solid foundation. So, I came up with an idea to make concrete columns with an embossed pattern so that it would look as though it were "hewn from solid granite". Unfortunately, I don't have any pictures from my time spent experimenting to accomplish this... But hopefully the pictures that I do have can convey the idea appropriately! I mixed all of the concrete by hand (with the help of several amazing friends!), and it took "only" around 174 80lb bags, so there's around ~14,000lbs in the foundation (so judge my sanity appropriately!).

The caps on each column were made with the same process used for the concrete countertop in my kitchen. I made a special jig to help me set them flat and coplanar and with a consistent reveal around the perimeter. All things considered, I think they turned out phenomenal! And any future home-owner better be happy as well, because getting rid of them would certainly be a chore... on a side note, I was unhappy with how 2 of the columns turned out and wound up breaking them out and remaking them, not fun!

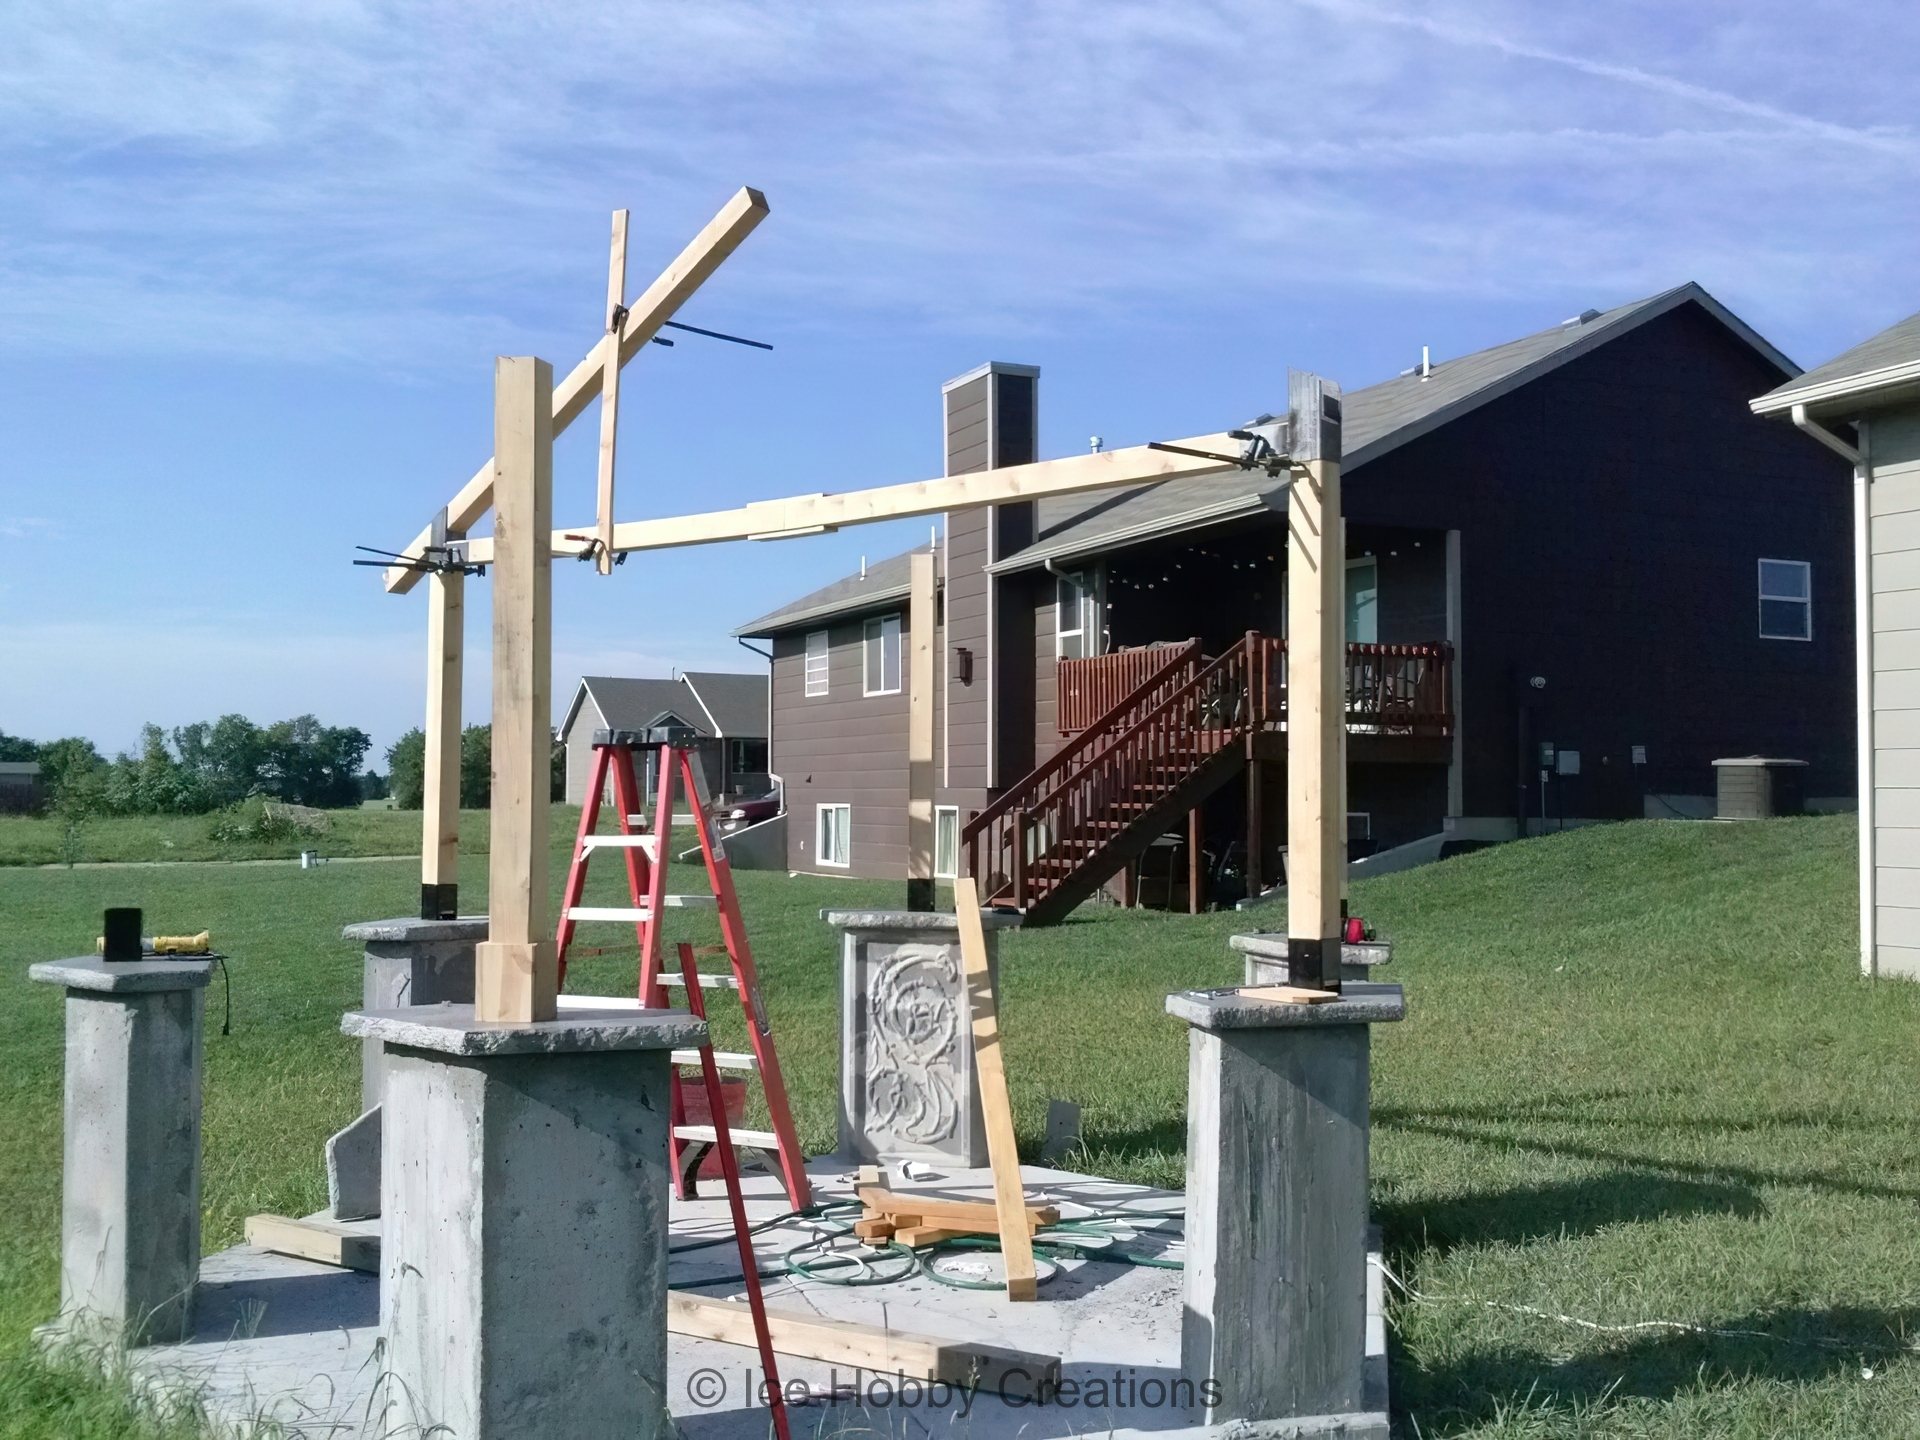
I had a general idea how I wanted to do everything on this project, but I still had unique problems to solve along the way. To tie the wooden columns down (for uplifting loads from high winds), I made custom brackets using the same principles used for anchoring deck posts to a concrete peir.

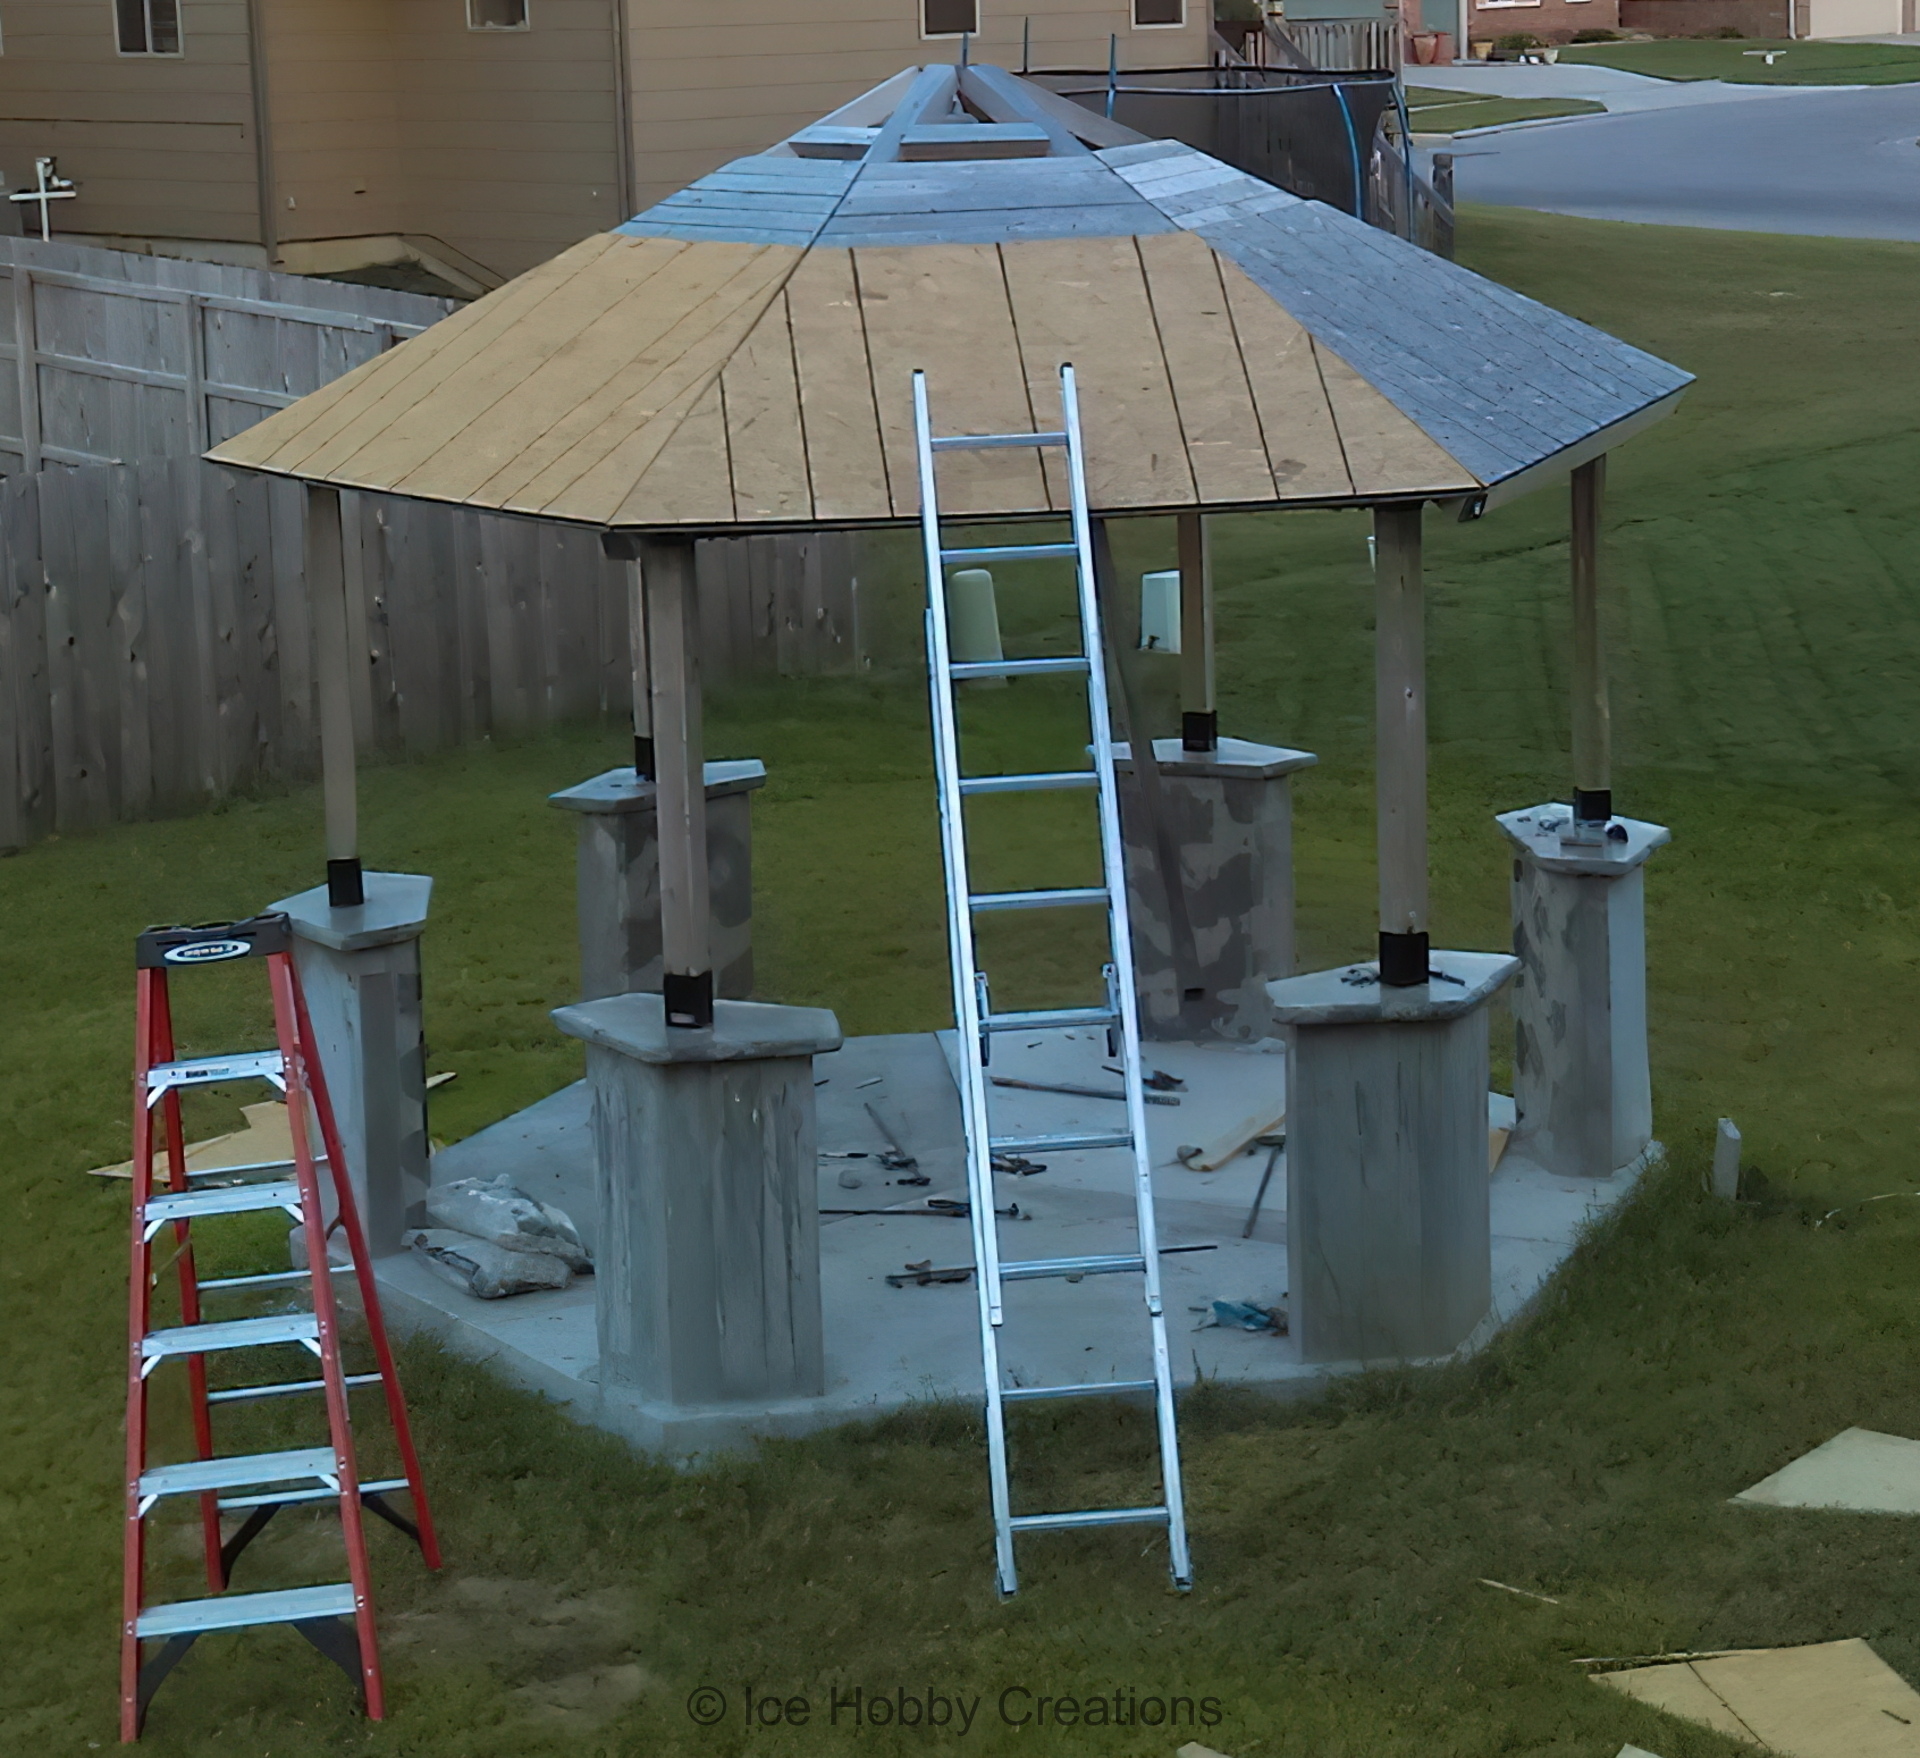
Finally, I was able to start making the upper wooden portion of the gazebo. I started by setting up the wooden columns. I did not get everything Perfectly aligned when I was building the columns, so the gazebo is not completely radially symmetric. This meant each part had to be custom fit to ensure it would appear correct when finished. With the intermediate steps, I was able to make custom steel brackets to tie each column together. These brackets would also serve as a connection point for the rafters. I really like the appearance of vaulted church ceilings, so I tried to mimic that look!

With the layout complete, I started to tackle the actual roof. For some crazy reason, I thought it would be a good idea to build and assemble the rafters on the ground and then raise them into position.

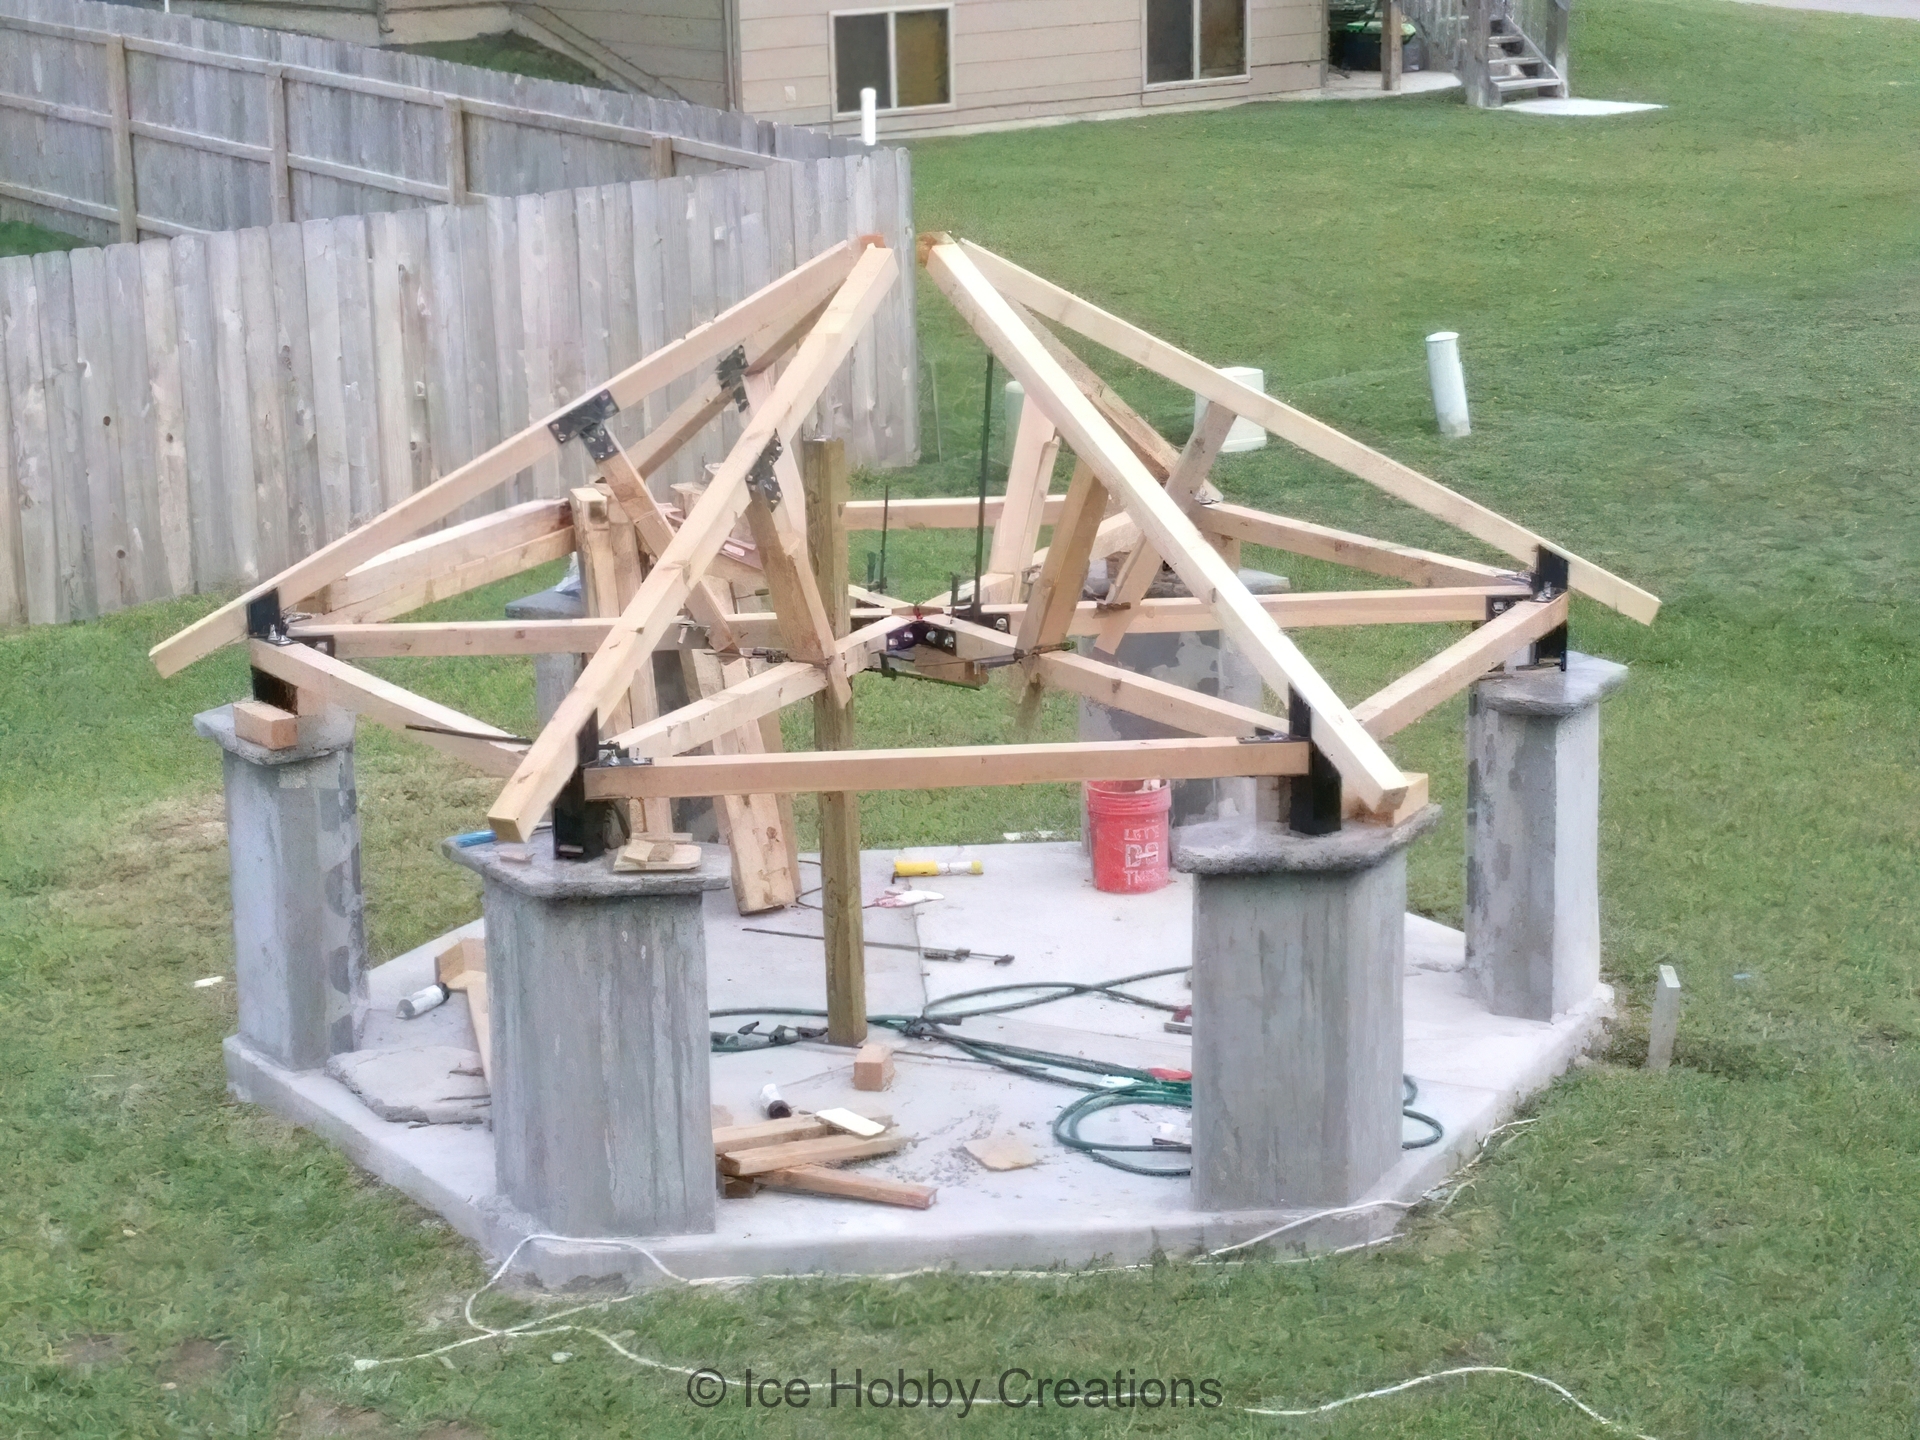
Here you can see the ridiculous method I came up with to literally "raise the roof". The idea (as I originally was going to attempt this myself) was to be able to incrementally "jack" the roof up into place. I created 3 sketchy guides for the rafters, supported laterally on the tops of the columns, that would keep things moving in a predictable manner. Once the roof was raised high enough, the columns were inserted and the roof was lowered back down, seating the columns. Turns out the idea worked out Great... when I got help! So many of my projects wouldn't be feasible without the free labor of my amazing friends! Also, who walks barefoot on a construction site?...


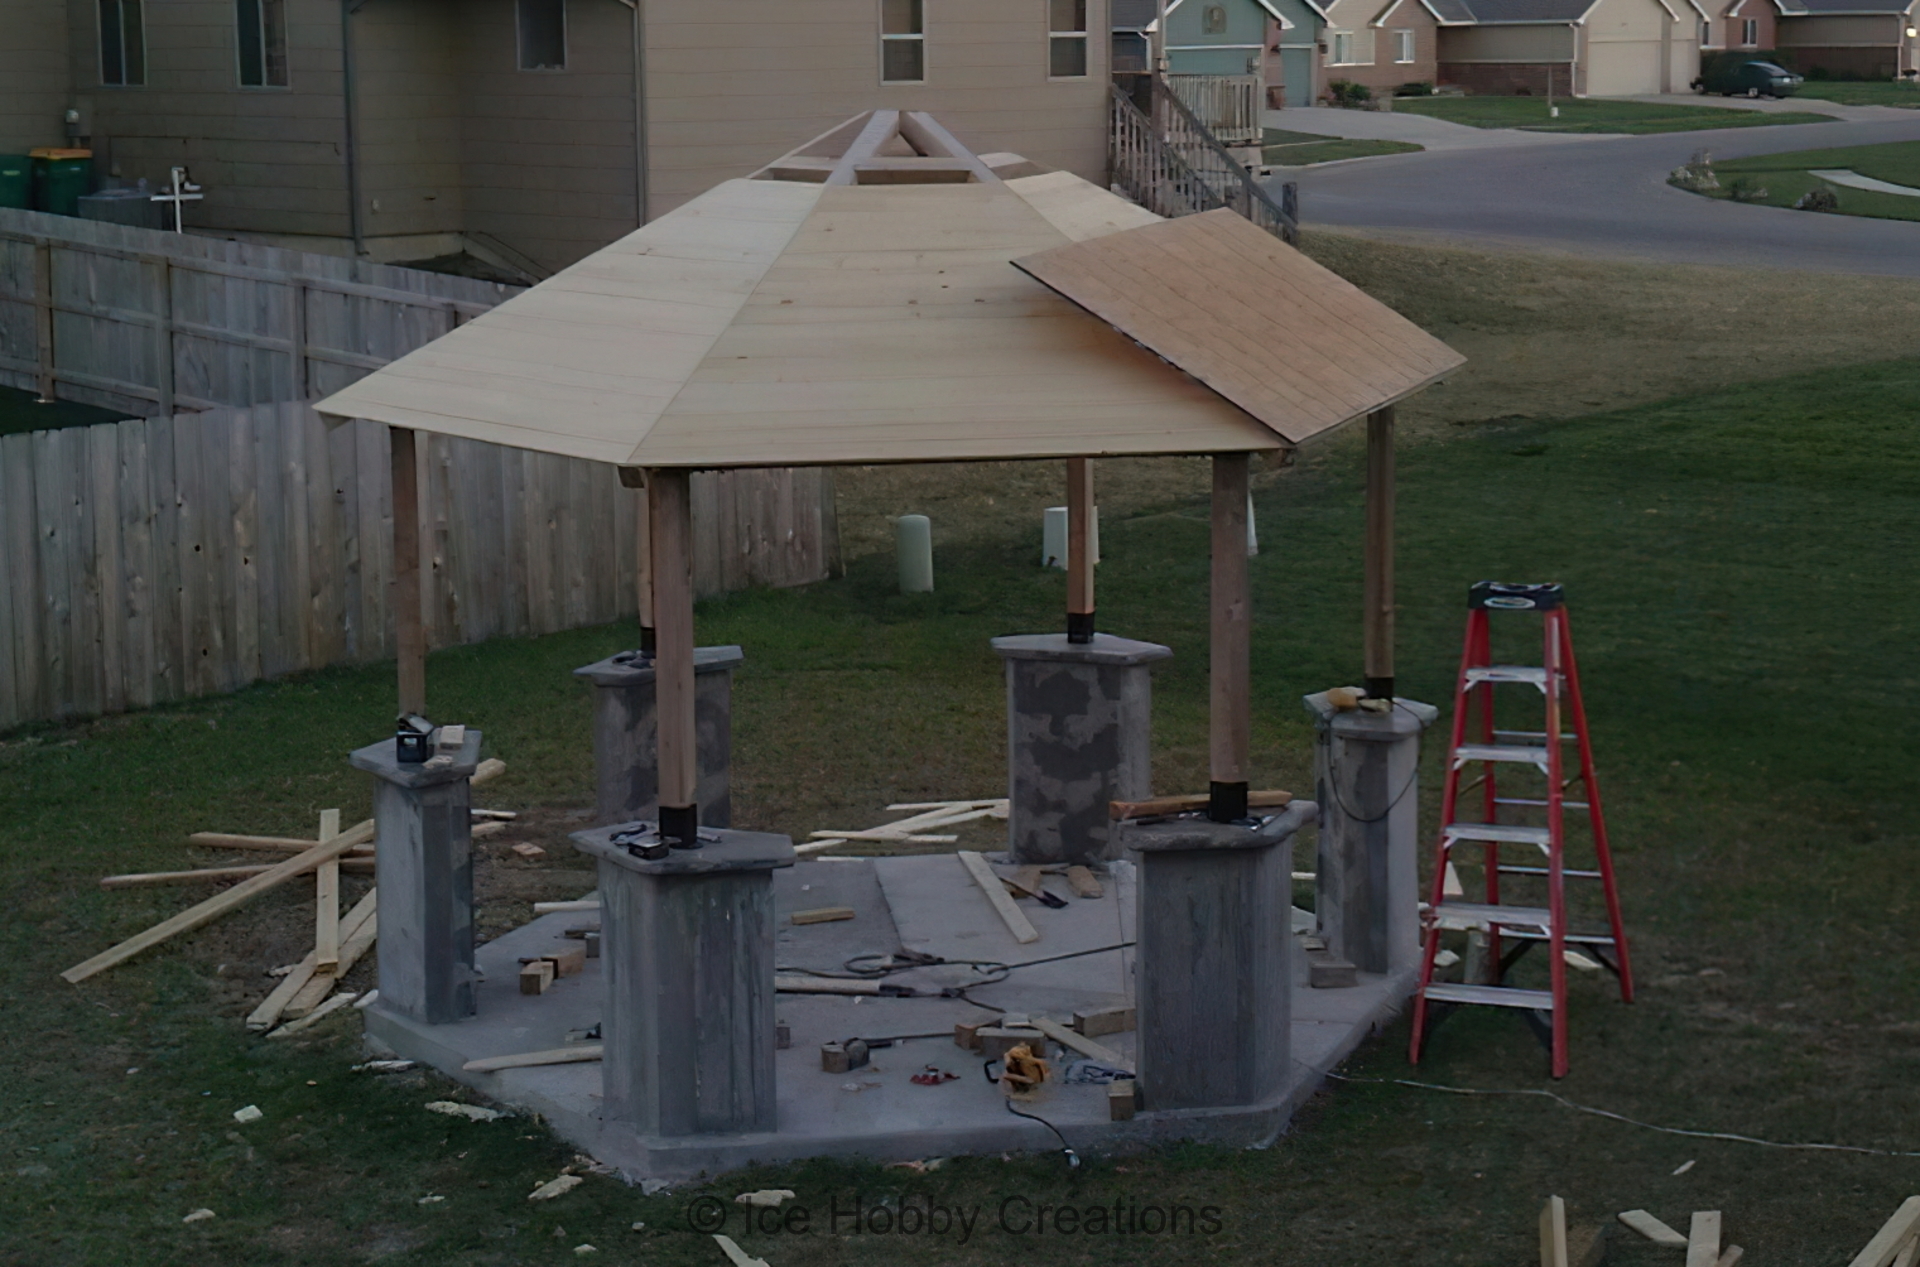
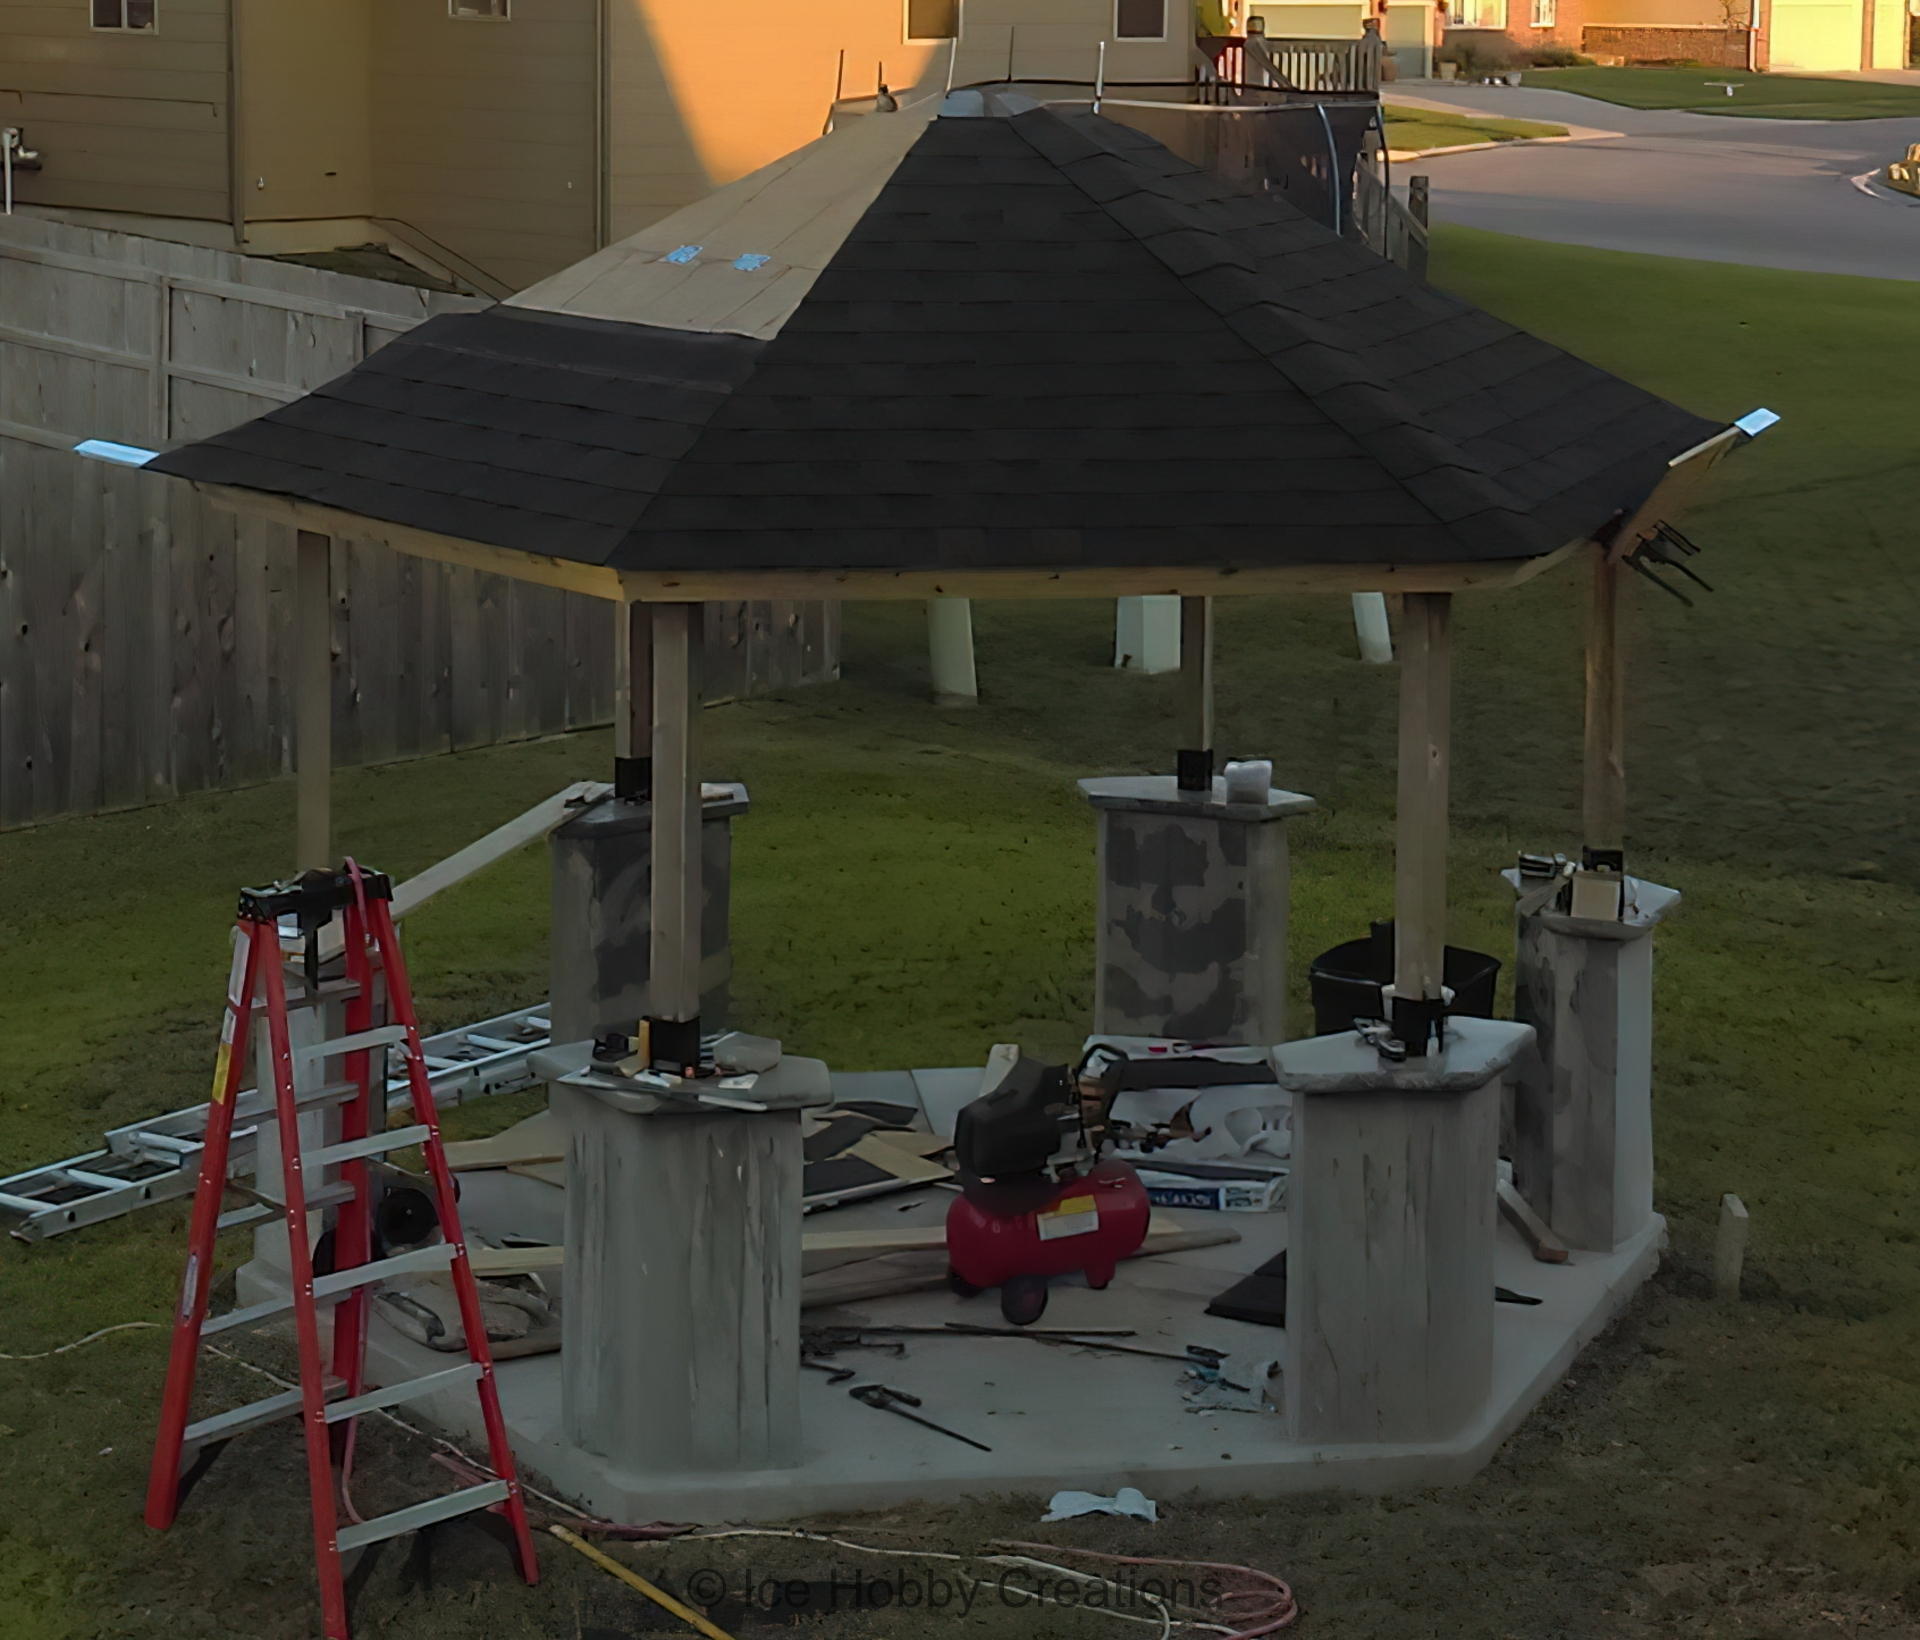
From here, the roof was built up. Strips of pine board were used to produce a nice look for the inside of the gazebo. This was then capped off with OSB that would provide the base for the tar paper and shingles. If you look (not so carefully) at the pictures, you might notice some discoloration between the sheets of OSB and pine. This was due to a long hiatus on working on the gazebo...


Eventually I got back to work and started the "fun" process of shingling. I made the wise decision to purchase a roofing nailer (Harbor Freight, but it made it to the end!) for this process, otherwise I'd likely still be hammering nails. Also, I came to realize that while I enjoyed the process of each step the First time I had to do it, I grew weary of the fact that I then had to repeat it 5 more times... Is it possible to make a 1 sided gazebo?...


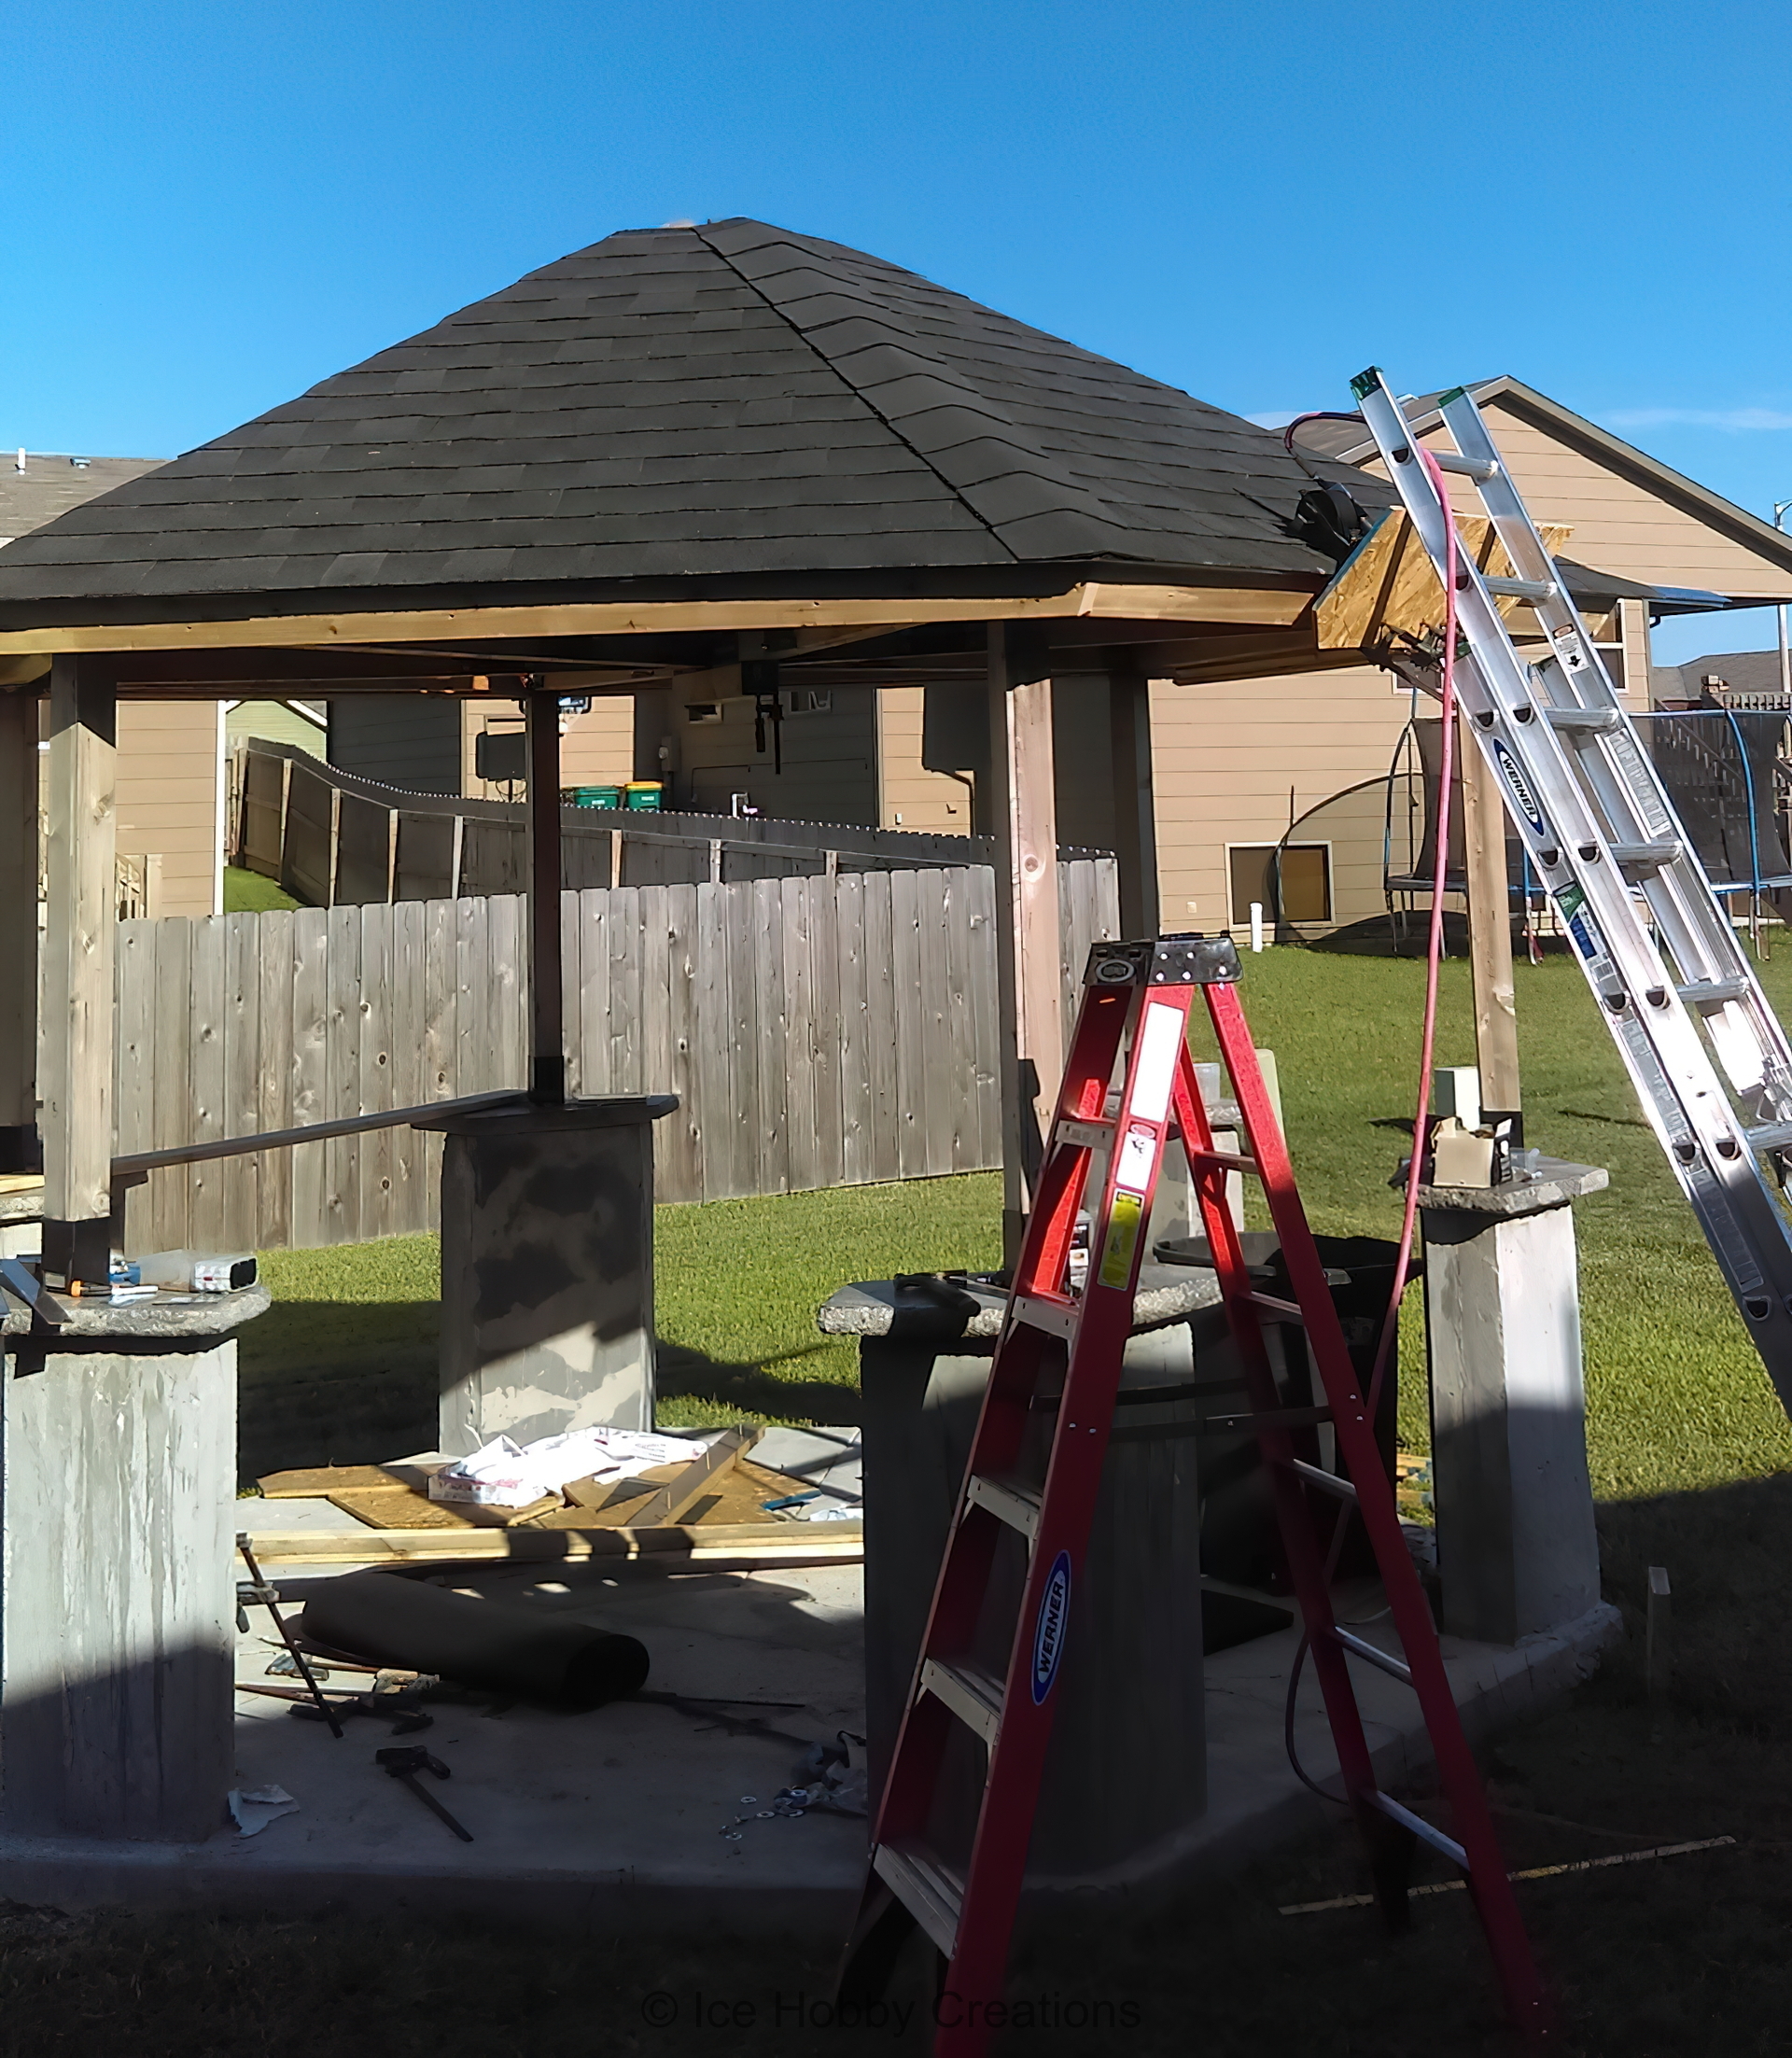
Seeing that the roof was Basically finished, I moved on to other, more "interesting" tasks... the panels between each concrete column. These were overbuilt, just like everything else in this gazebo.


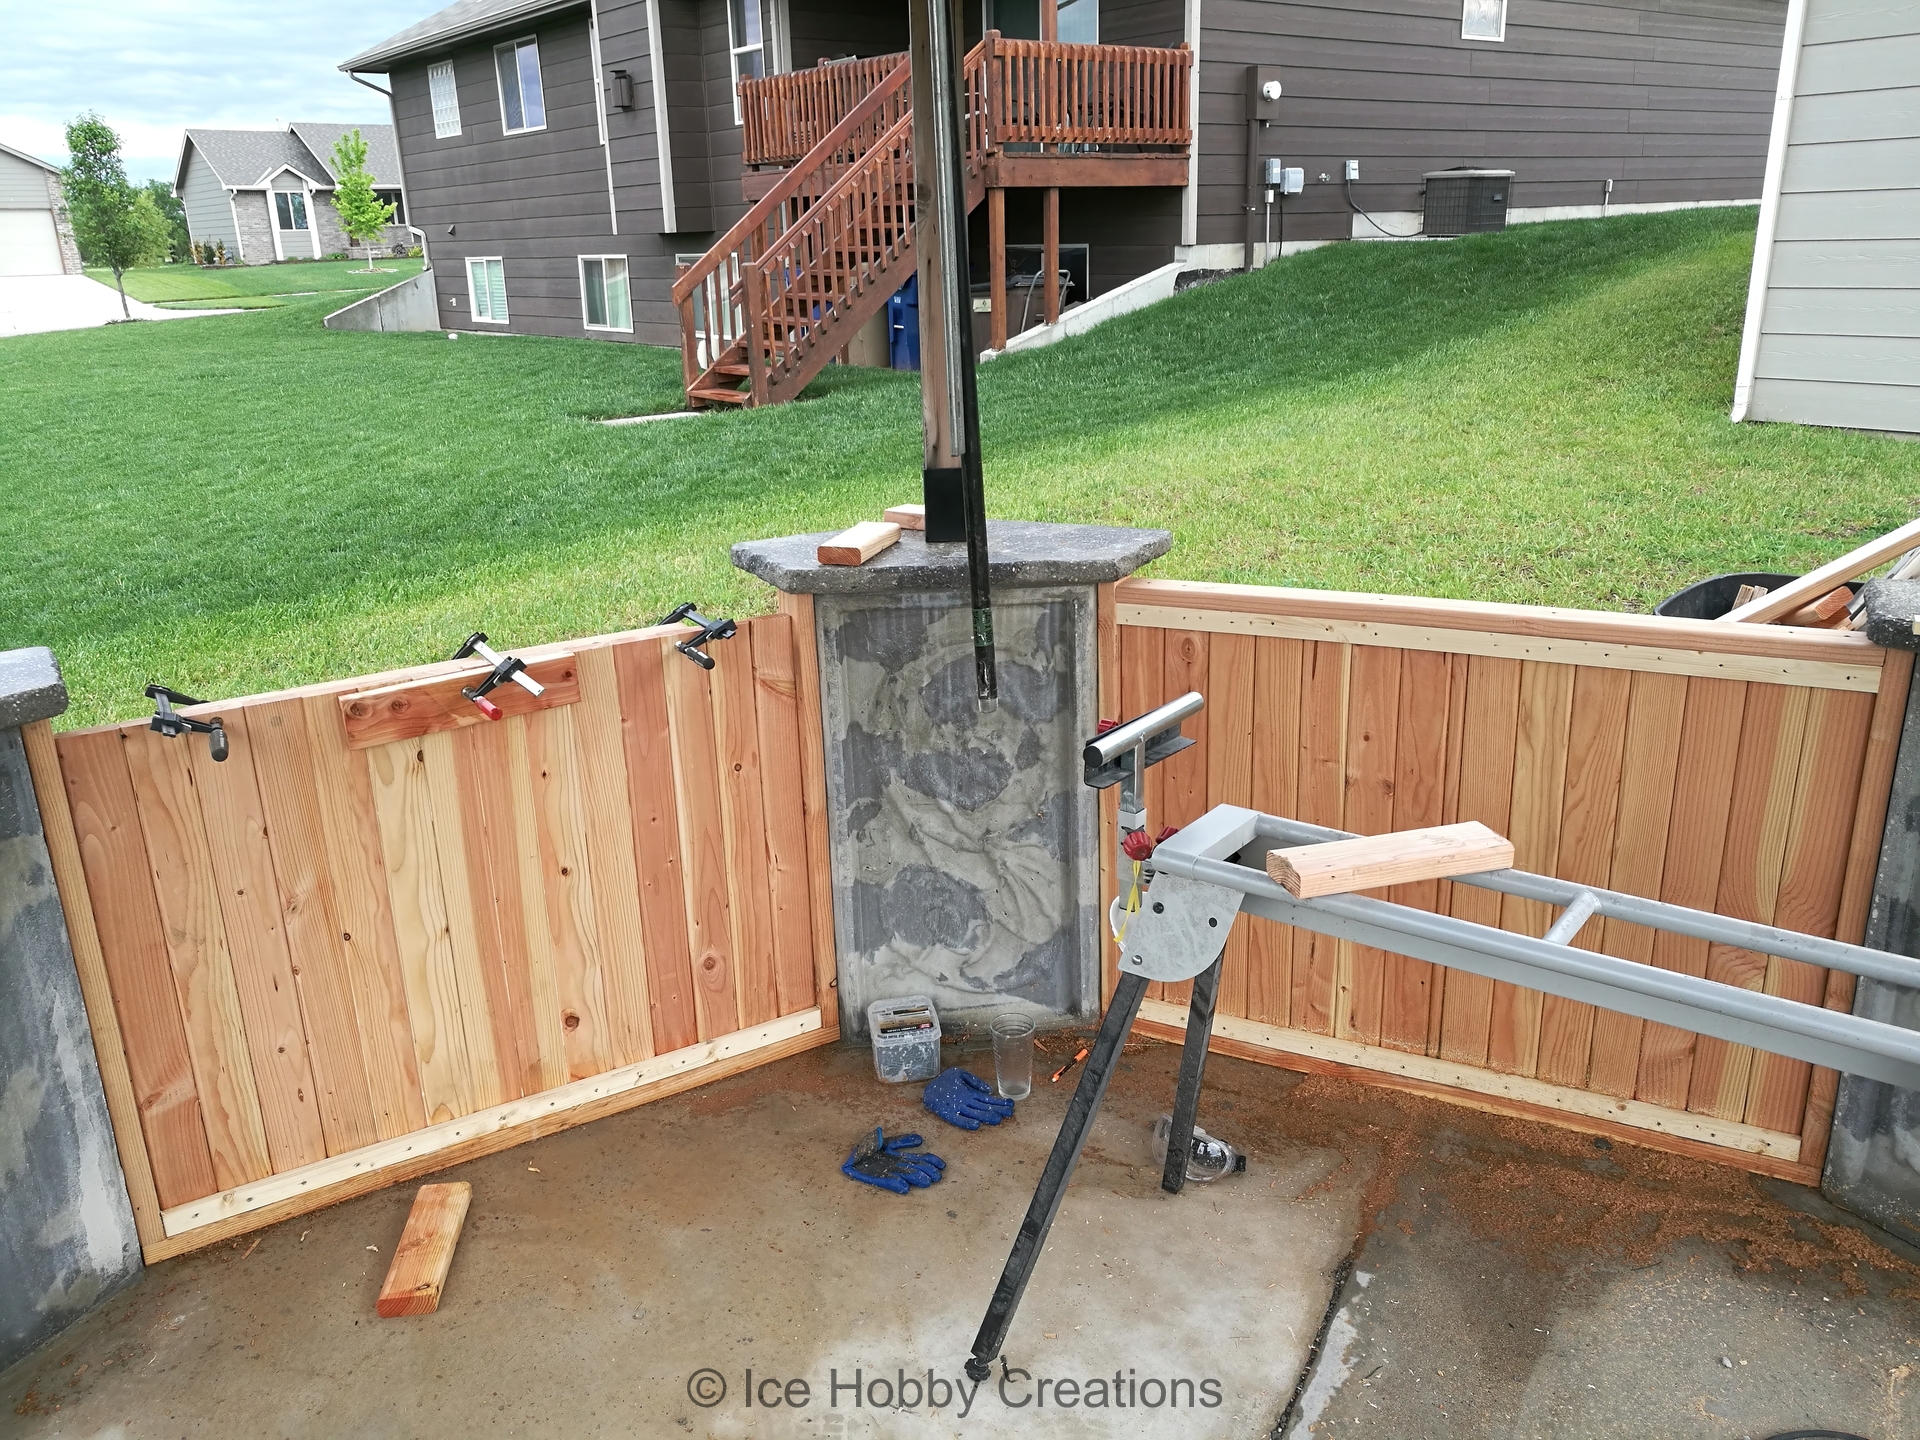
Unfortunately, this is the current state of the Gazebo as of 2021. It has been a source of much pride (and embarrasment, as I
randomly get asked by my friends/family if I've finished it, lol). I still need to build a cupola for the roof, and I need to
clean and re-stain the rest of the lumber to "re-vitalize" it. Also, I plan on installing a "stone" facade for each column,
in order to match the "hewn edge" texture of the capstone! Overall, I'm sure I would do many things differently, but overall
I am very happy with how things have turned out.
