Everything is coming together...
In conjunction with the work done to finish the basement started at the end of 2017, renovations to the master bedroom and bathroom were underway. My future wife and I wanted a nicer bathroom than the builder grade bathroom that came with the house. As with the guest kitchen, entryway, and guest bathroom, the master bathroom had vinyl flooring and Formica countertops. Additionally, it had a single sink vanity, that wasn't going to cut it for 2 people to share the bathroom!
In keeping with my tradition of going over the top, we designed a bathroom that would require a Lot of hard work. For some reason, the builders thought access to the master closet through the bathroom was a great idea. For a larger home, maybe, but the size of the bathroom would make it pretty annoying. We decided to modify the access so the closet was accessible from the main room. This allowed us to expand the bathroom into the old closet area, and extend the closet slightly into the bedroom. We also wanted to use sliding doors to maximize space utilization... We got a few quotes for the work (future wife was still hesitant to trust me to get everything done), but nothing came back within a reasonable budget (our expectations for how far the dollar would go were probably unrealistic!), given the value of homes in the neighborhood. So, I got my wish by default: DIY it was! At this point, I had tiled the guest bathroom and was quite confident in my skills to do a good job. So, as always, I got started on demolition!
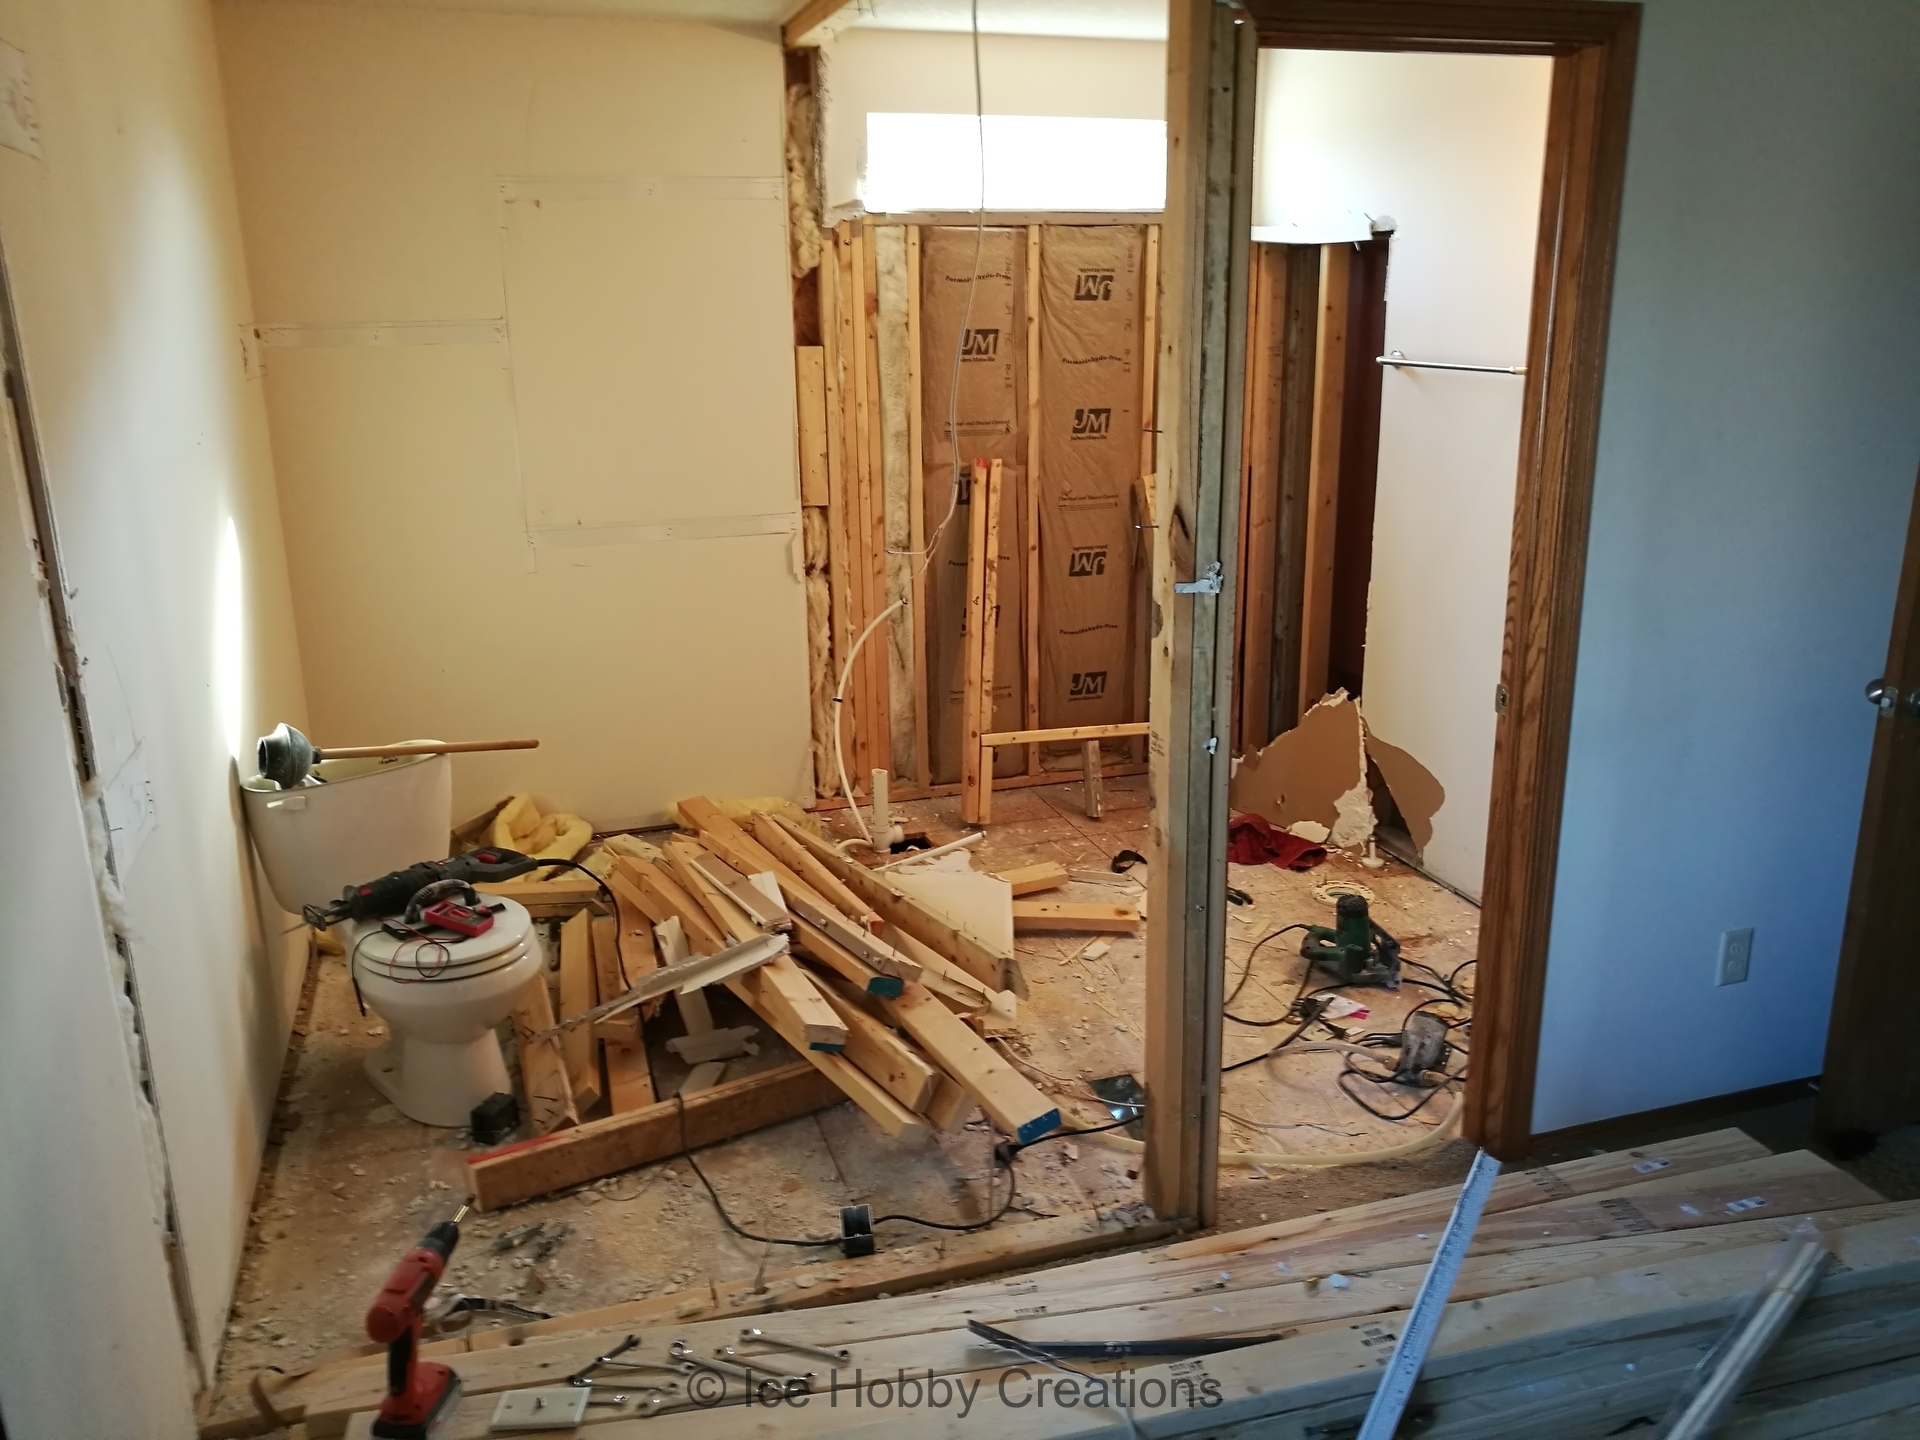
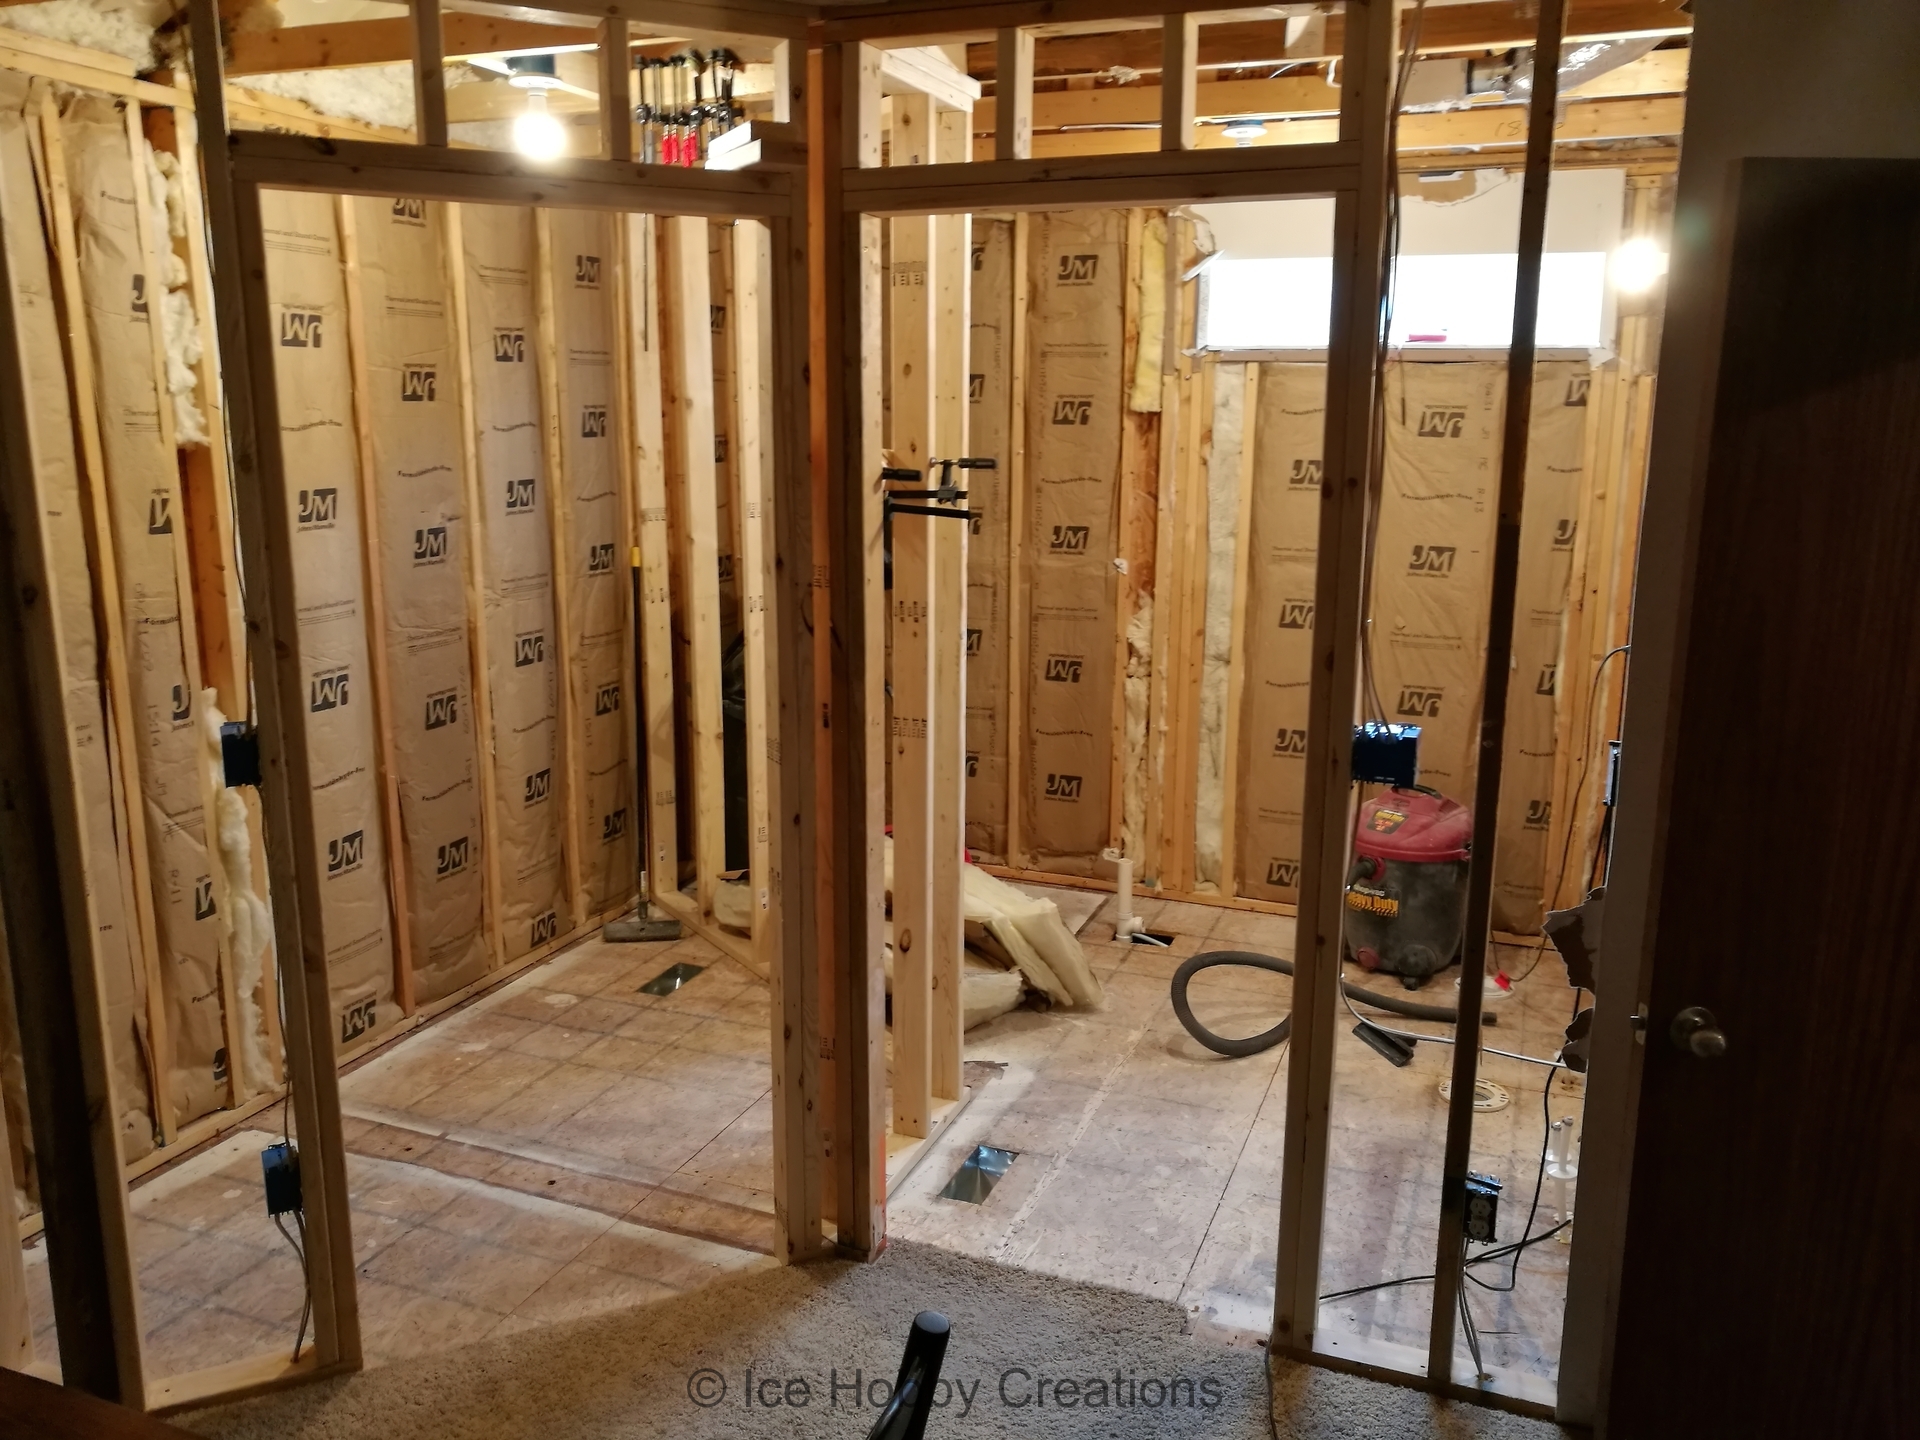
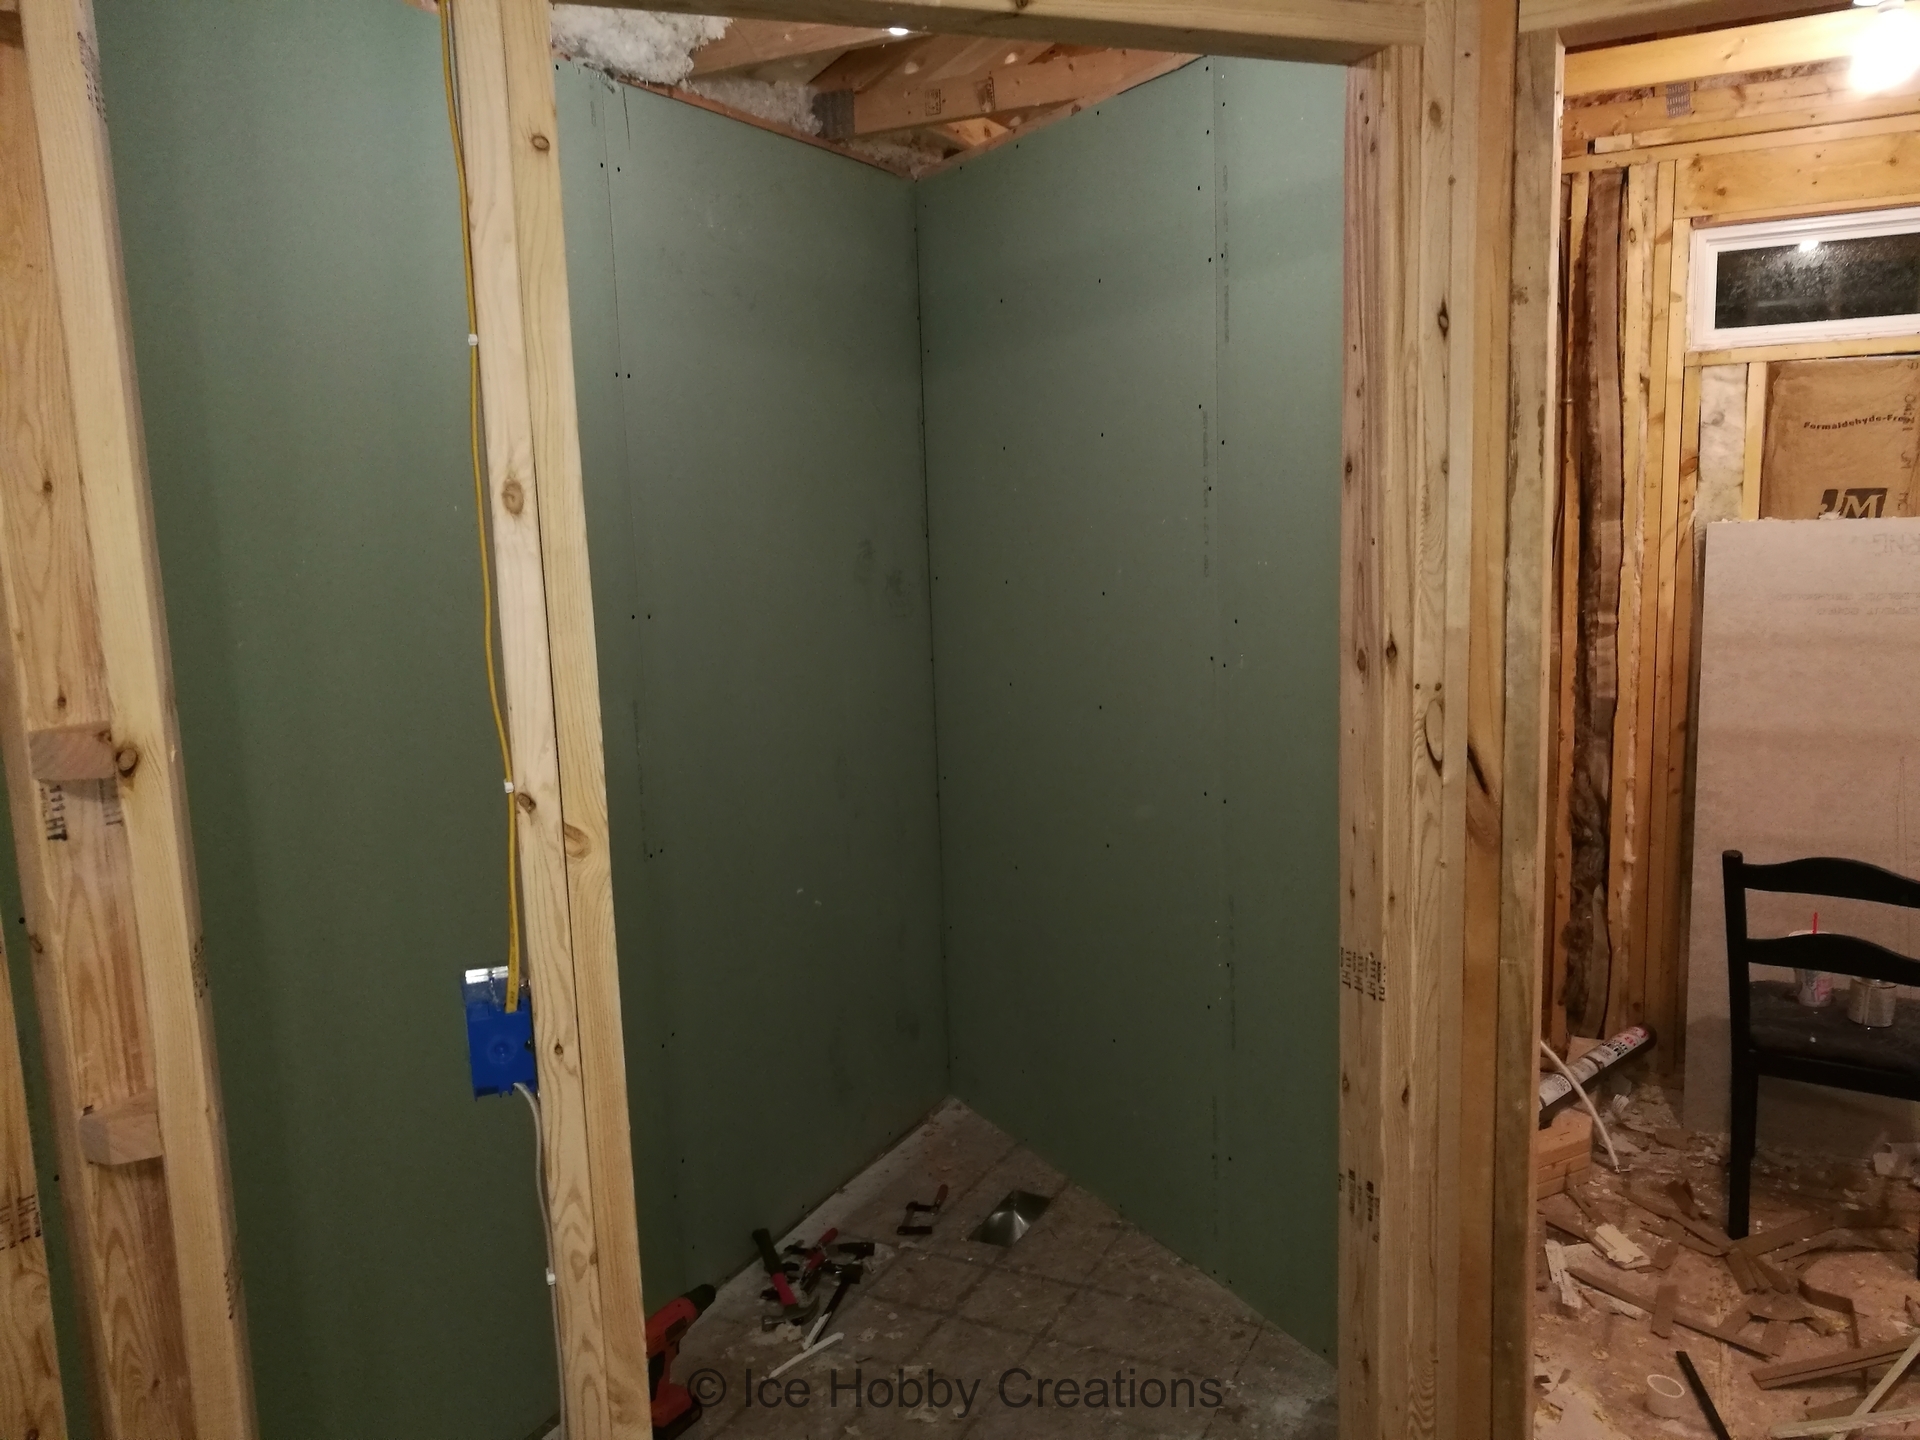
This used to be both the master bedroom and bathroom, now it was just a disaster zone!
Torn down to studs and I've started framing up the new walls for both the shower and the closet! I always enjoy this state of a project because it seems like progress is made so quickly.
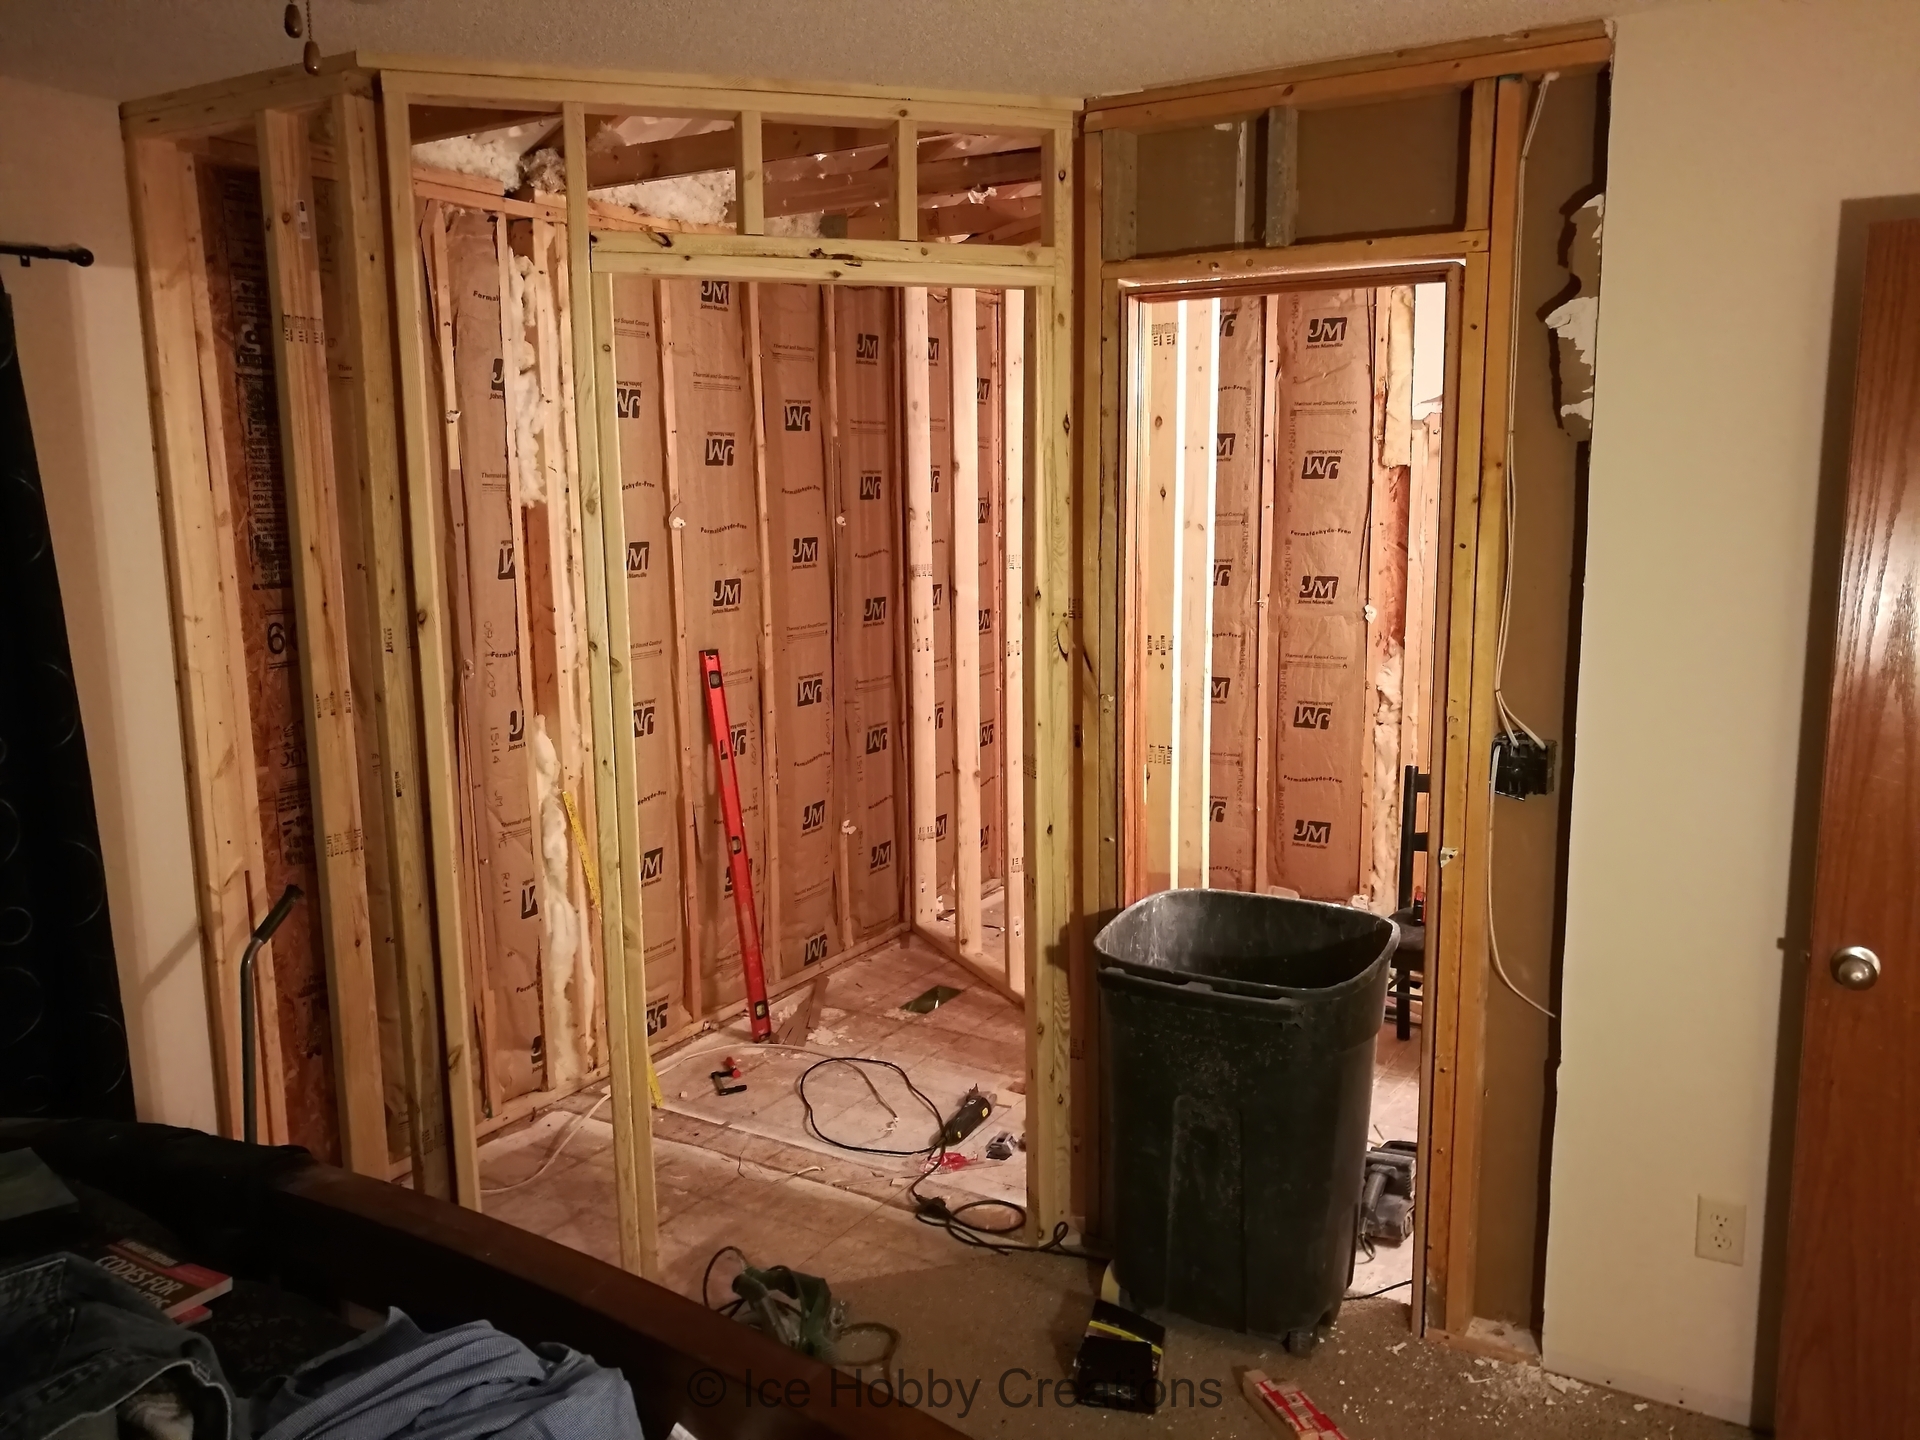
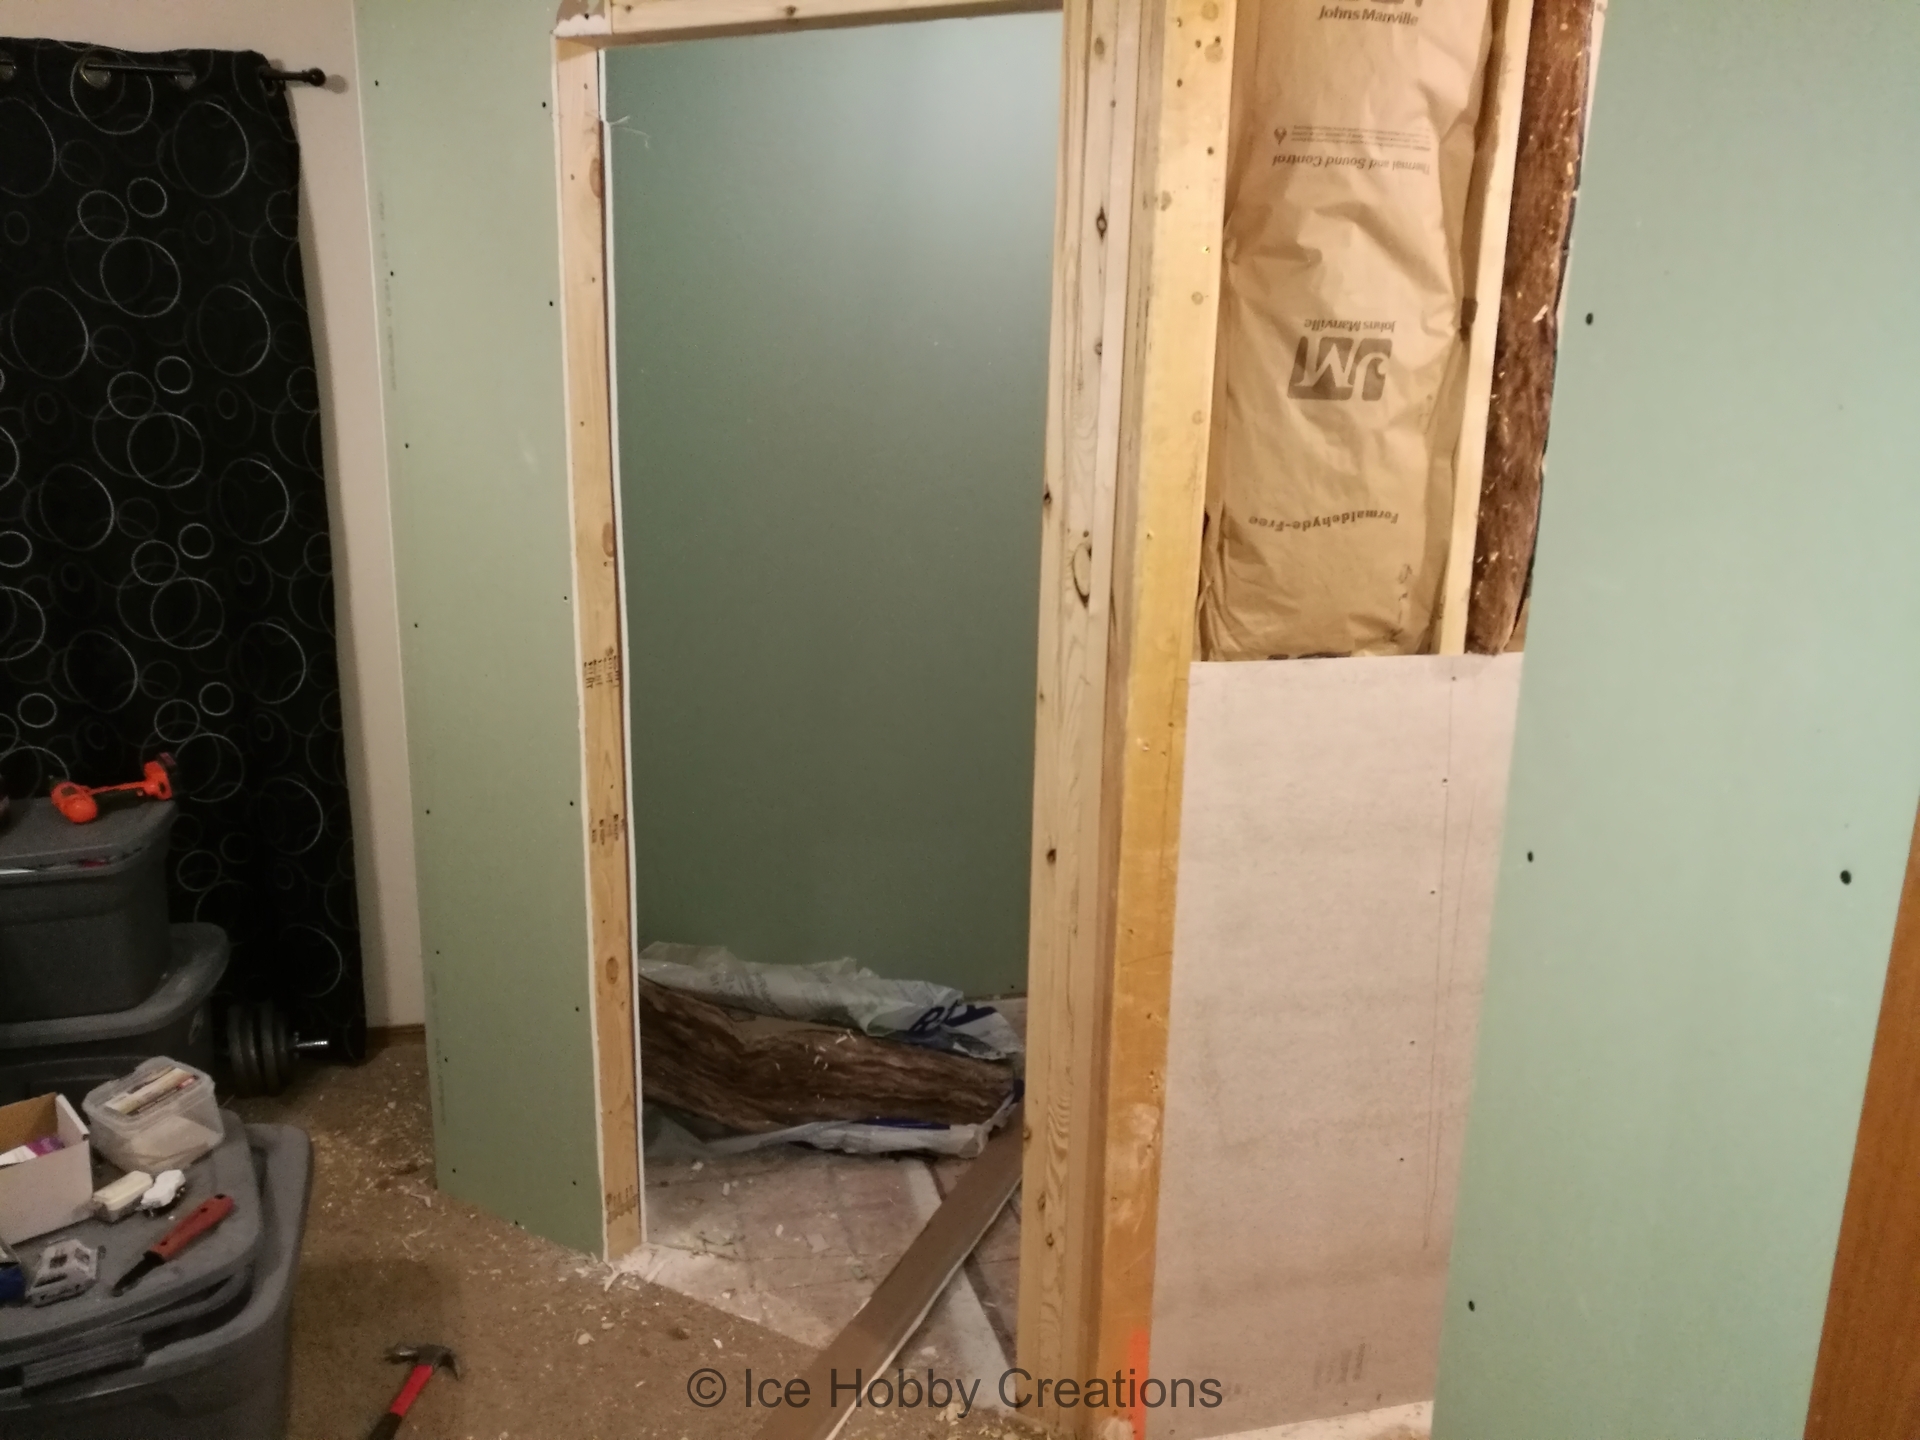
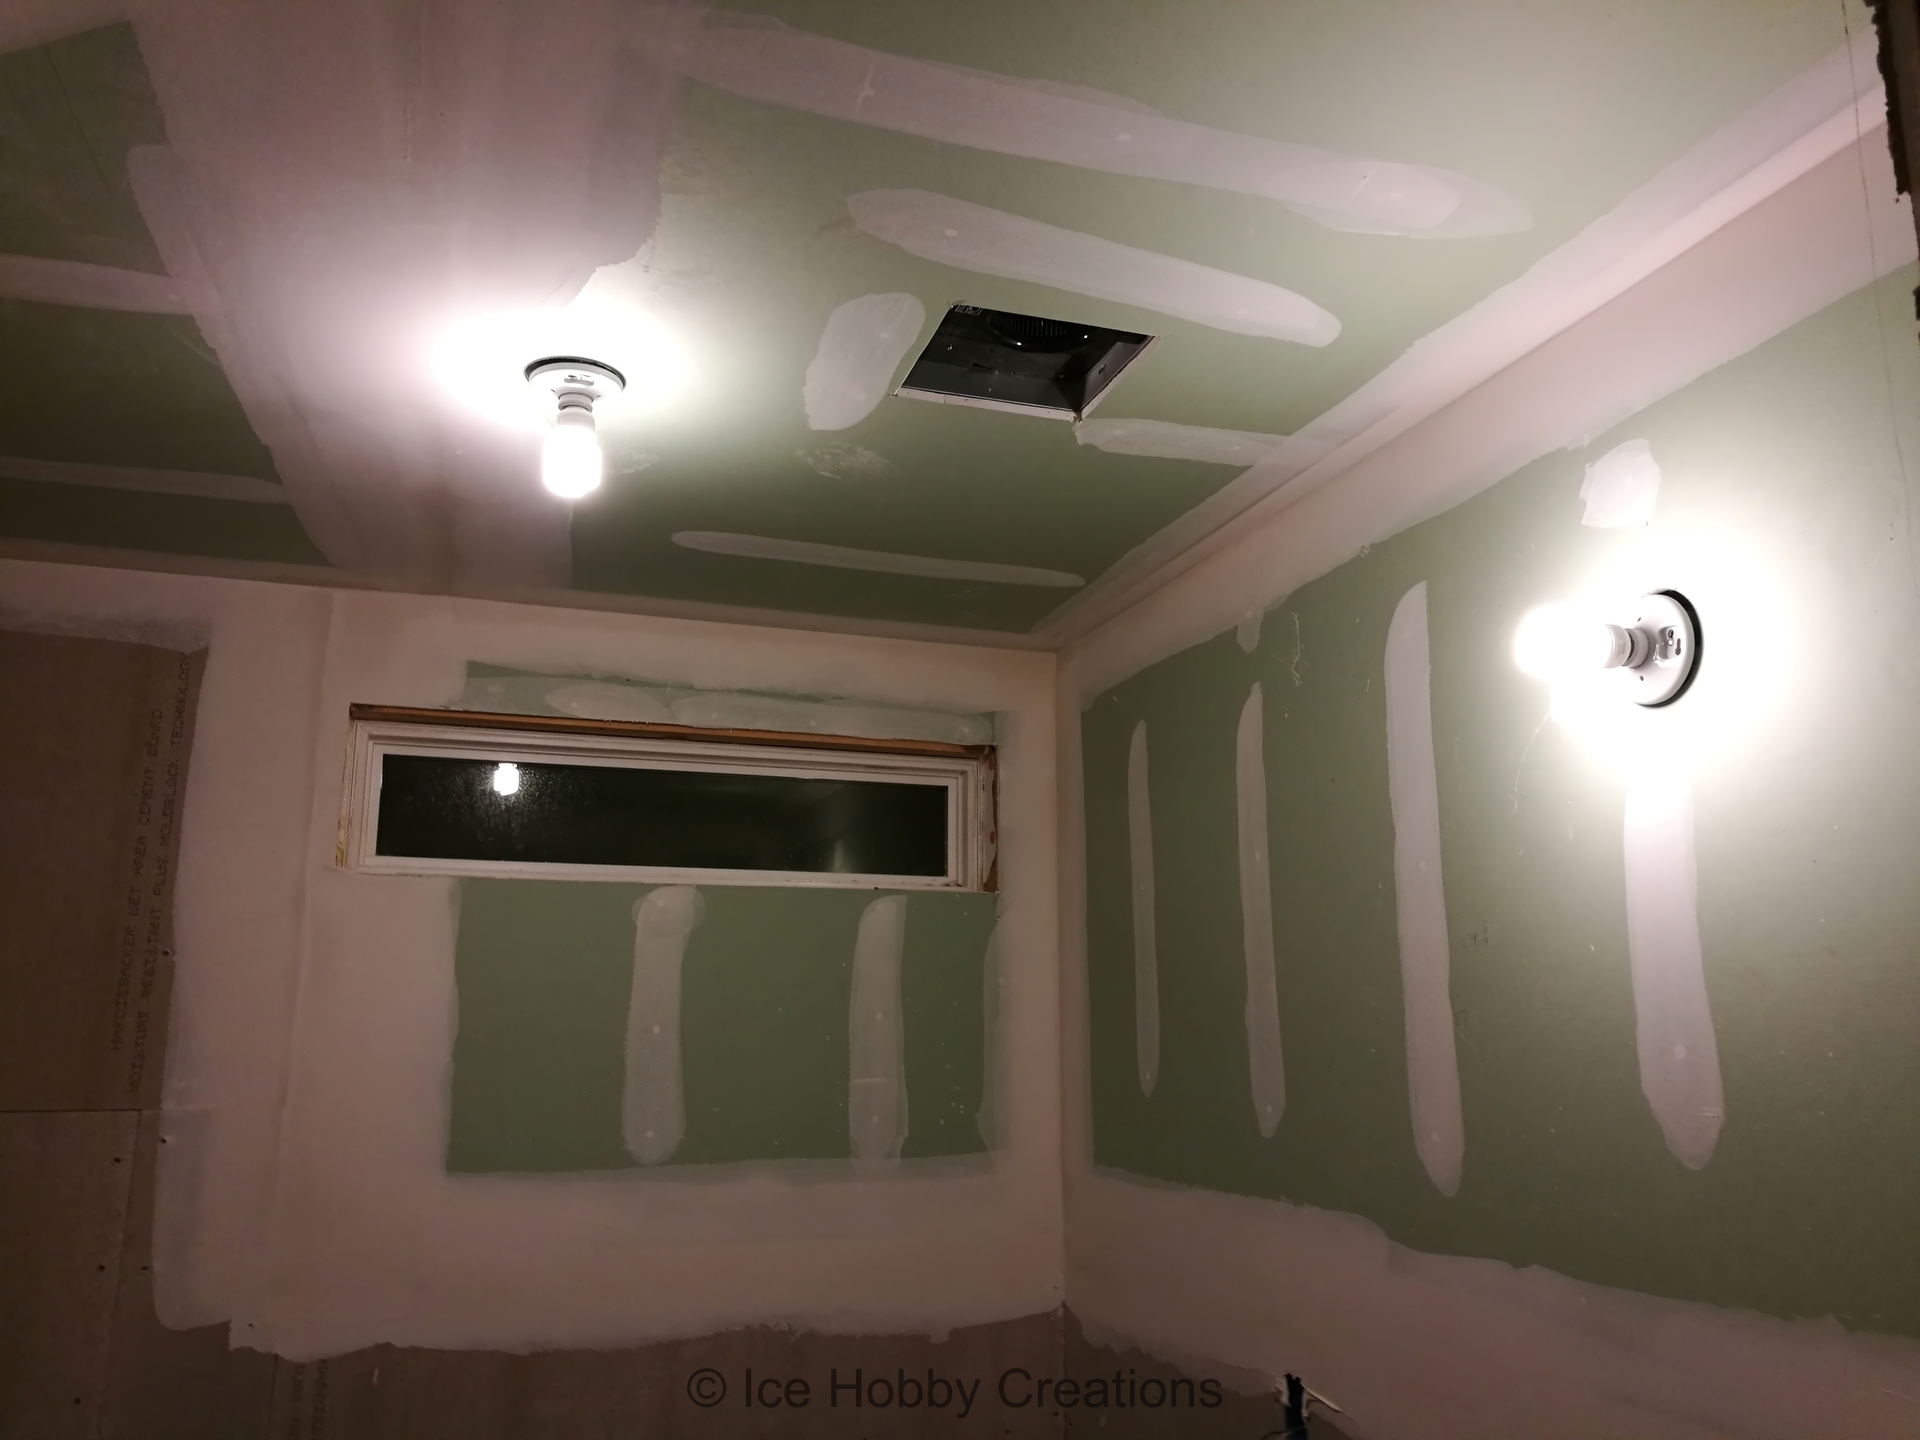
Here I've made progress on the electrical wiring, so I can work with a little more light in the area.
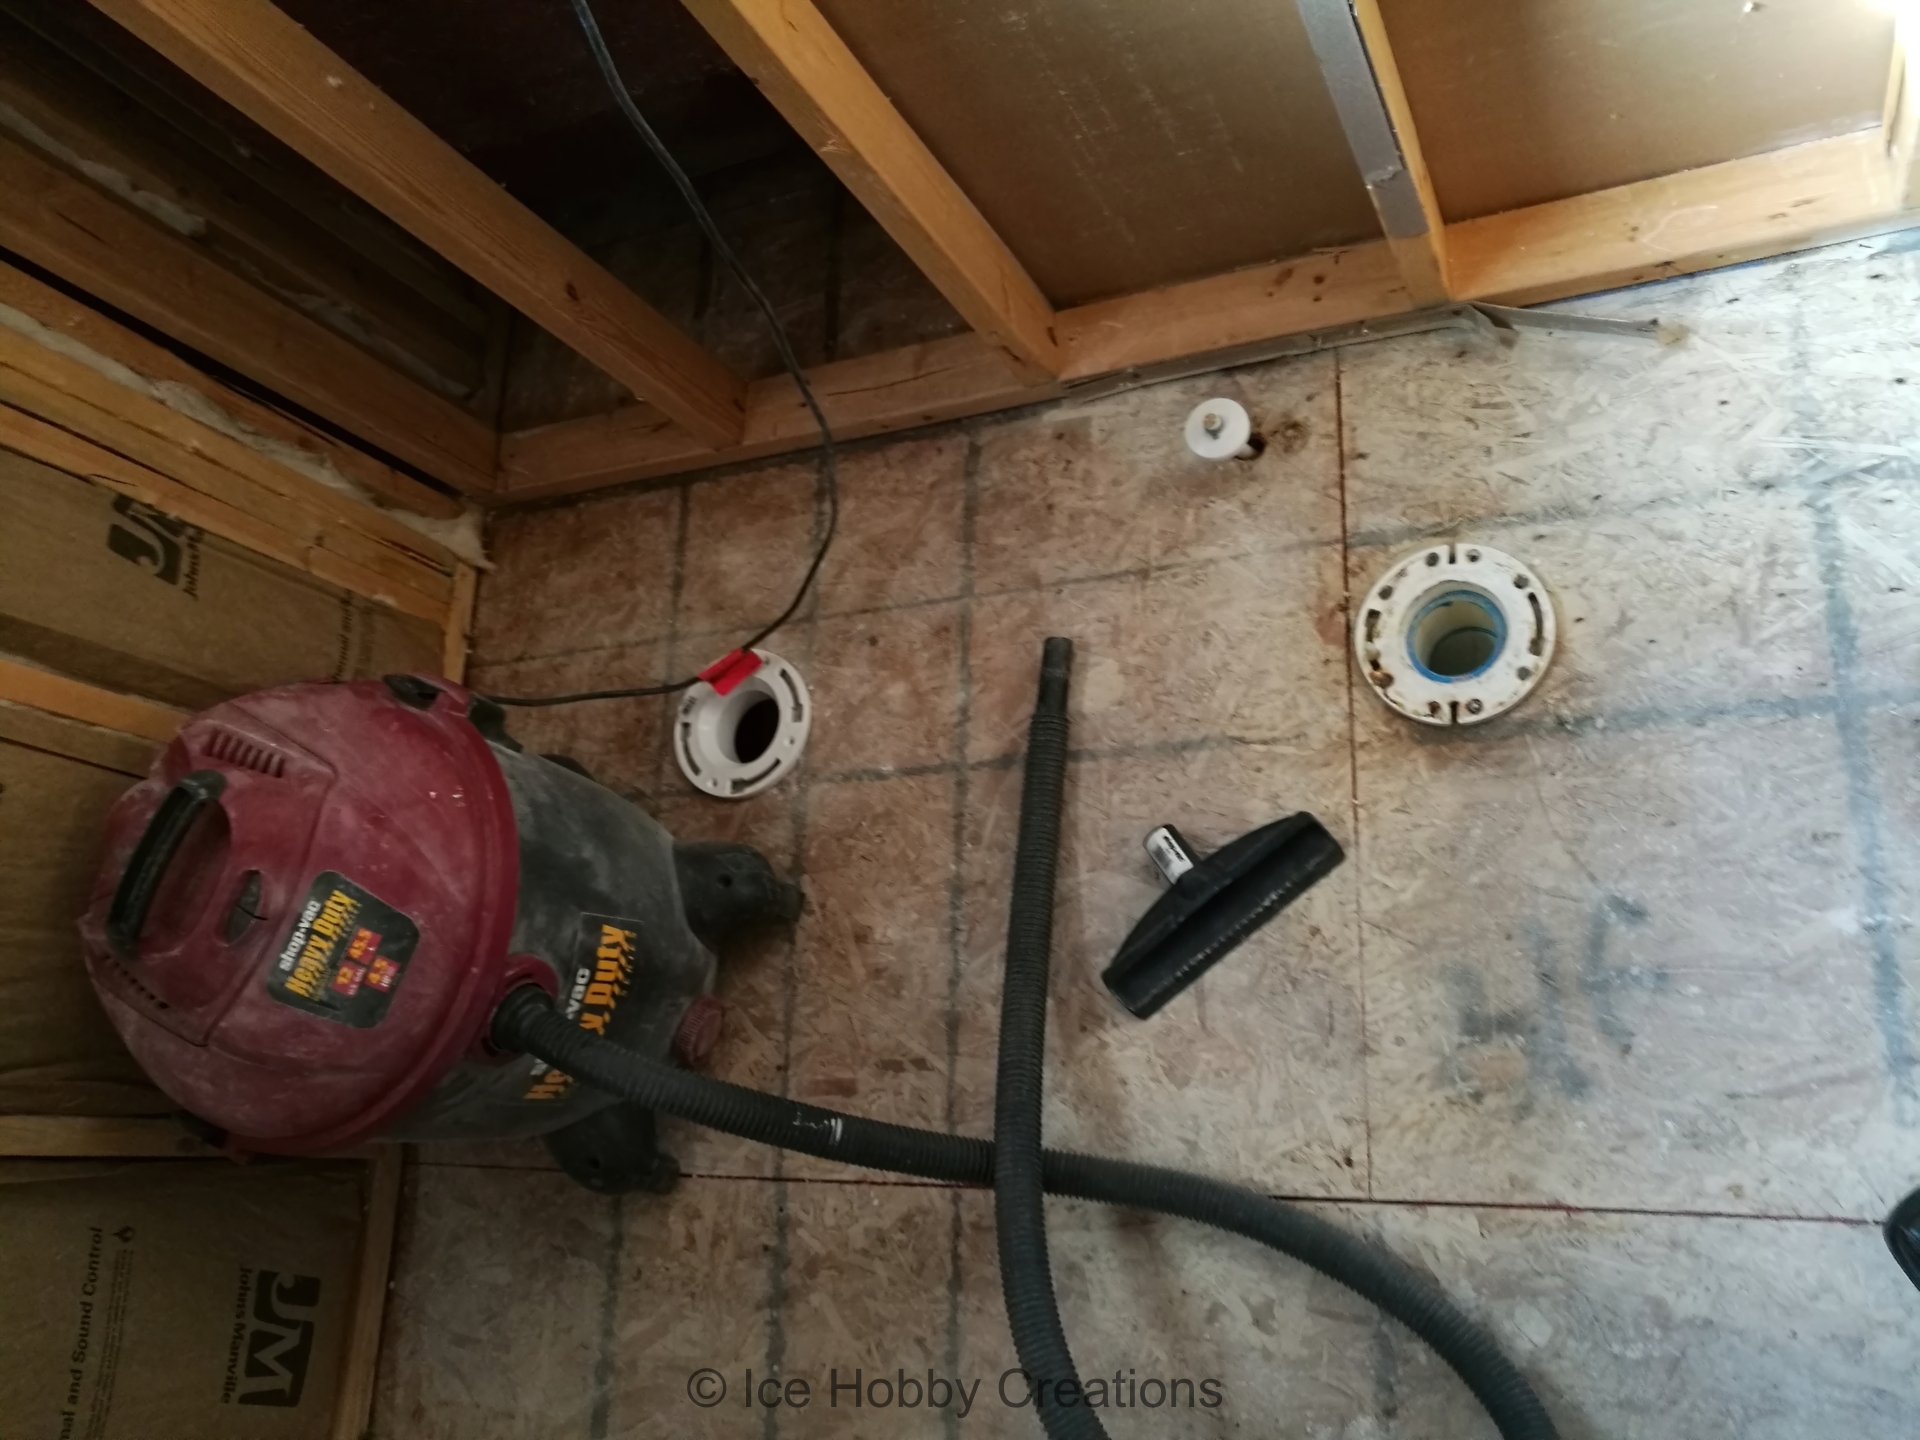
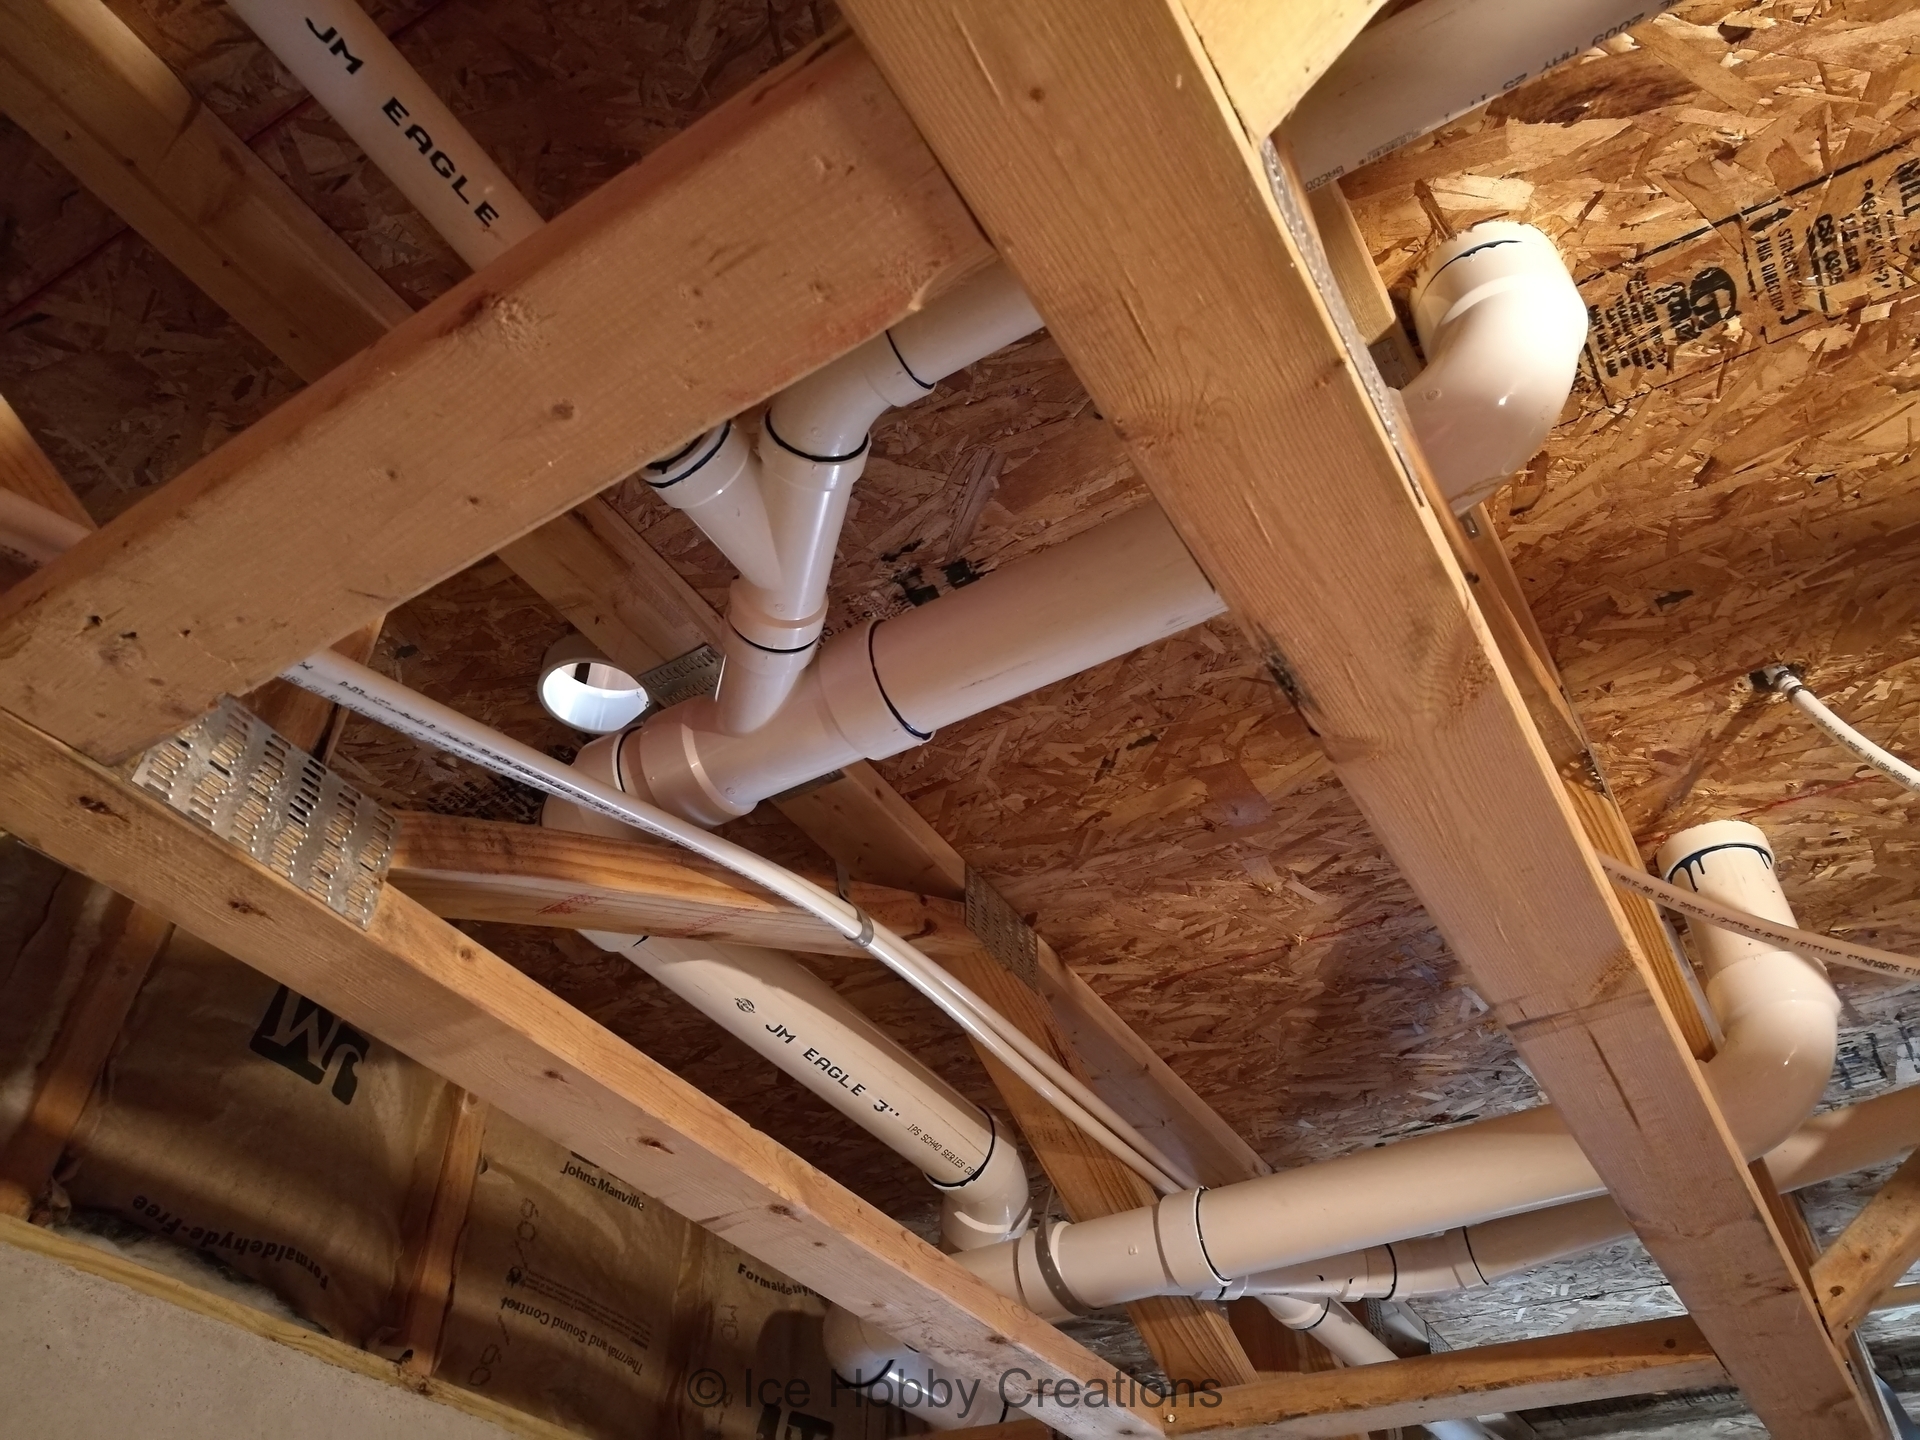
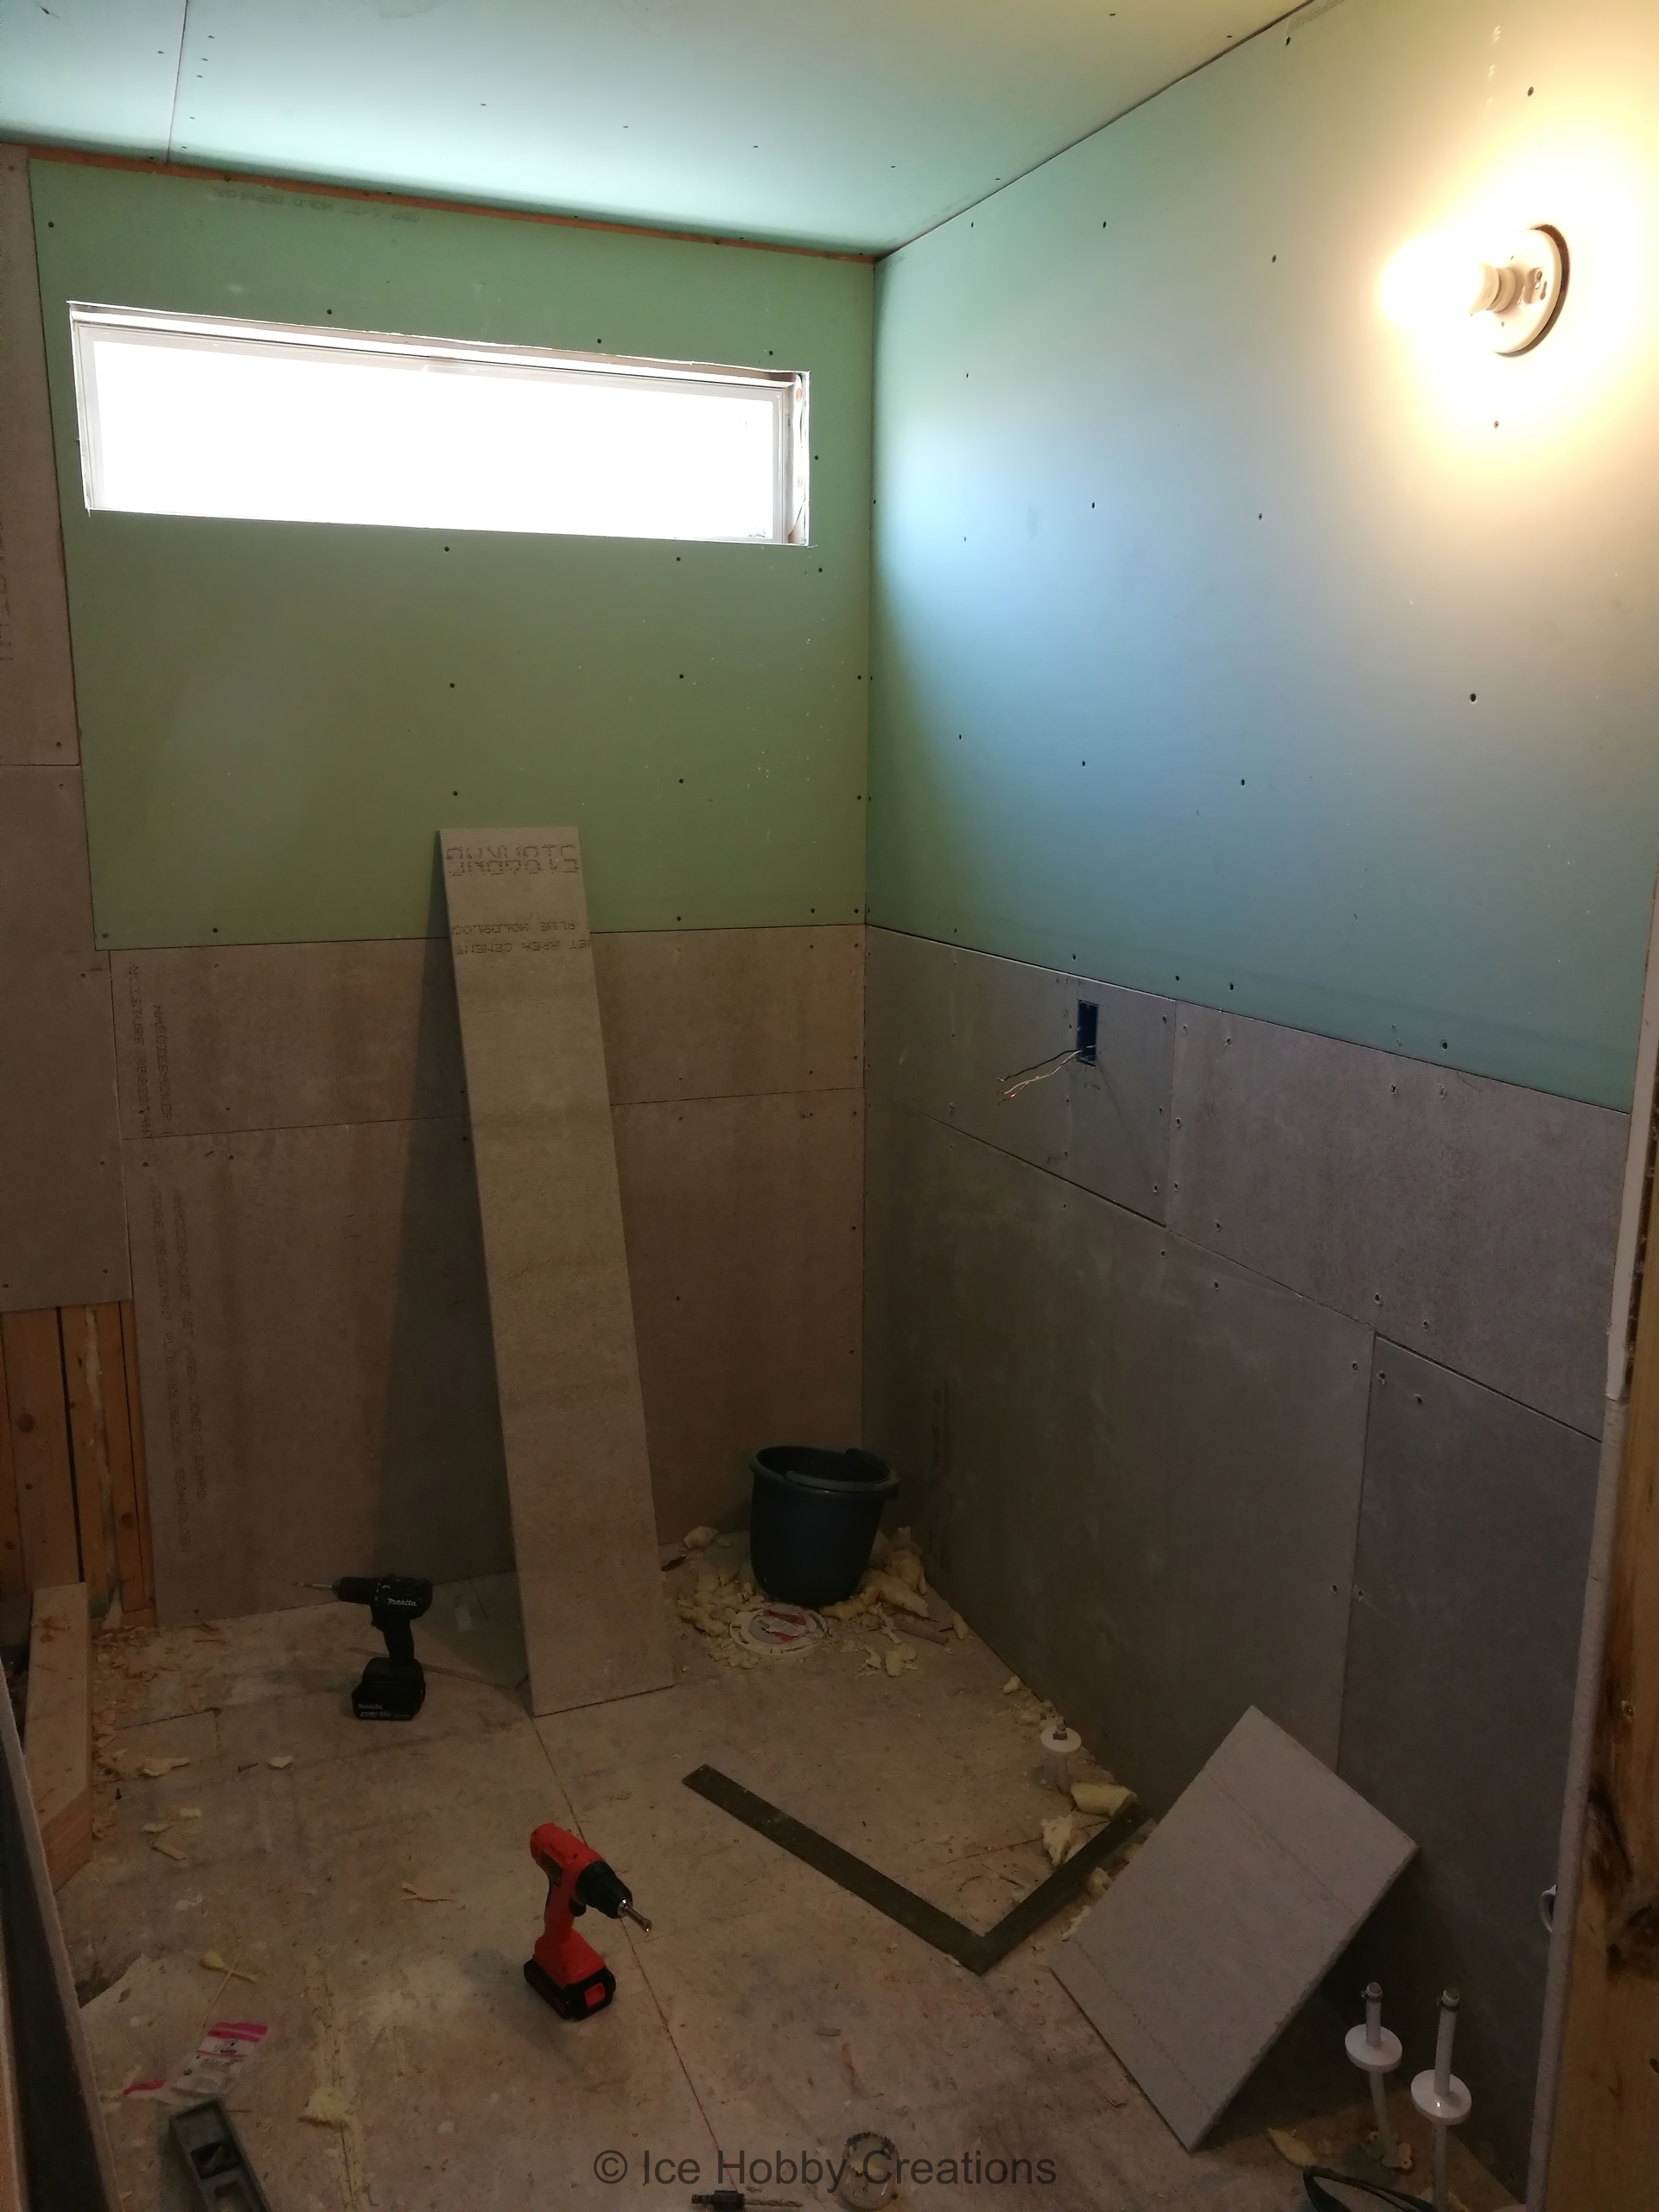
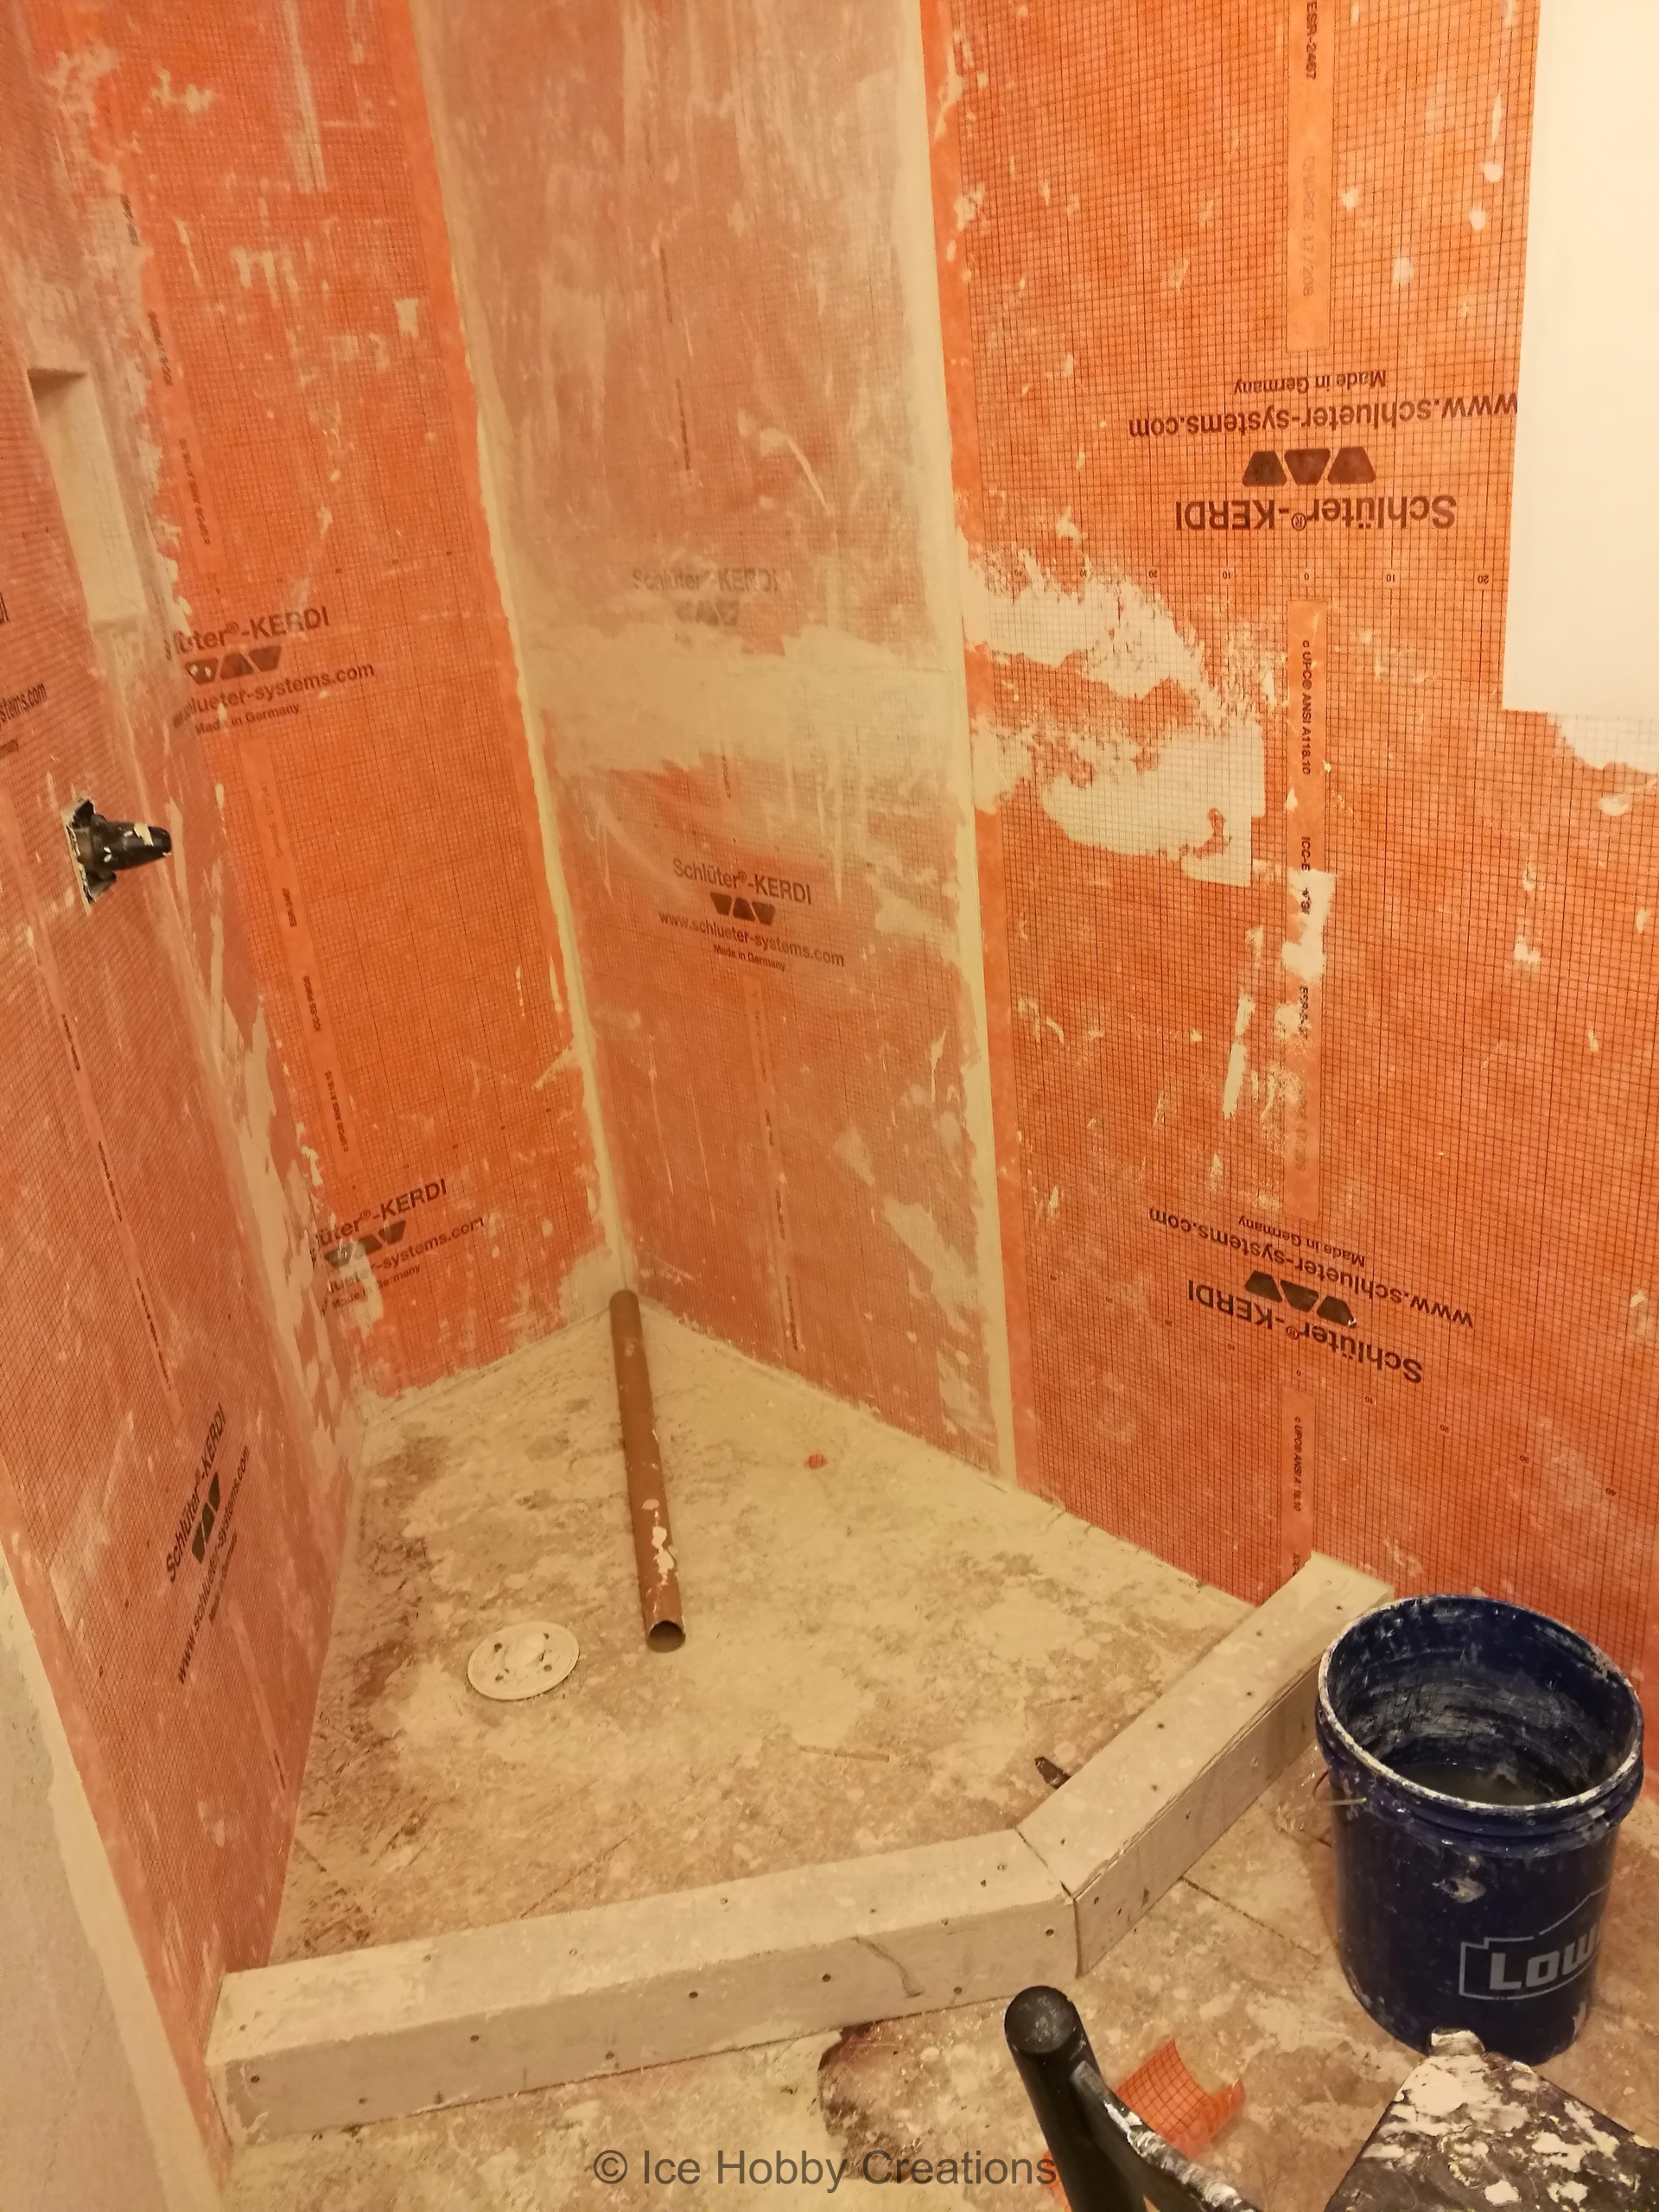
Here is why this had to be tackled at the same time as the basement was being finished out: the shower drain and toilet drain had to be relocated (new location is the left hole) to fit the plan (needed that dual vanity, for sure!). This meant it needed to be done before the basement ceiling was closed up... no rest for the weary!
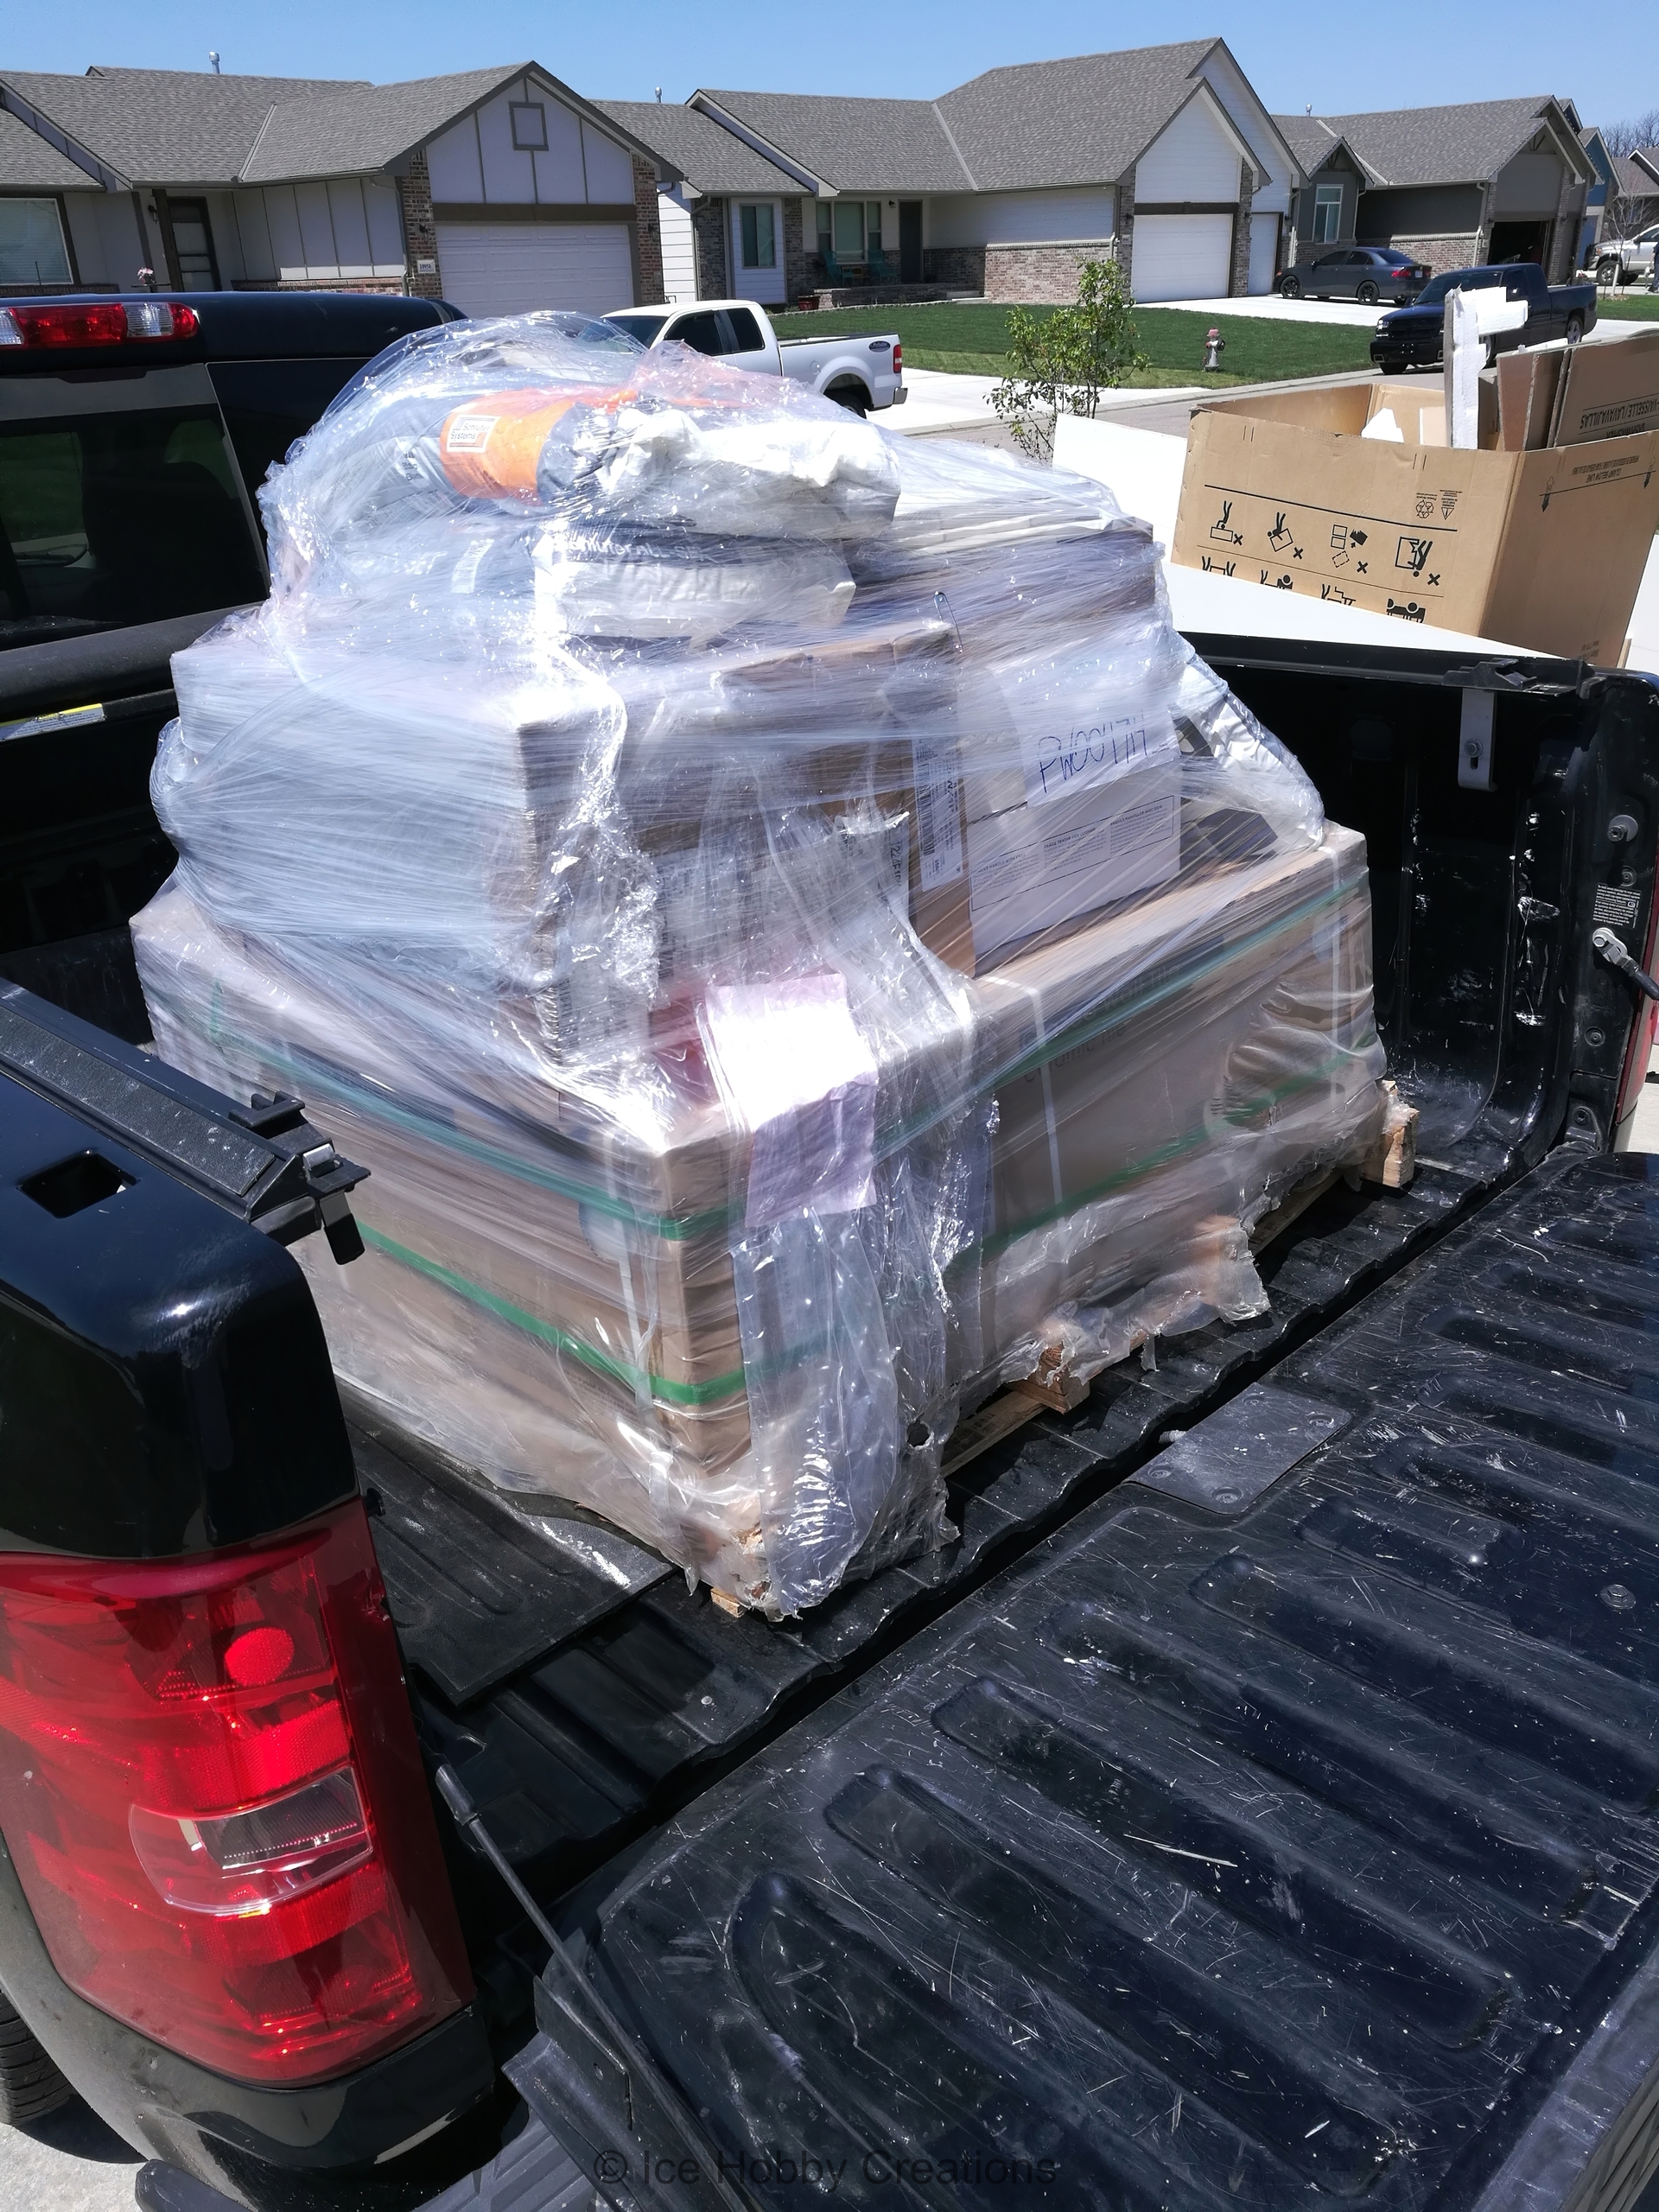
Got a delivery of a new bathroom in the truck!
Here we can see a lot of progress has been made. The walls are starting to close in!
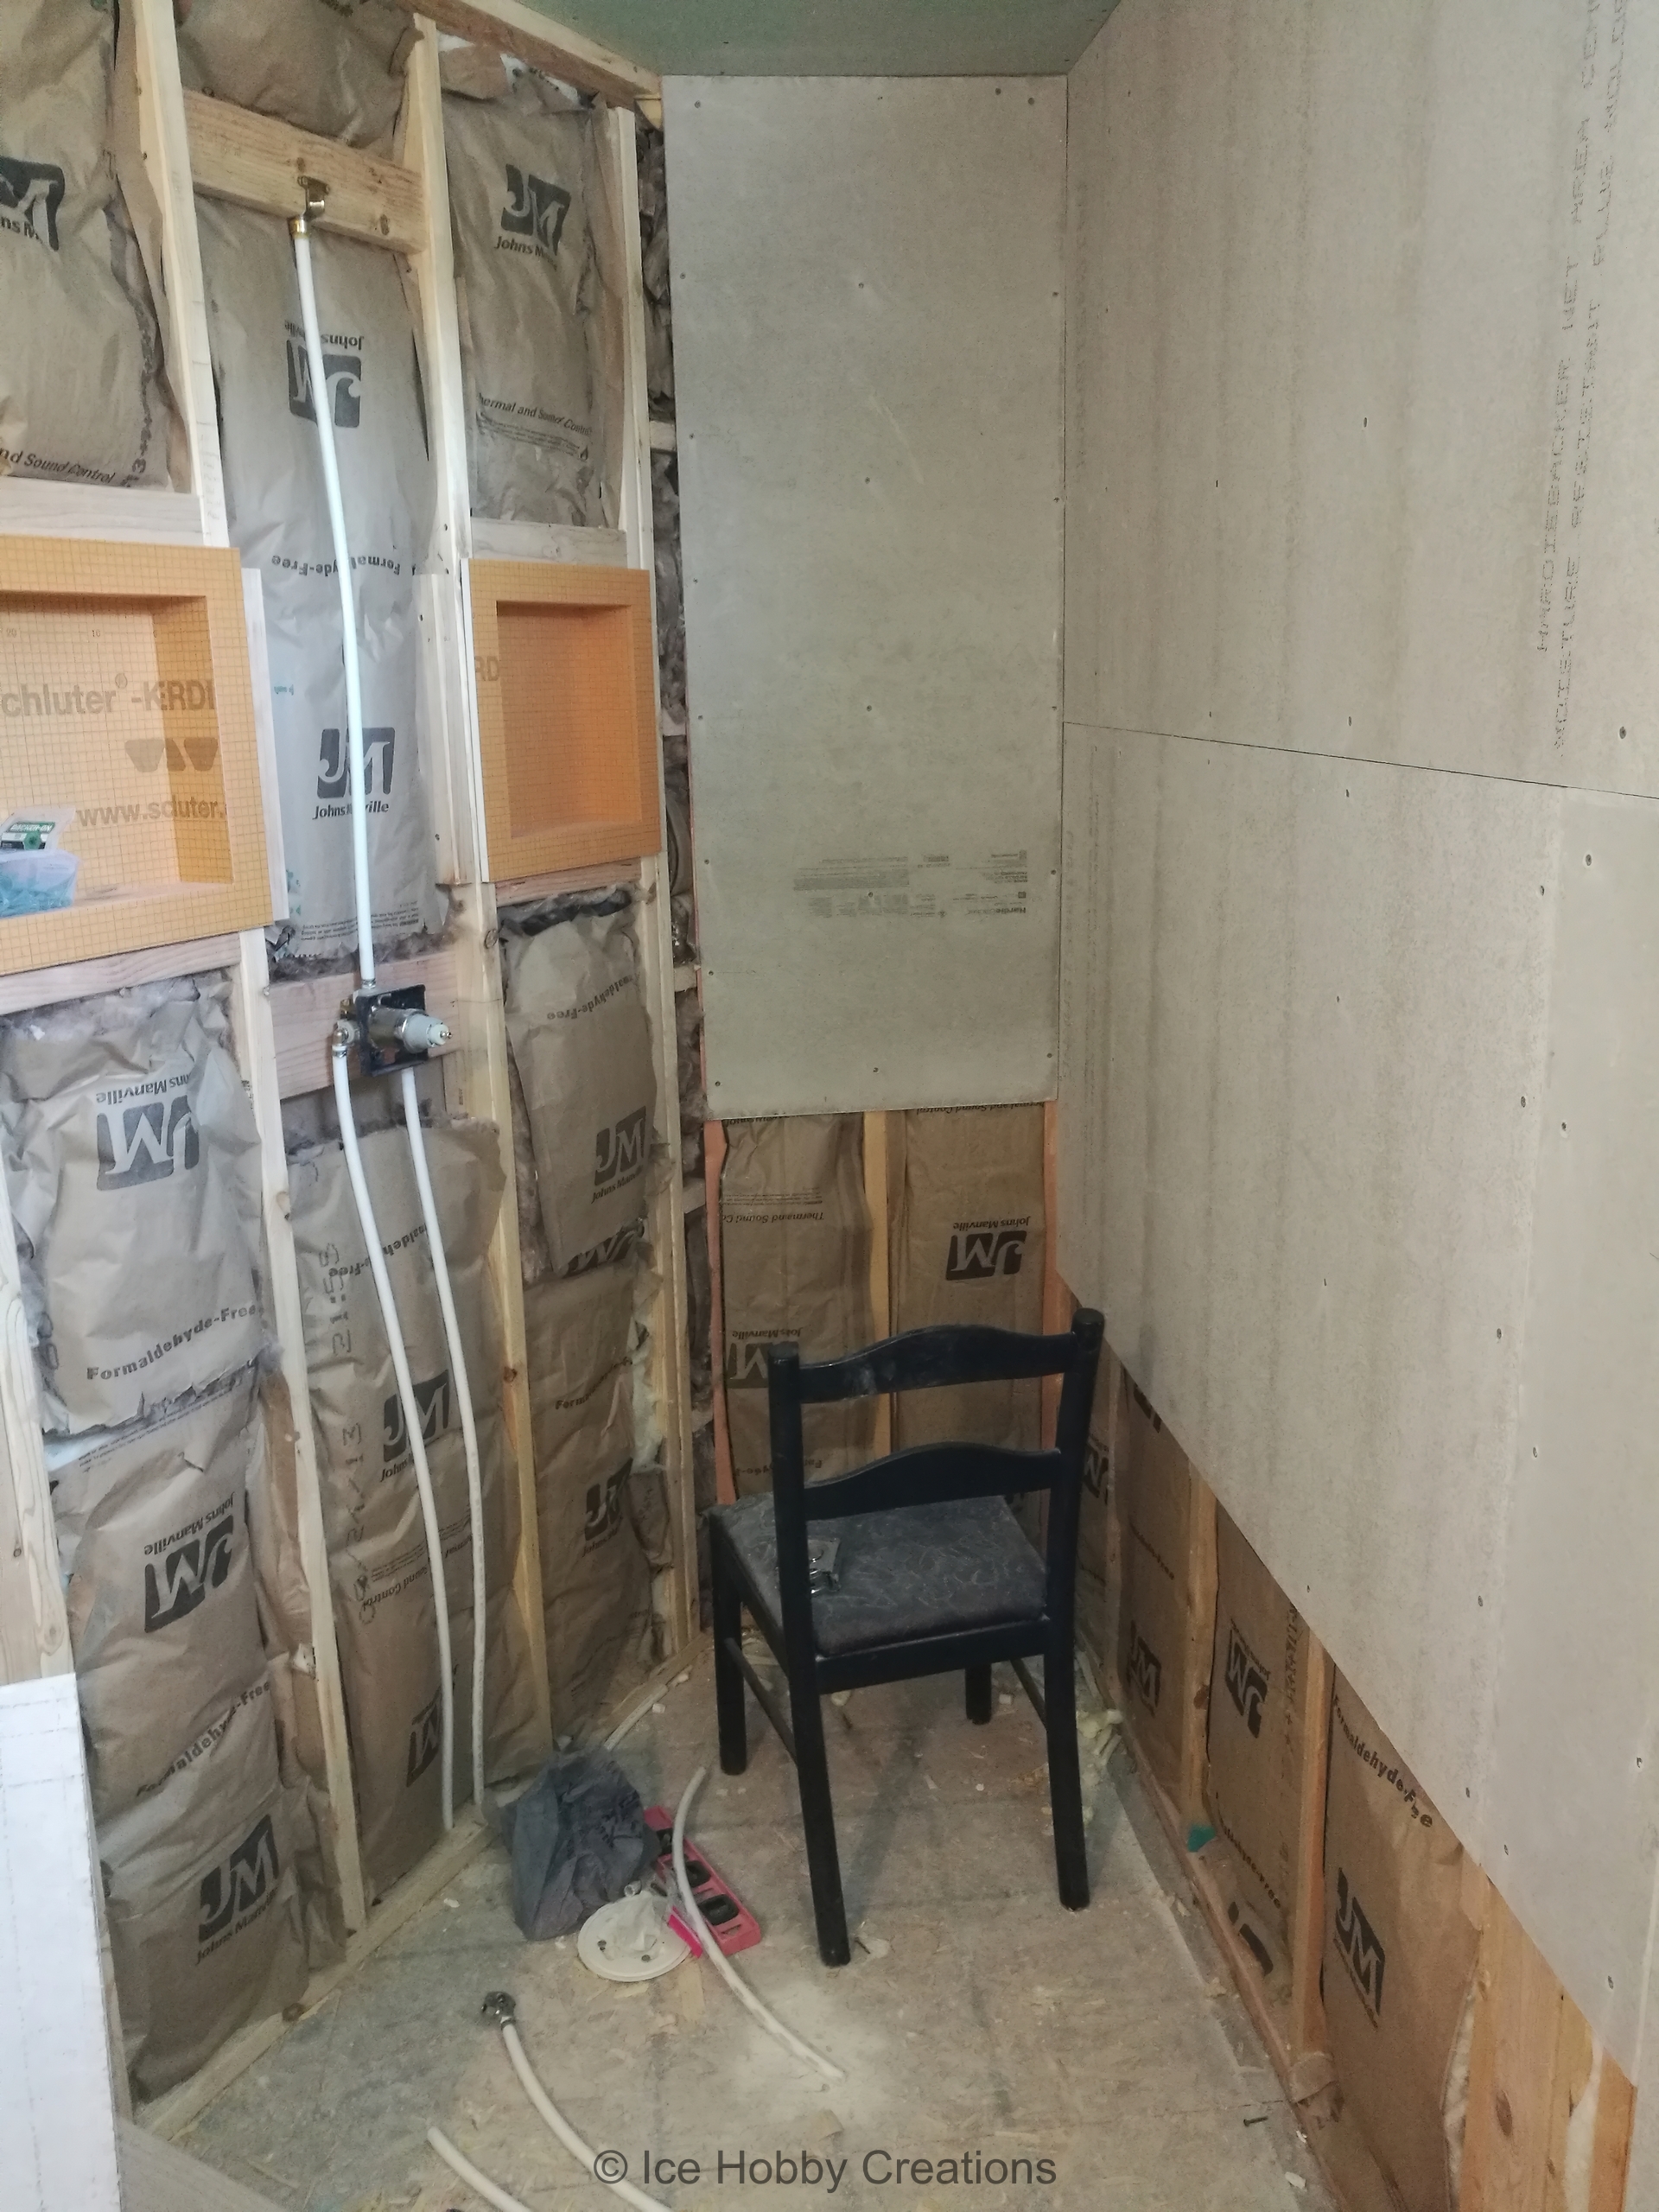
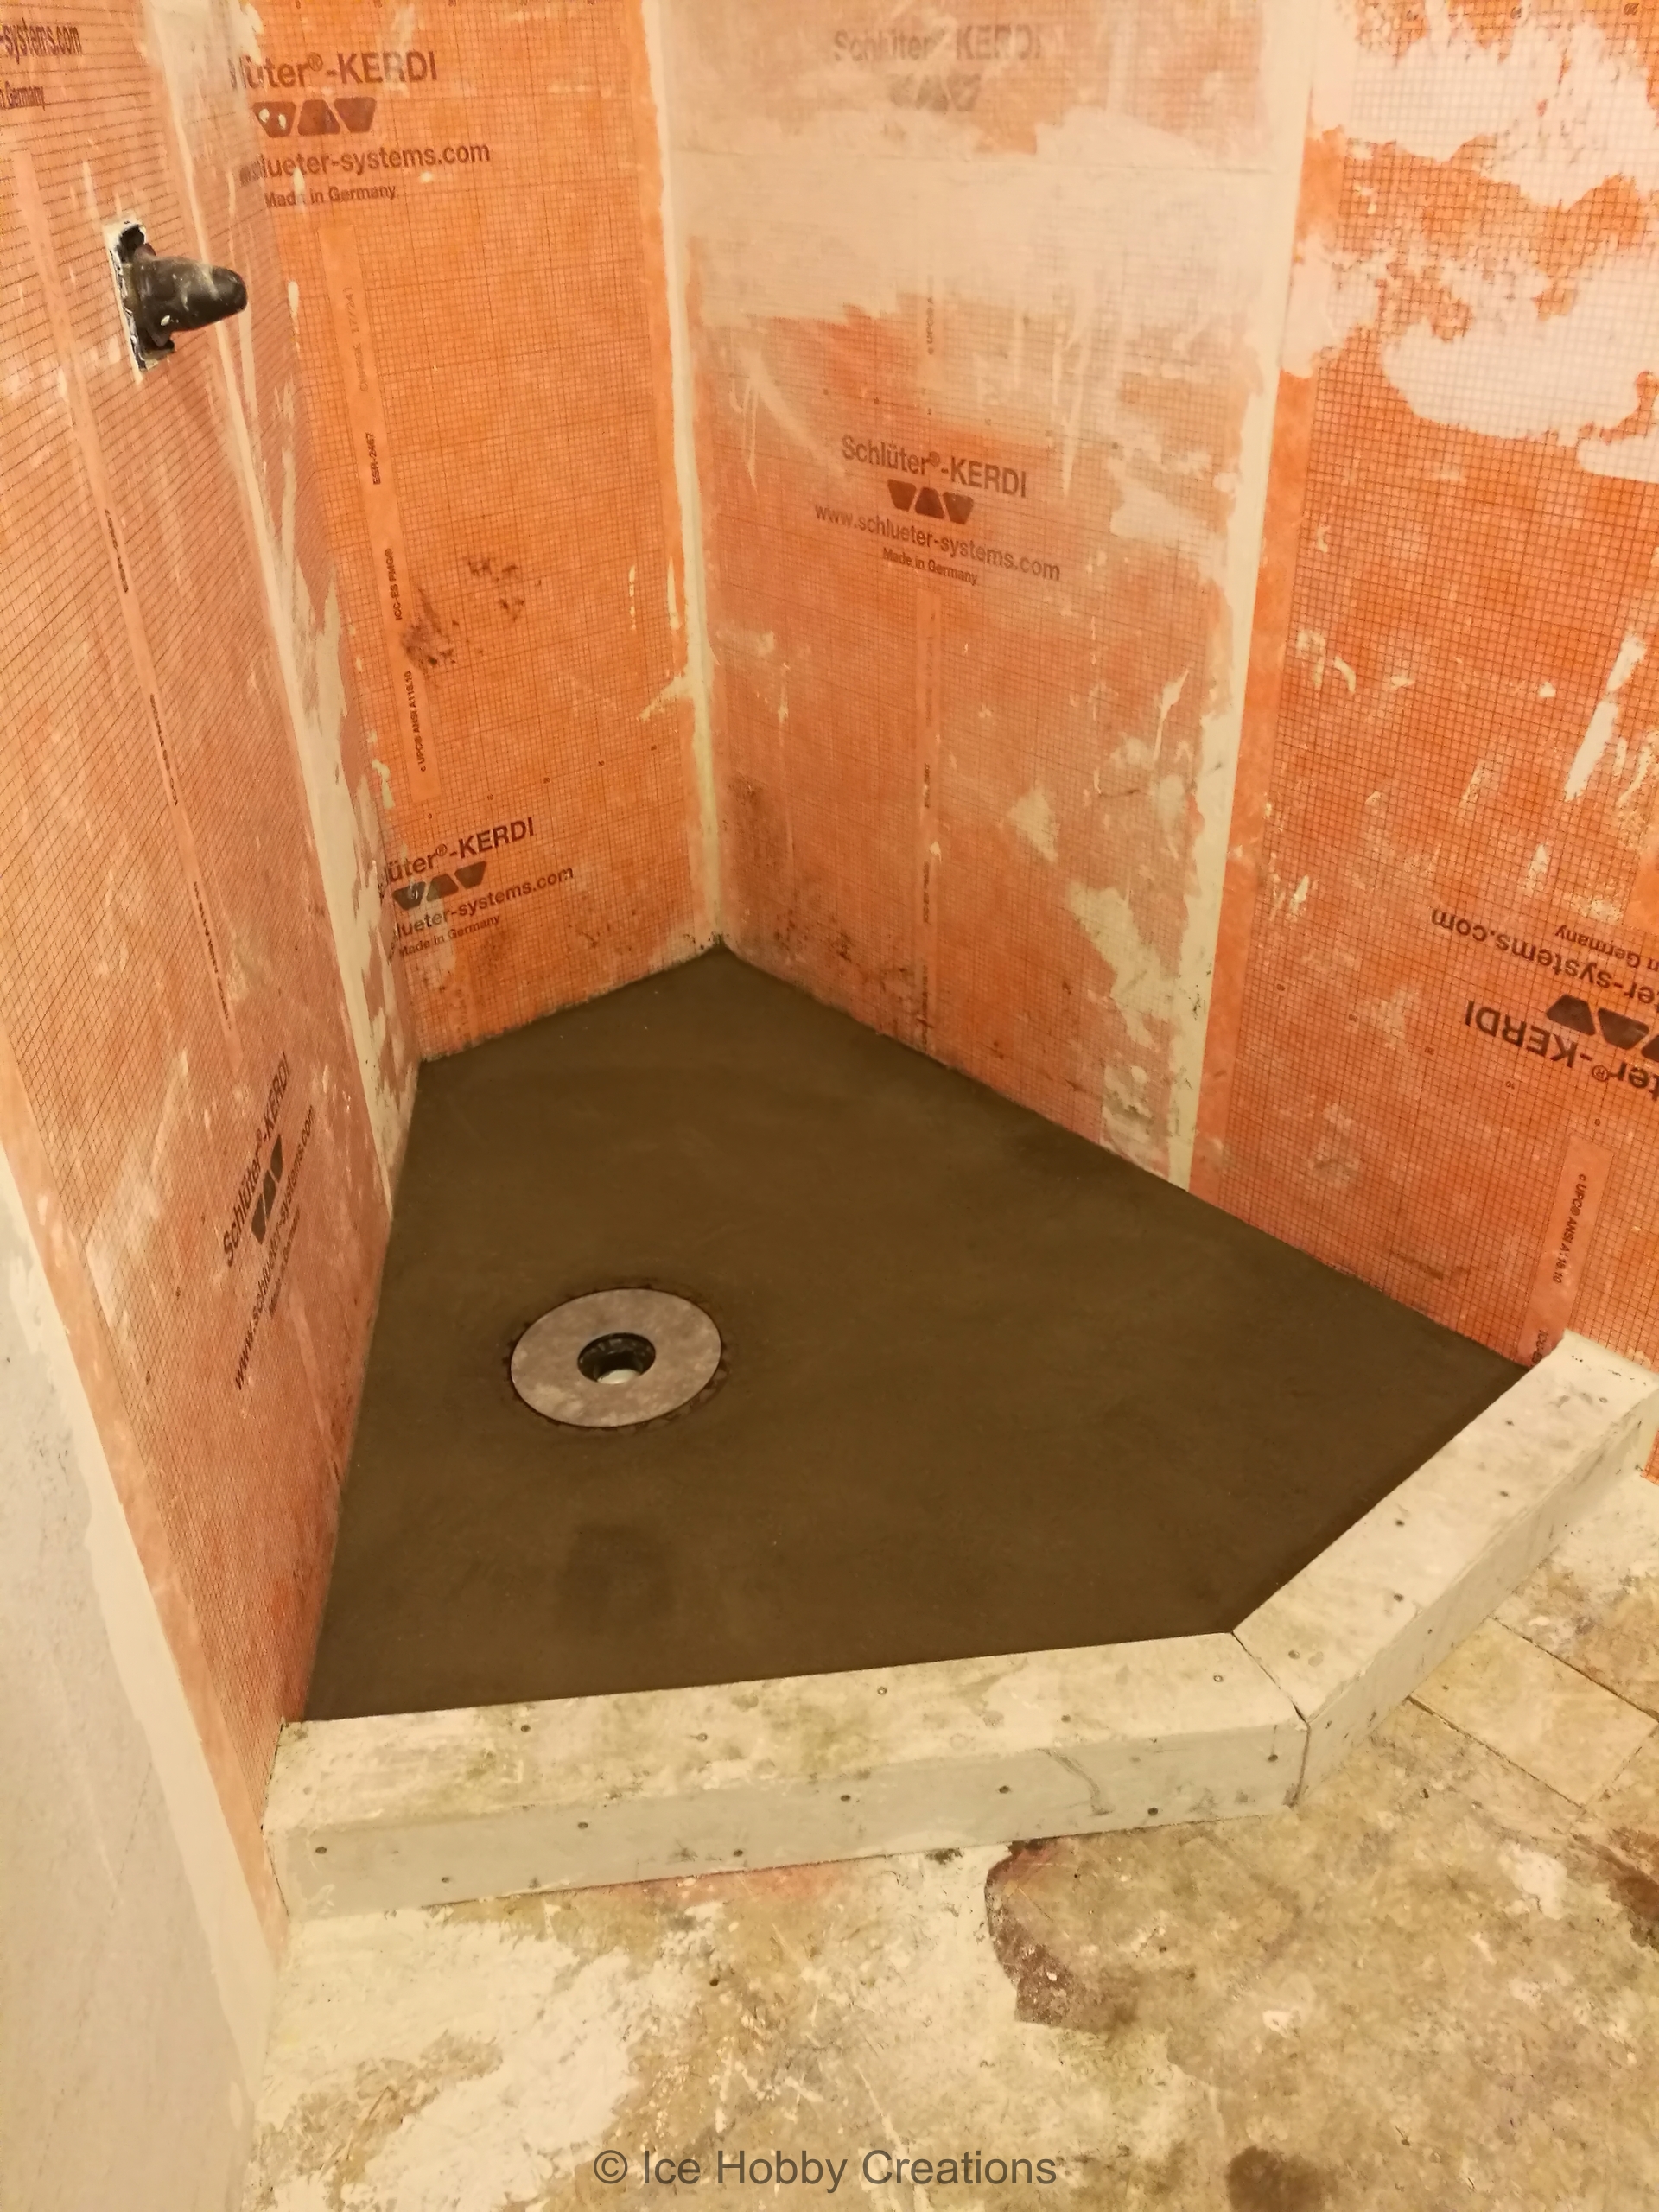
This shows the "strange" shape of the shower. It was a unique design intended to provide a spacious shower, while not using up to much of the closet space. Also, wherever tile would be installed Hardie-Board was used instead of drywall (I just don't trust drywall's strength!). Also, we have two Kerdi-board shower niches installed.

With the drywall and Hardie-Board completely installed, we had the contractor that taped, mudded, and sanded the drywall finish up in the master bedroom closet and bathroom!
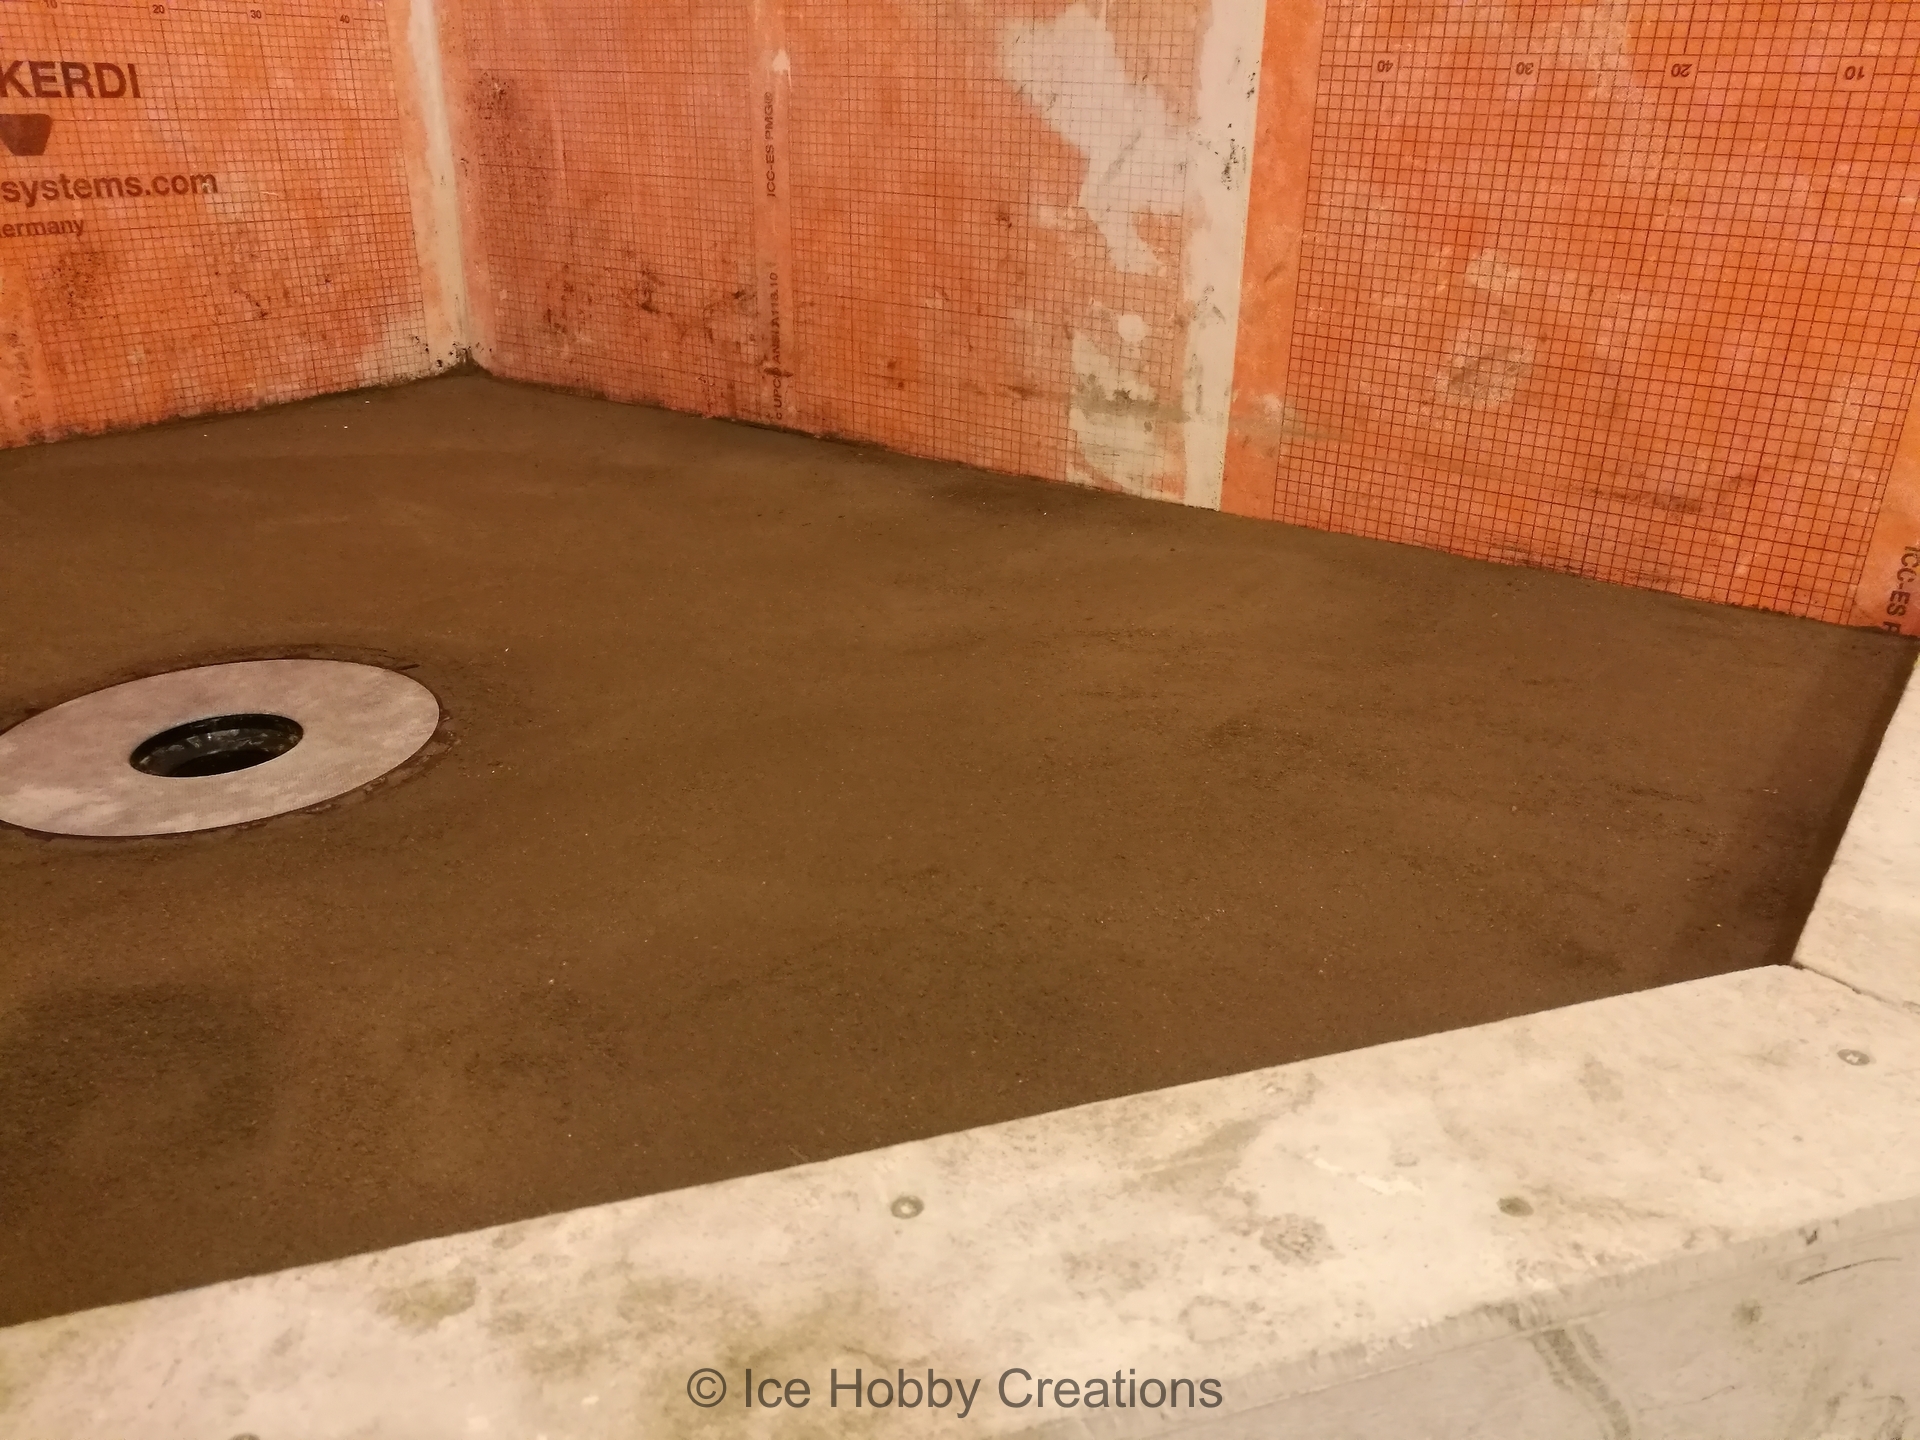
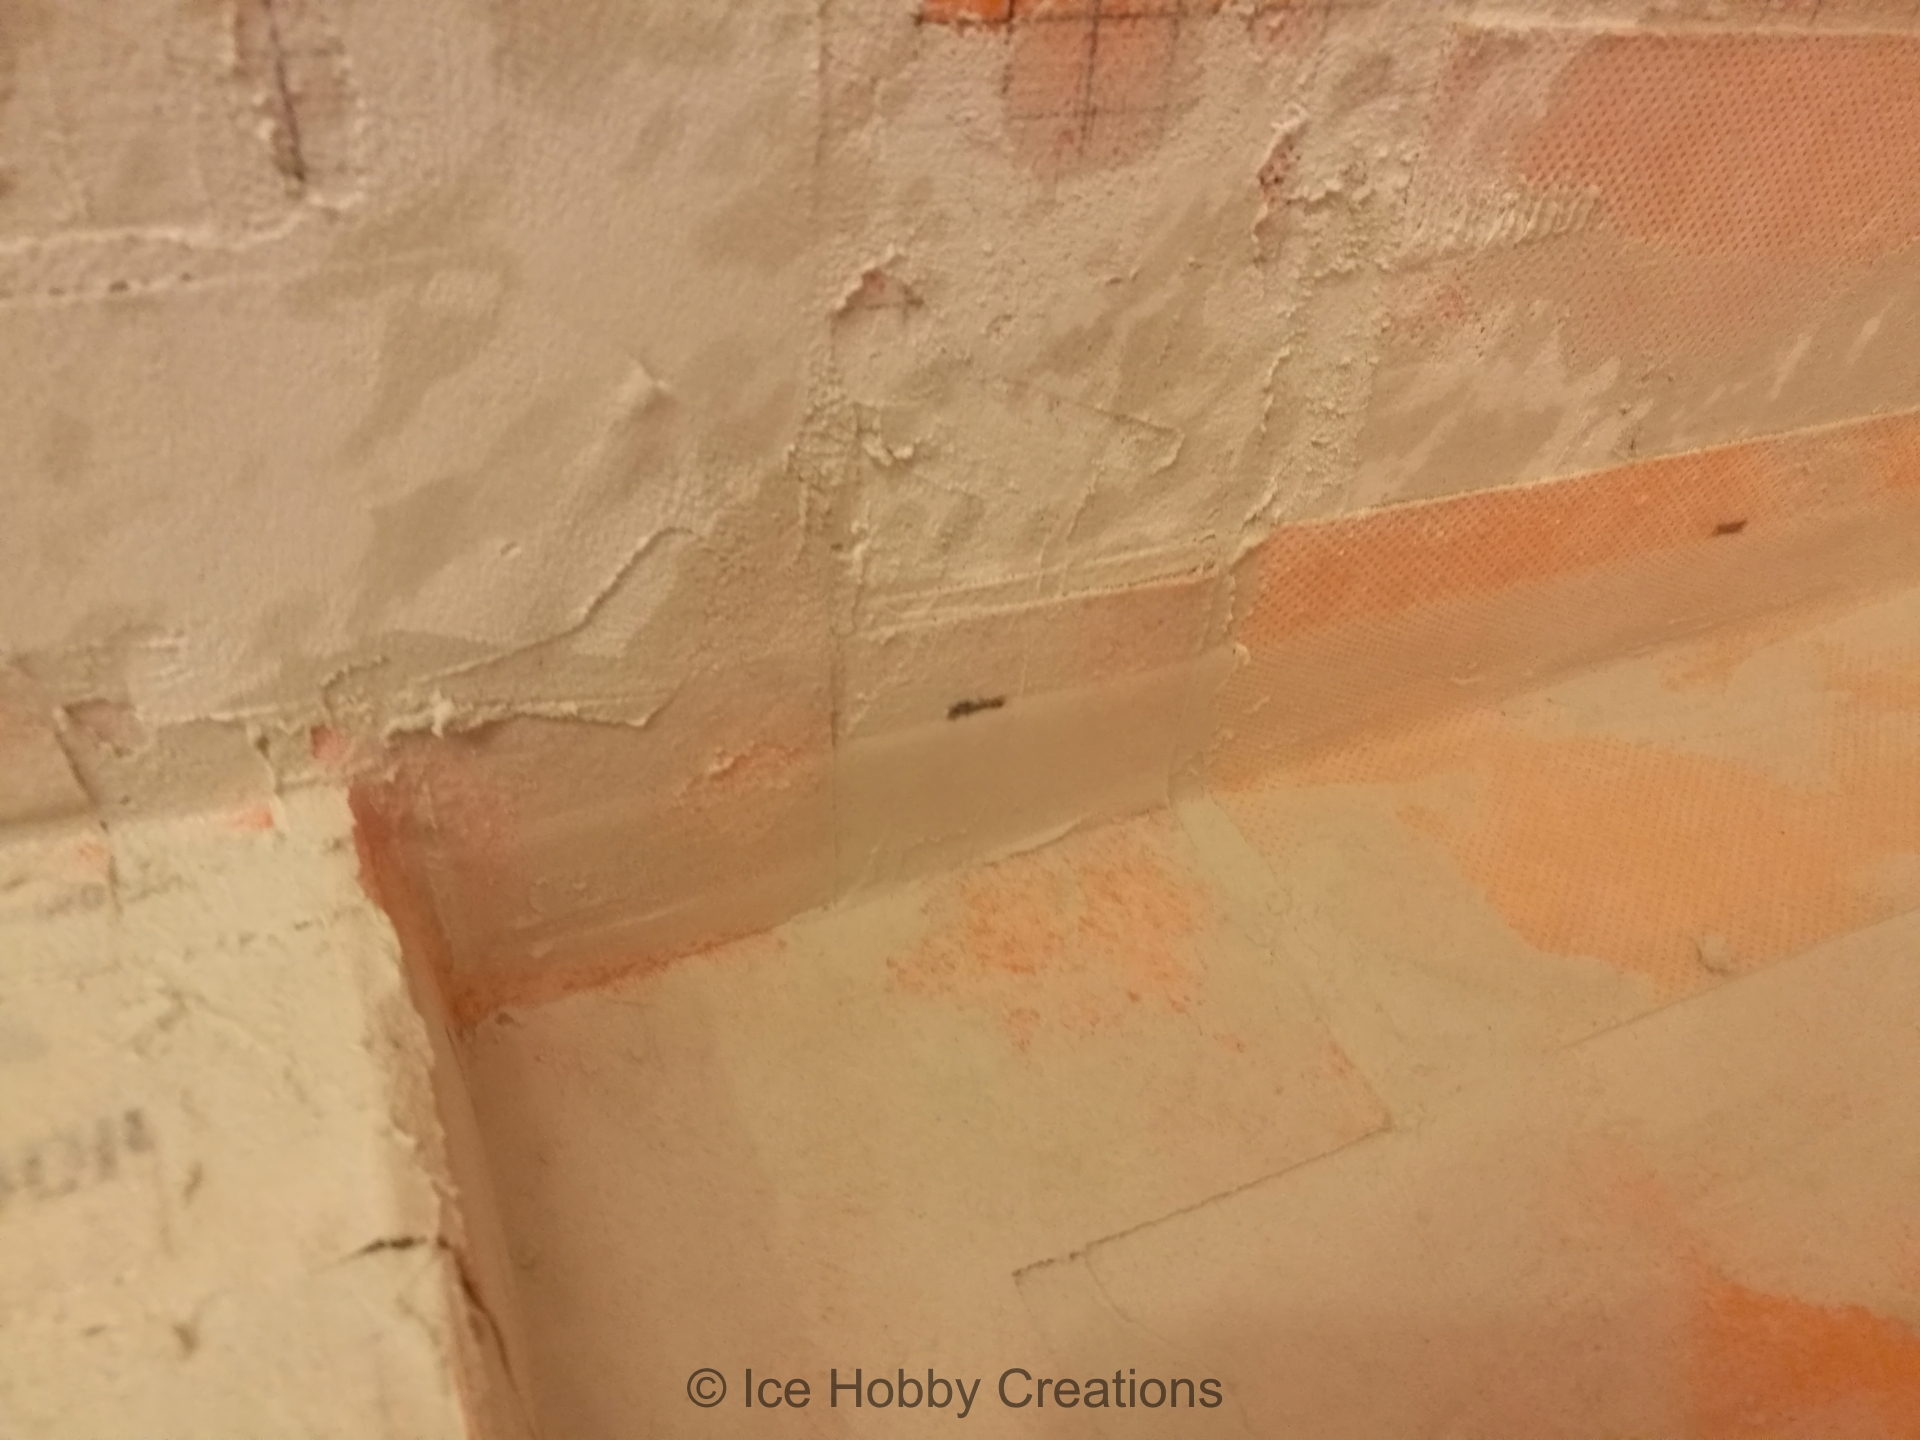
This time, I got to do all of the waterproofing in the bathroom. You can tell because it looks much messier than what was done in the basement. I also got to hone my skills with dry-pack mortar beds!
There was a lot of pressure to make sure there were no leaks, because that would prove disasterous! Unlike the basement, there would be significant consequences if I didn't get something right, so we have the obligatory water test! It is very difficult to see, but after at least 24hrs, there was no change in water level (outside of what could be attributed to evaporation)!
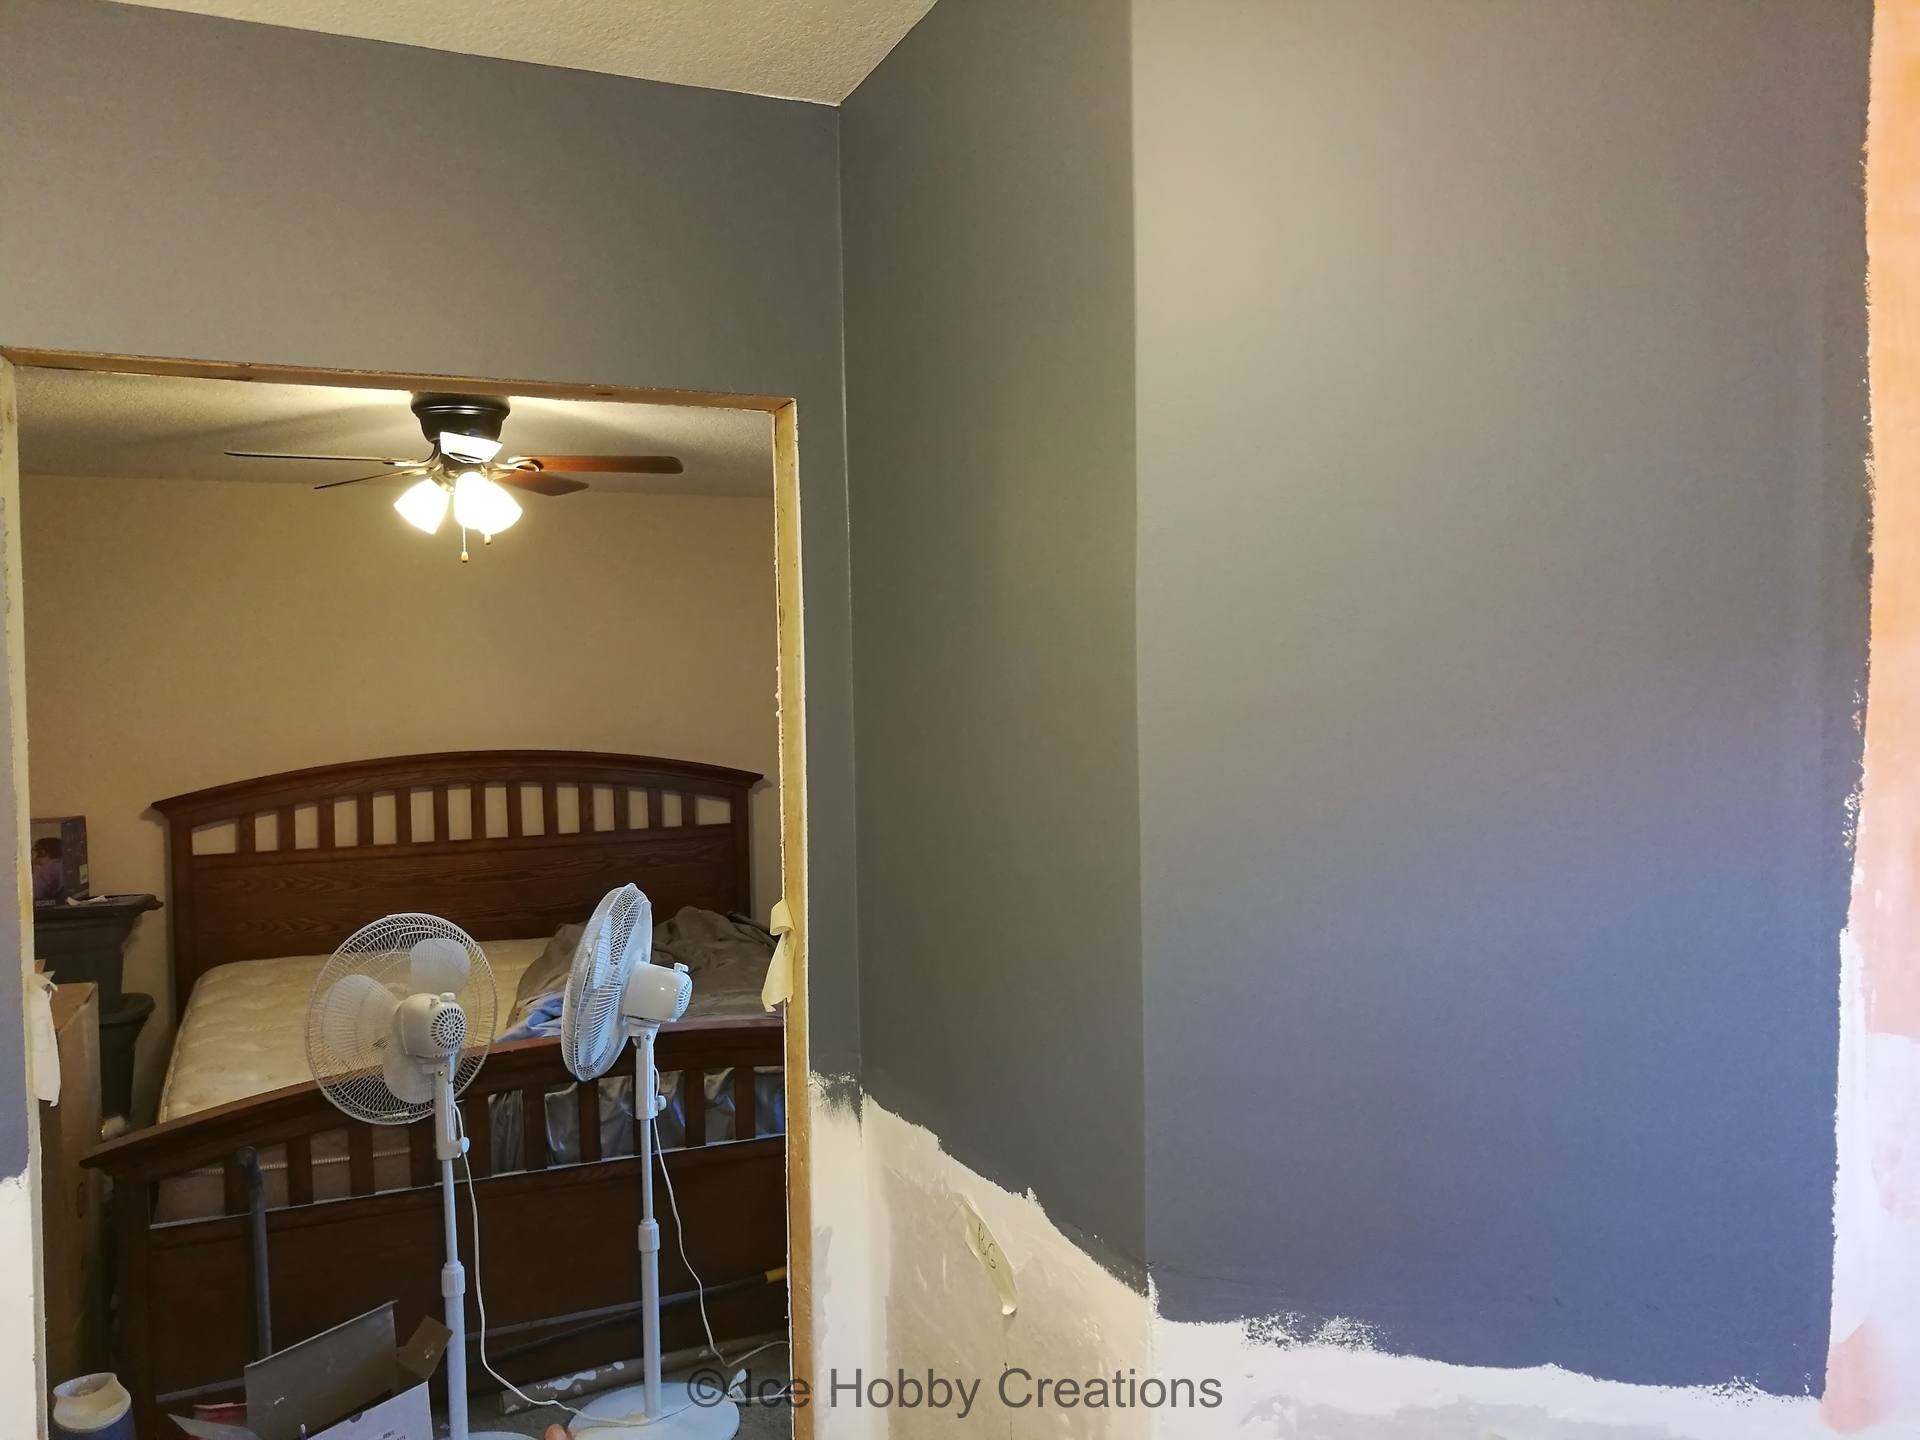
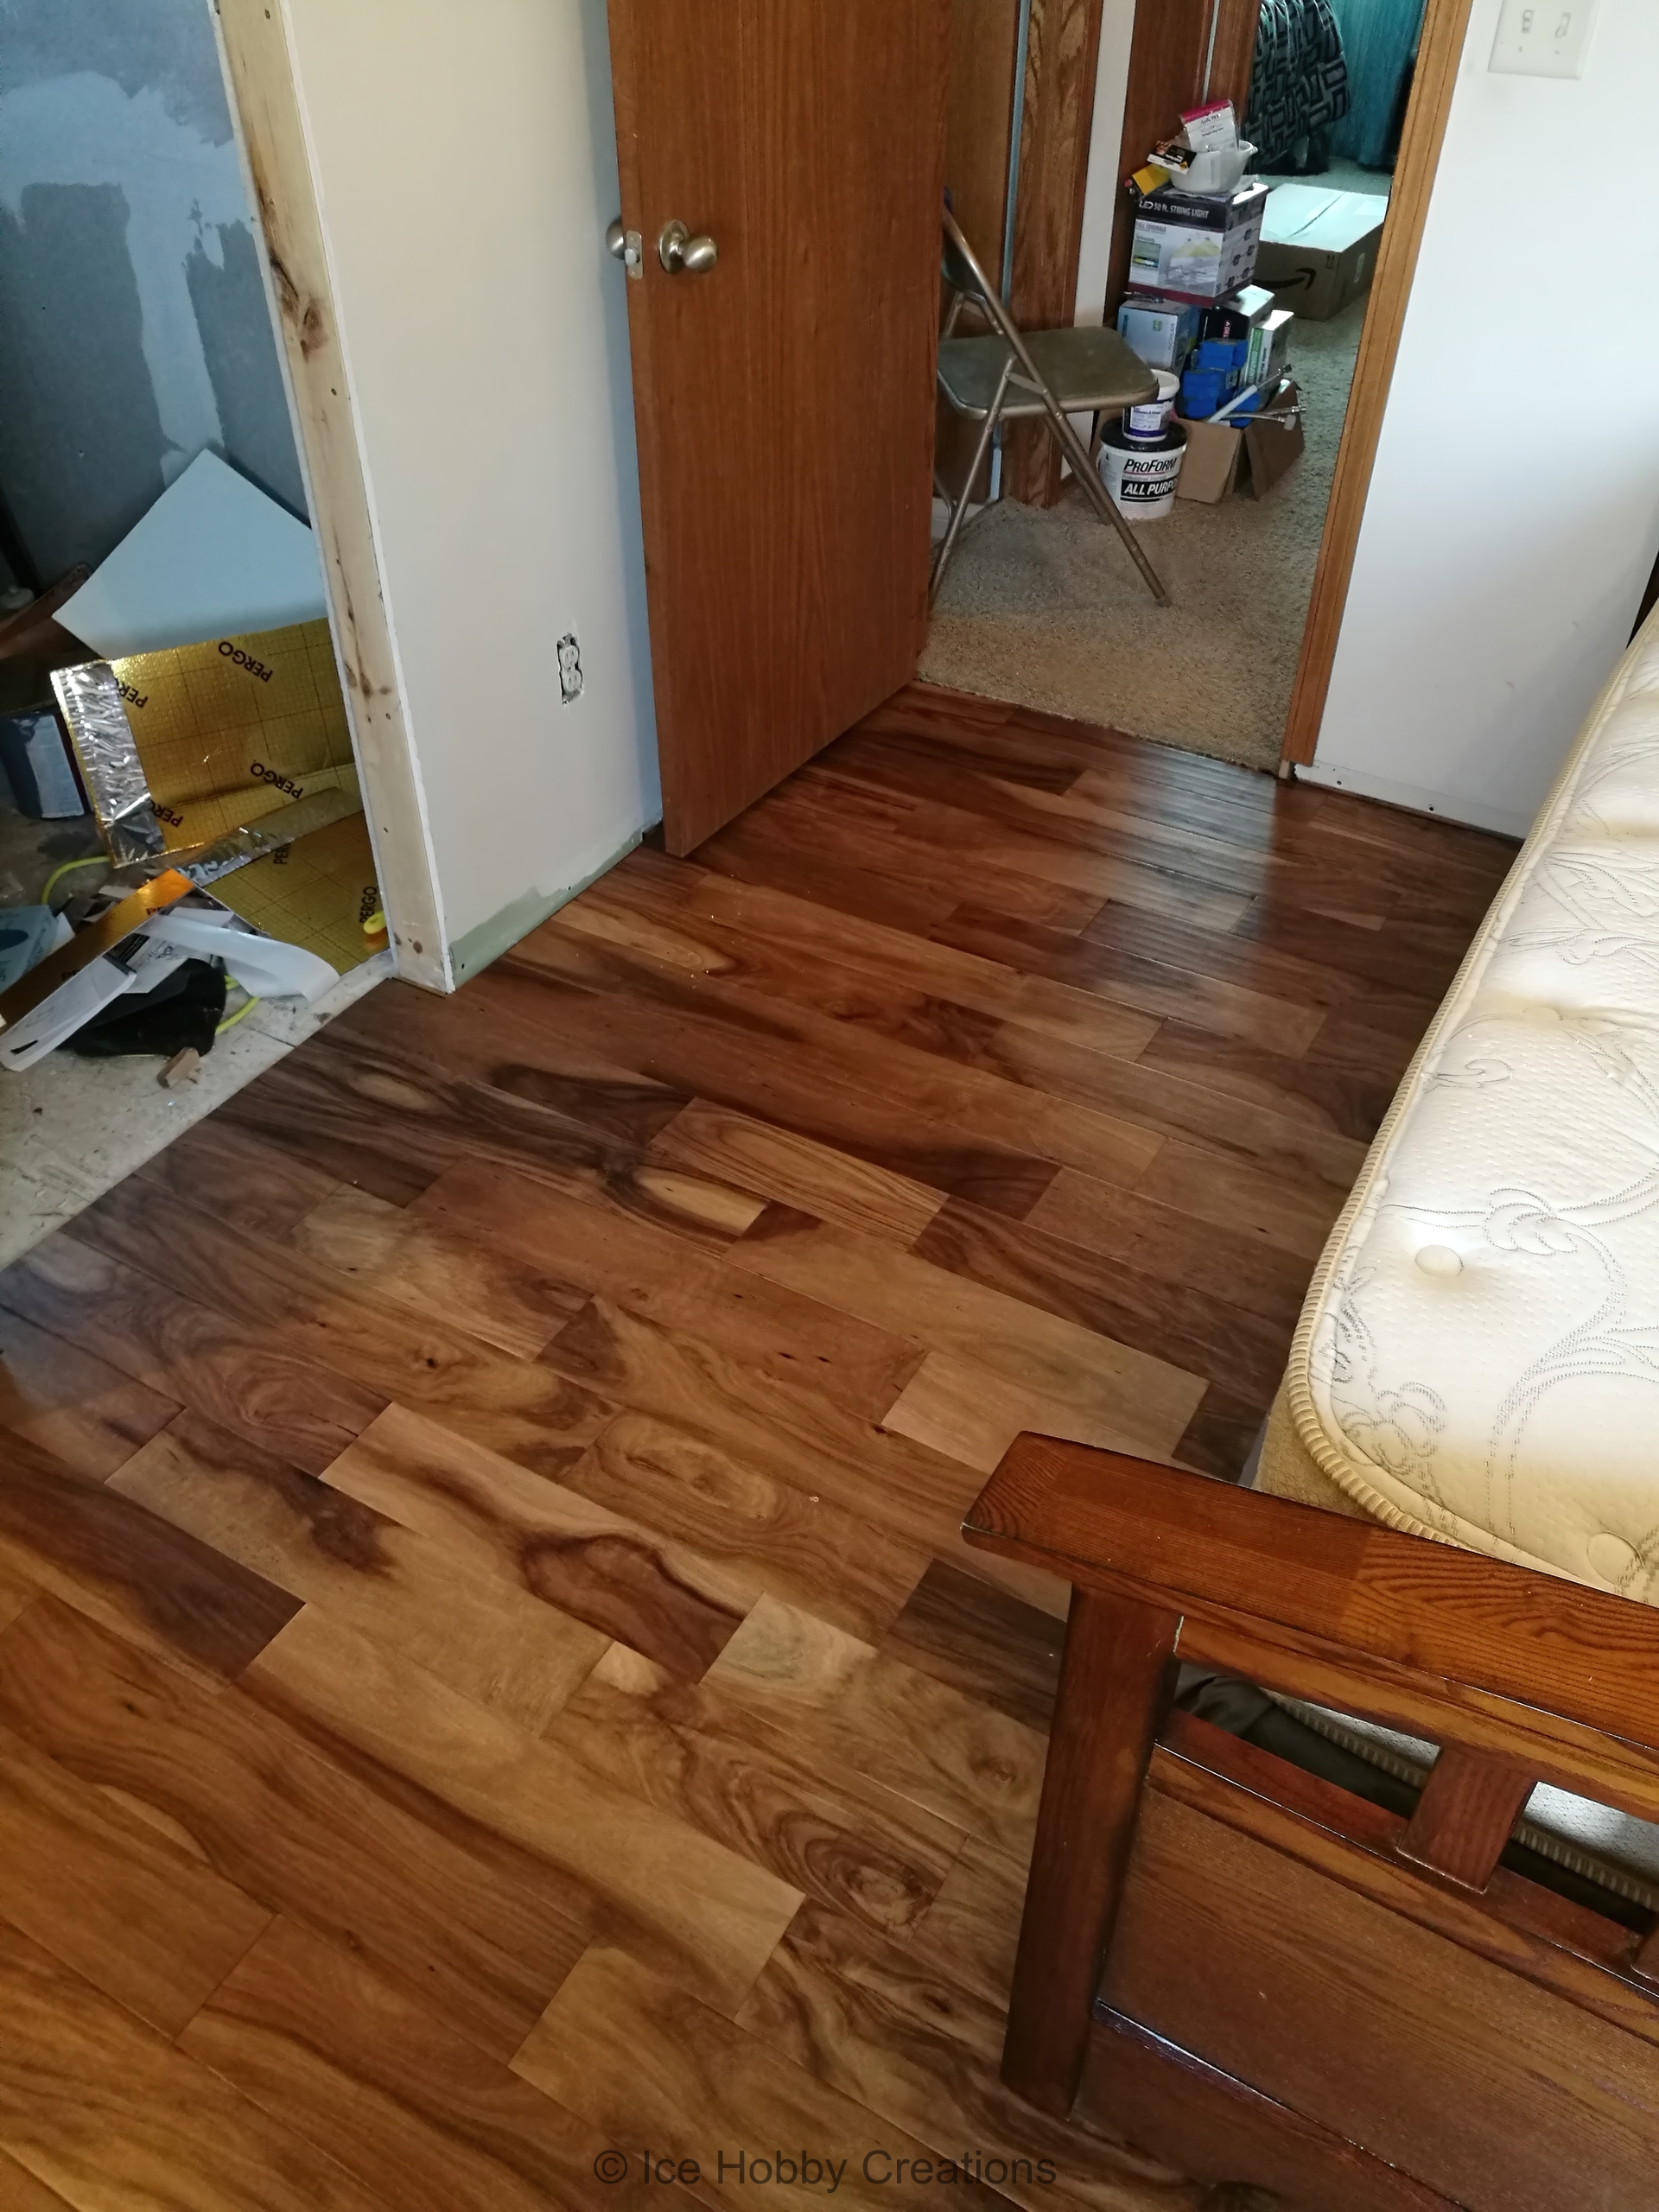
Now that the bathroom is basically ready for tile, the painters (at same time the basement was painted) came and finished up the closet and bathroom. Considering how the basement flooring turned out, the future wife and I decided to replace the carpet in the bedroom (it was pretty long in tooth) with the same engineered hard wood flooring we used in the basement.


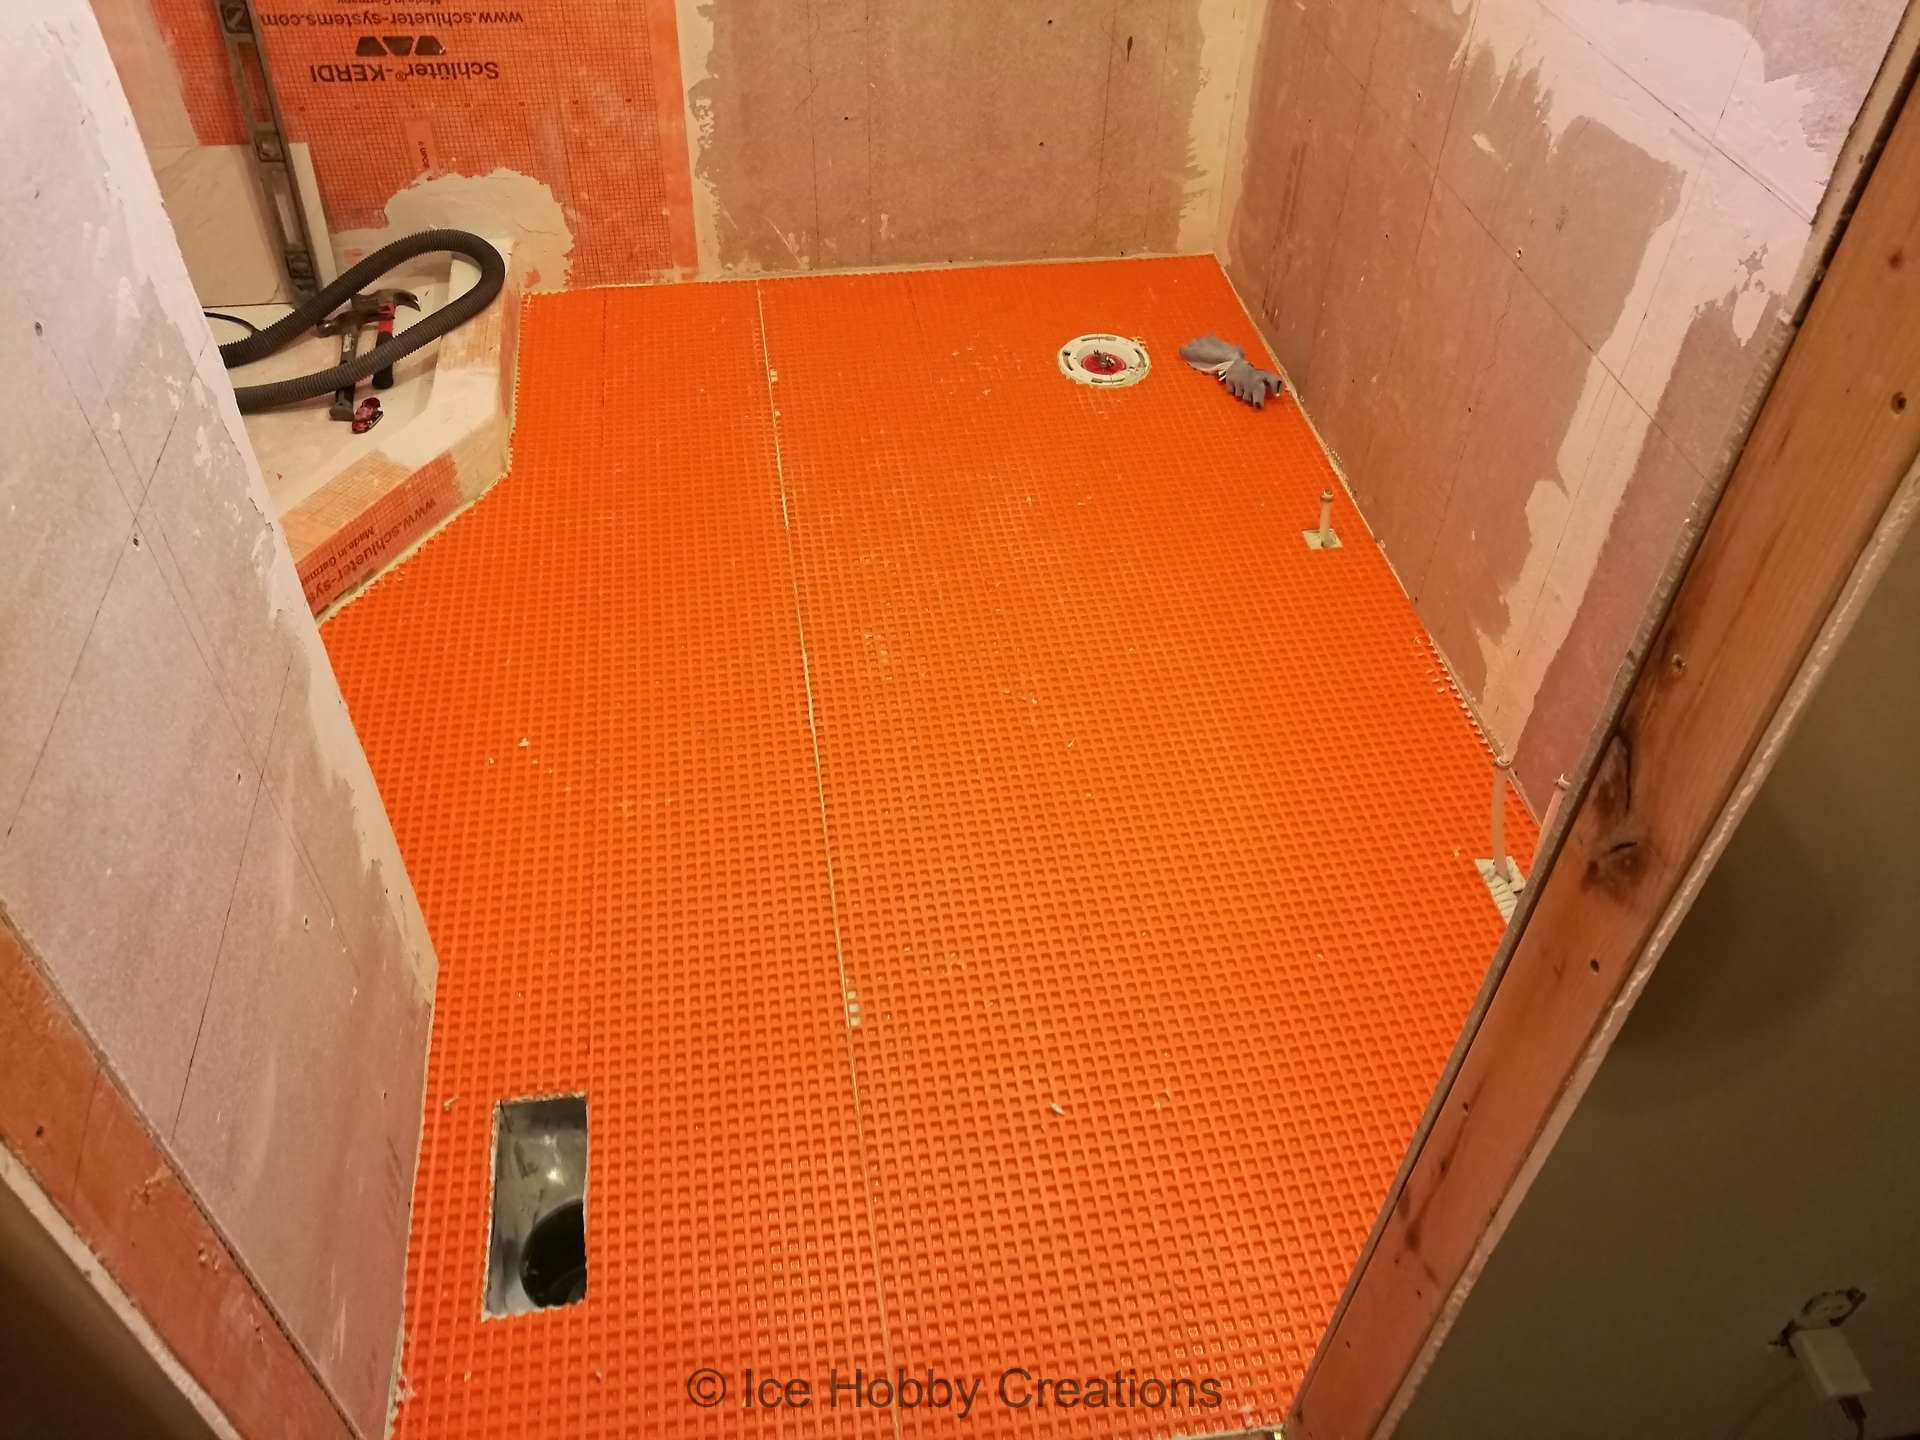
All of the "easy" work was done, now it was time for the make or break parts: installing the floor isolation layer and getting started tiling! Exciting and terrifying all at once!
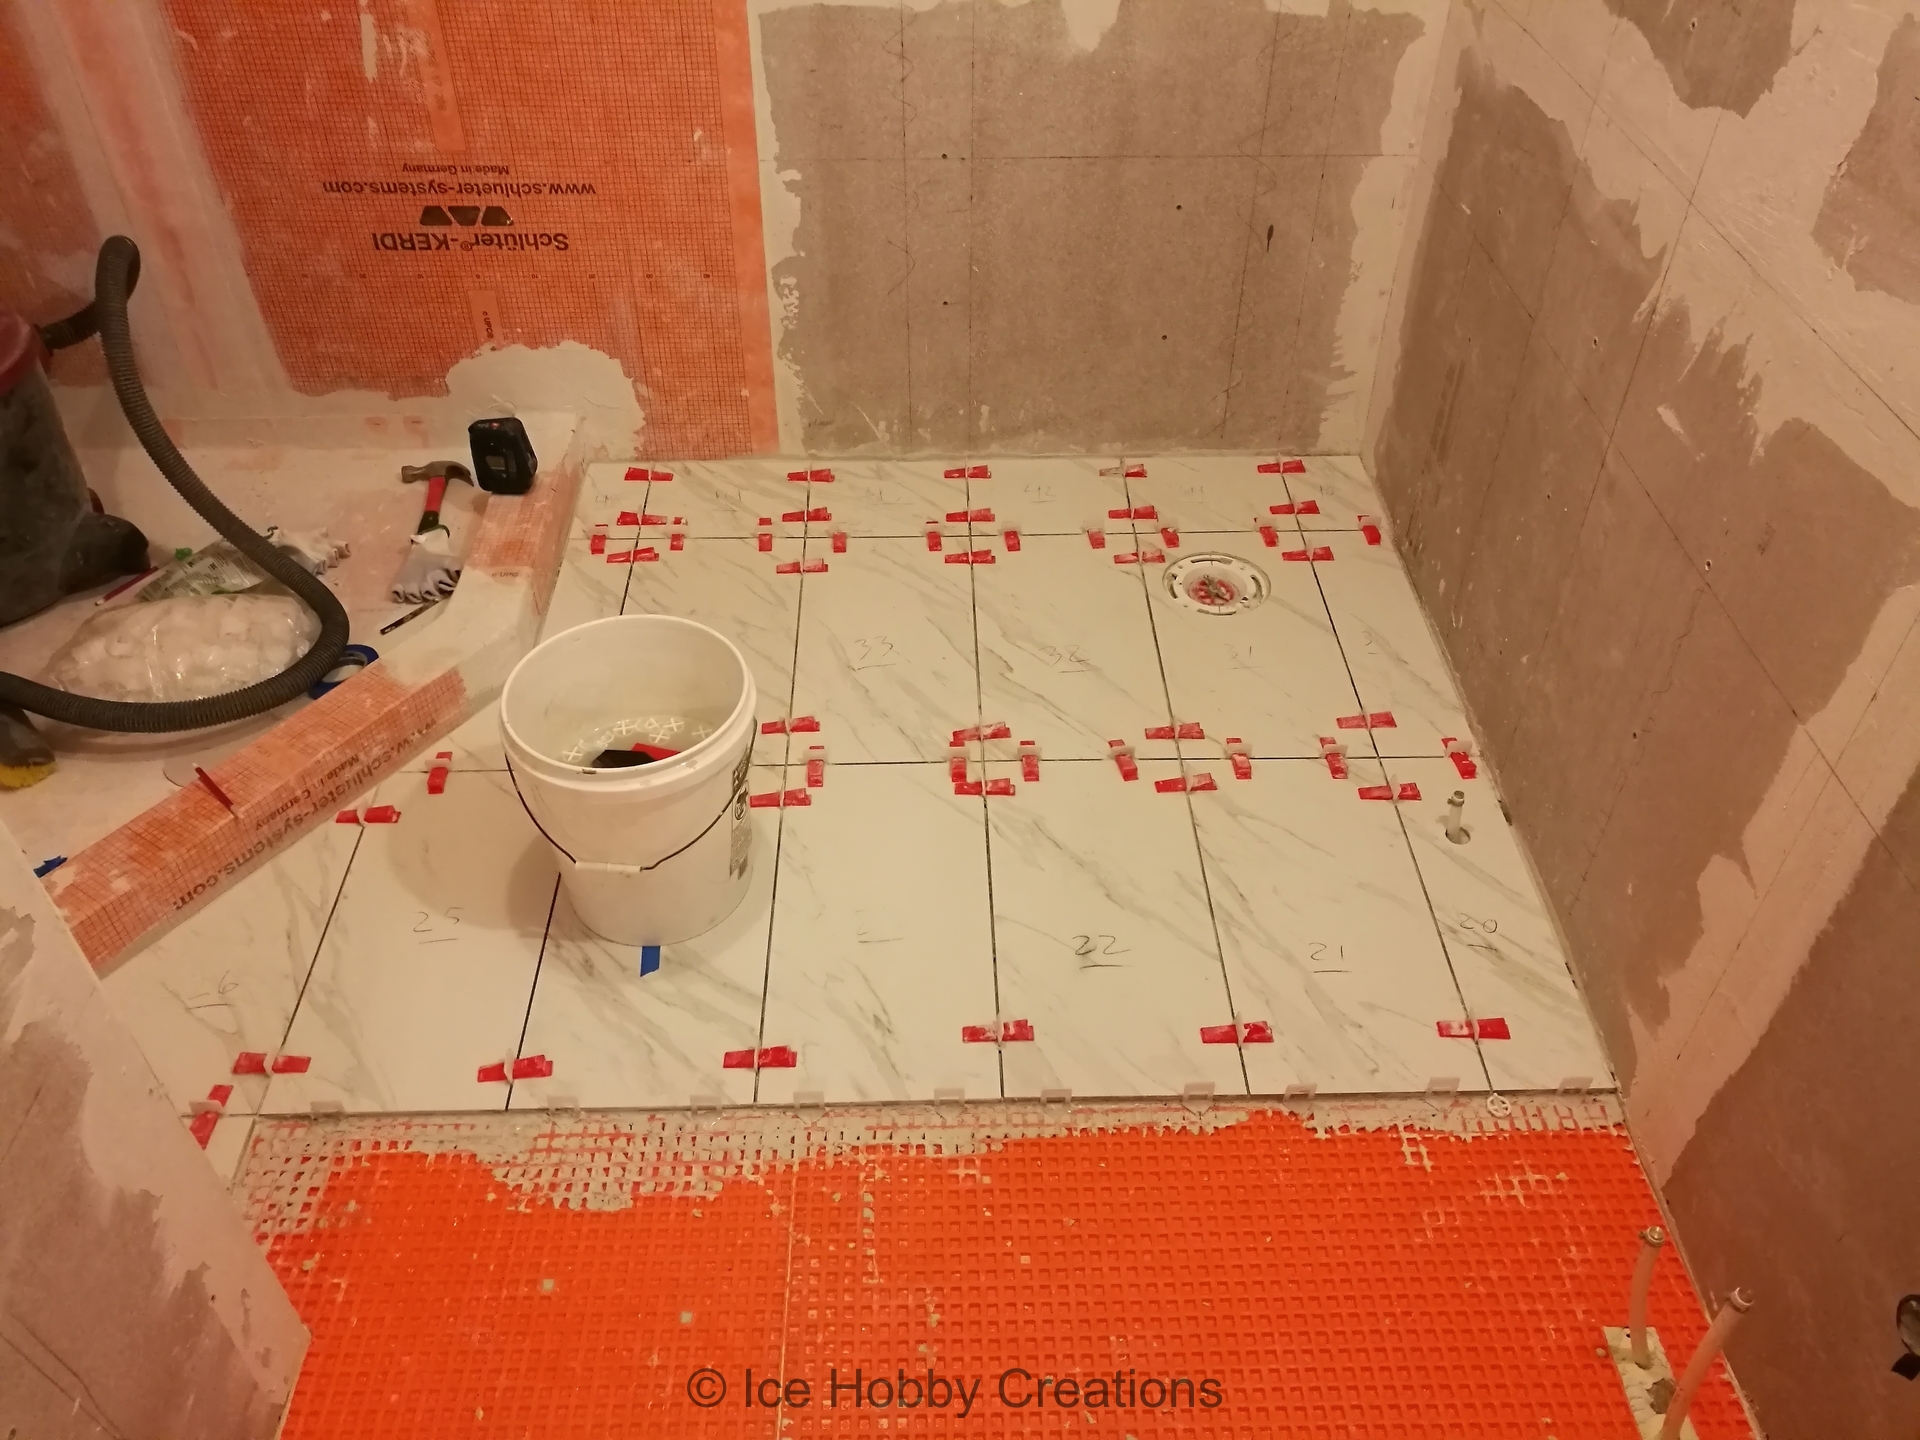
We decided to go with a nice high variability porcelain tile: high gloss on the walls, and matte for the ground to minimize slipping risk. Here I'm just laying out the tile to make sure I minimize repeating patterns and making sure the cuts fit, as it's much easier to confirm now then when you have a bucket of thin-set mixed up!
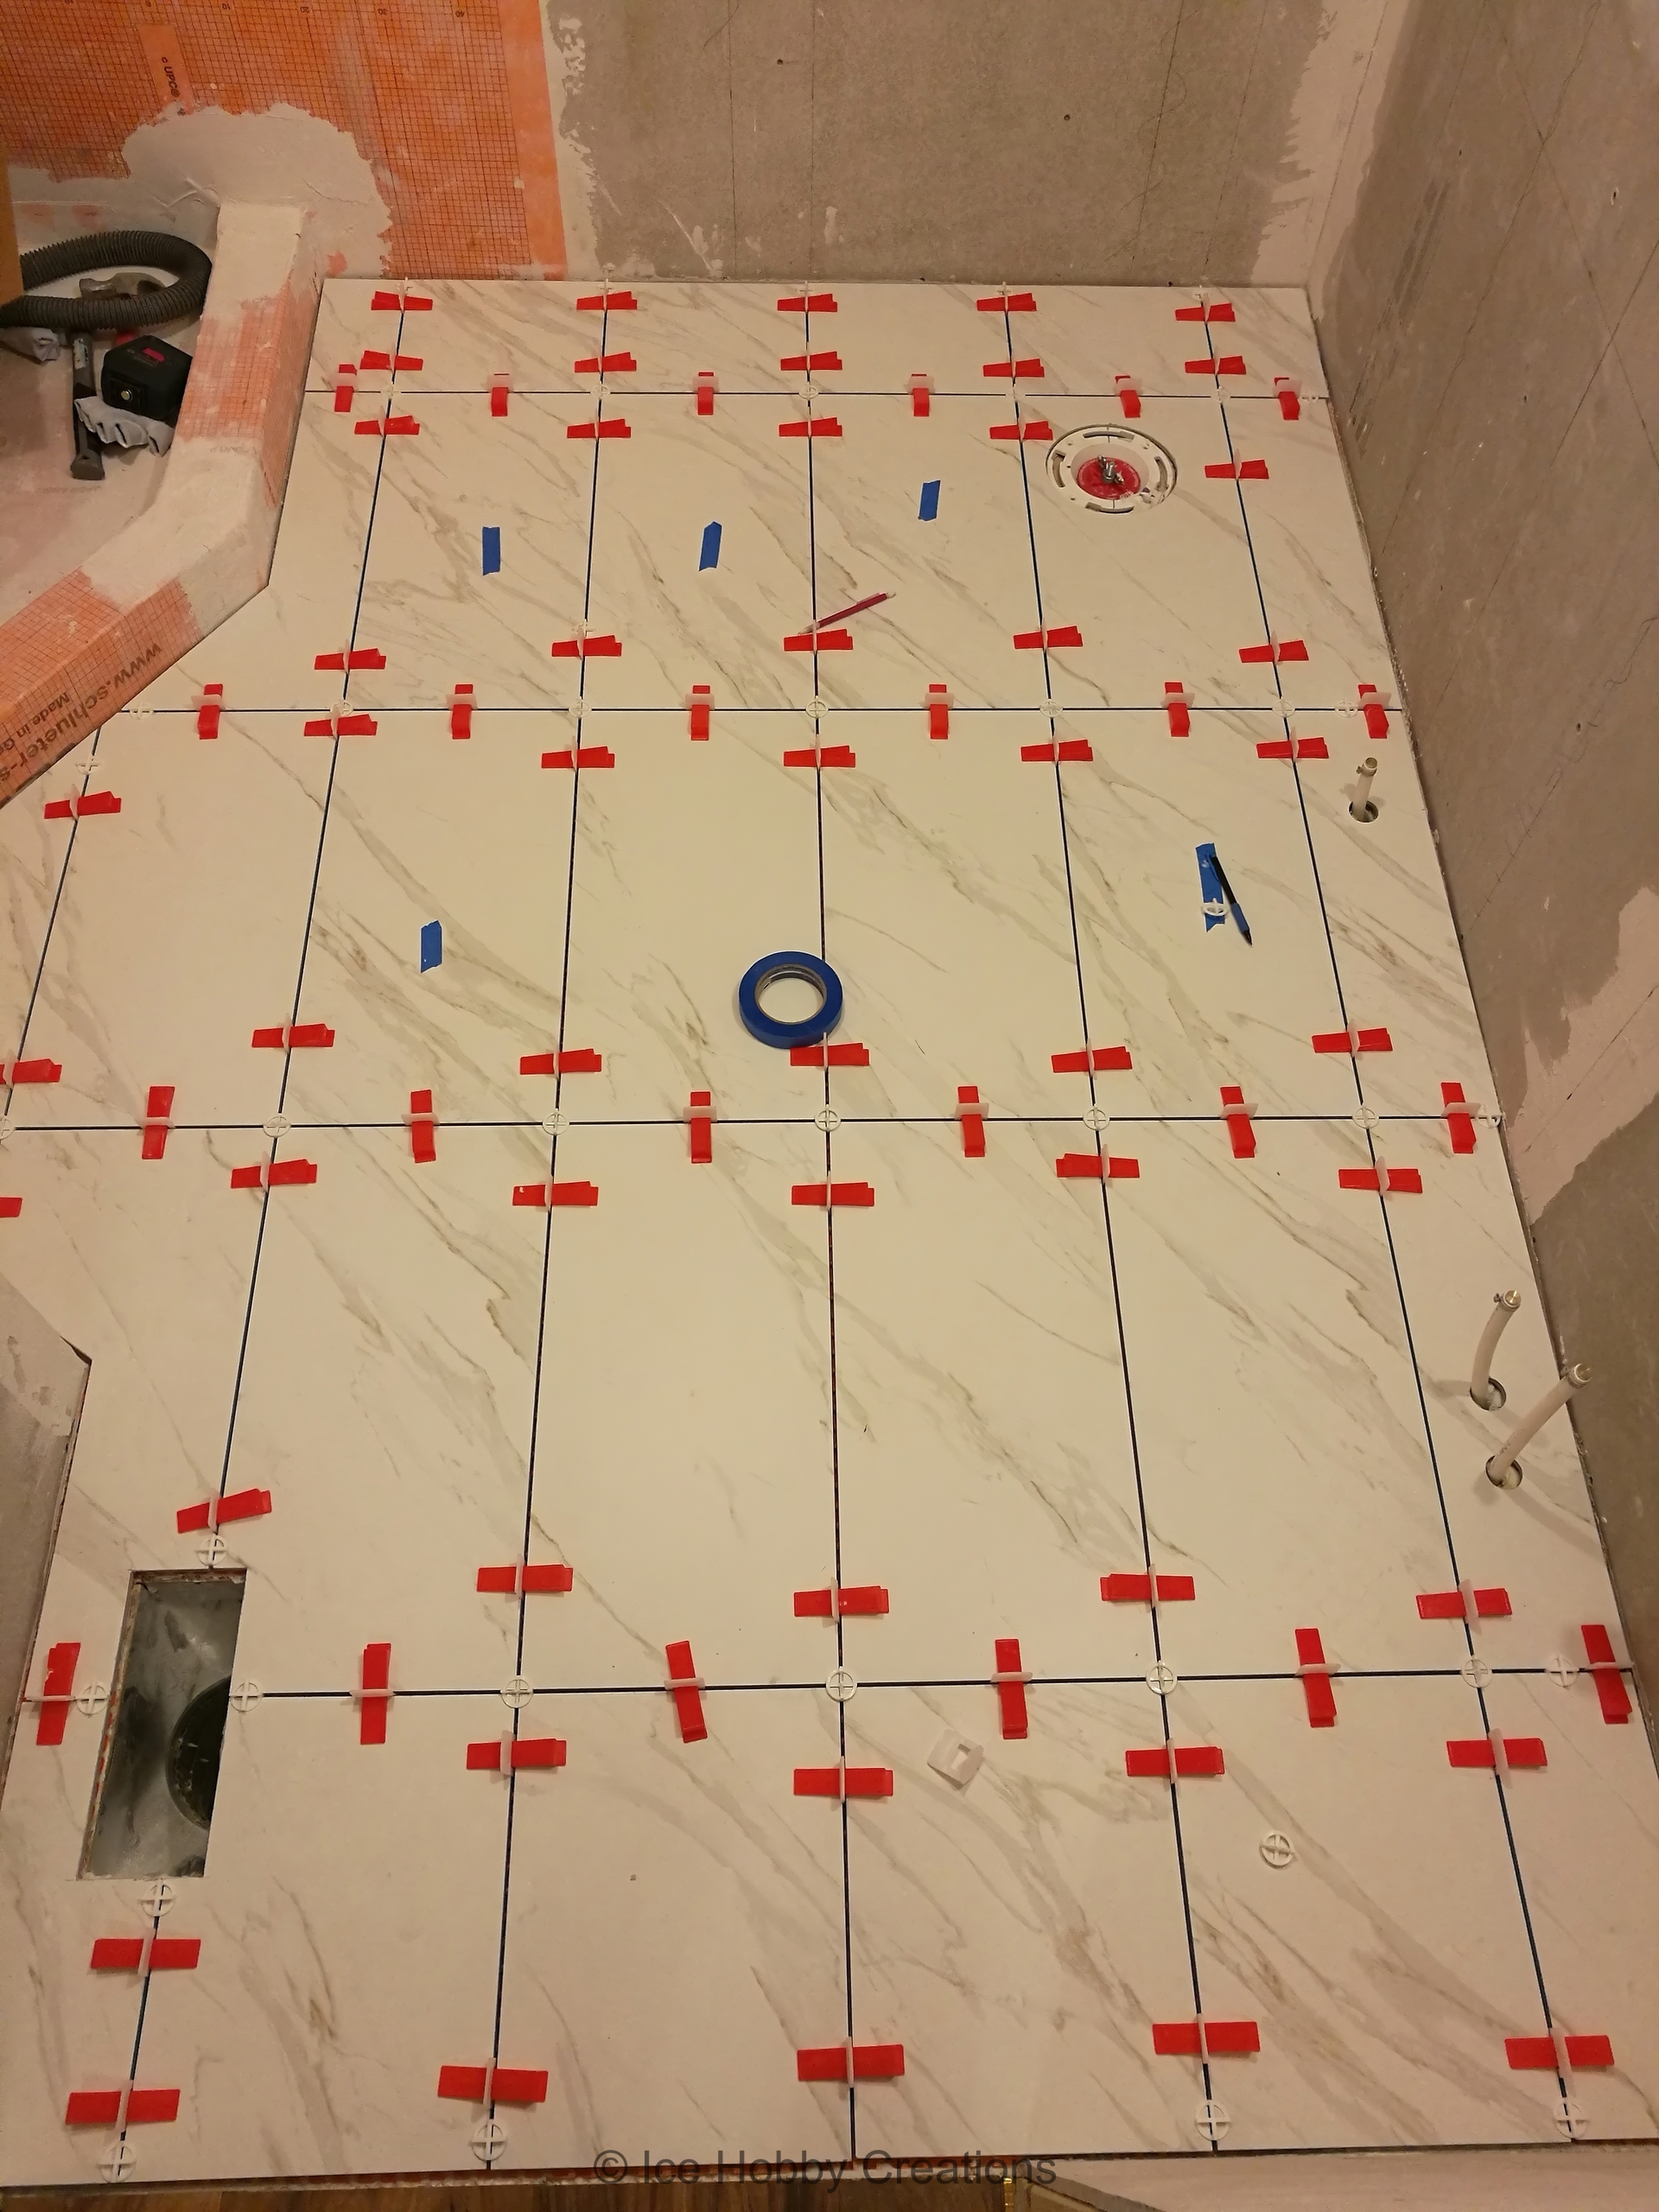
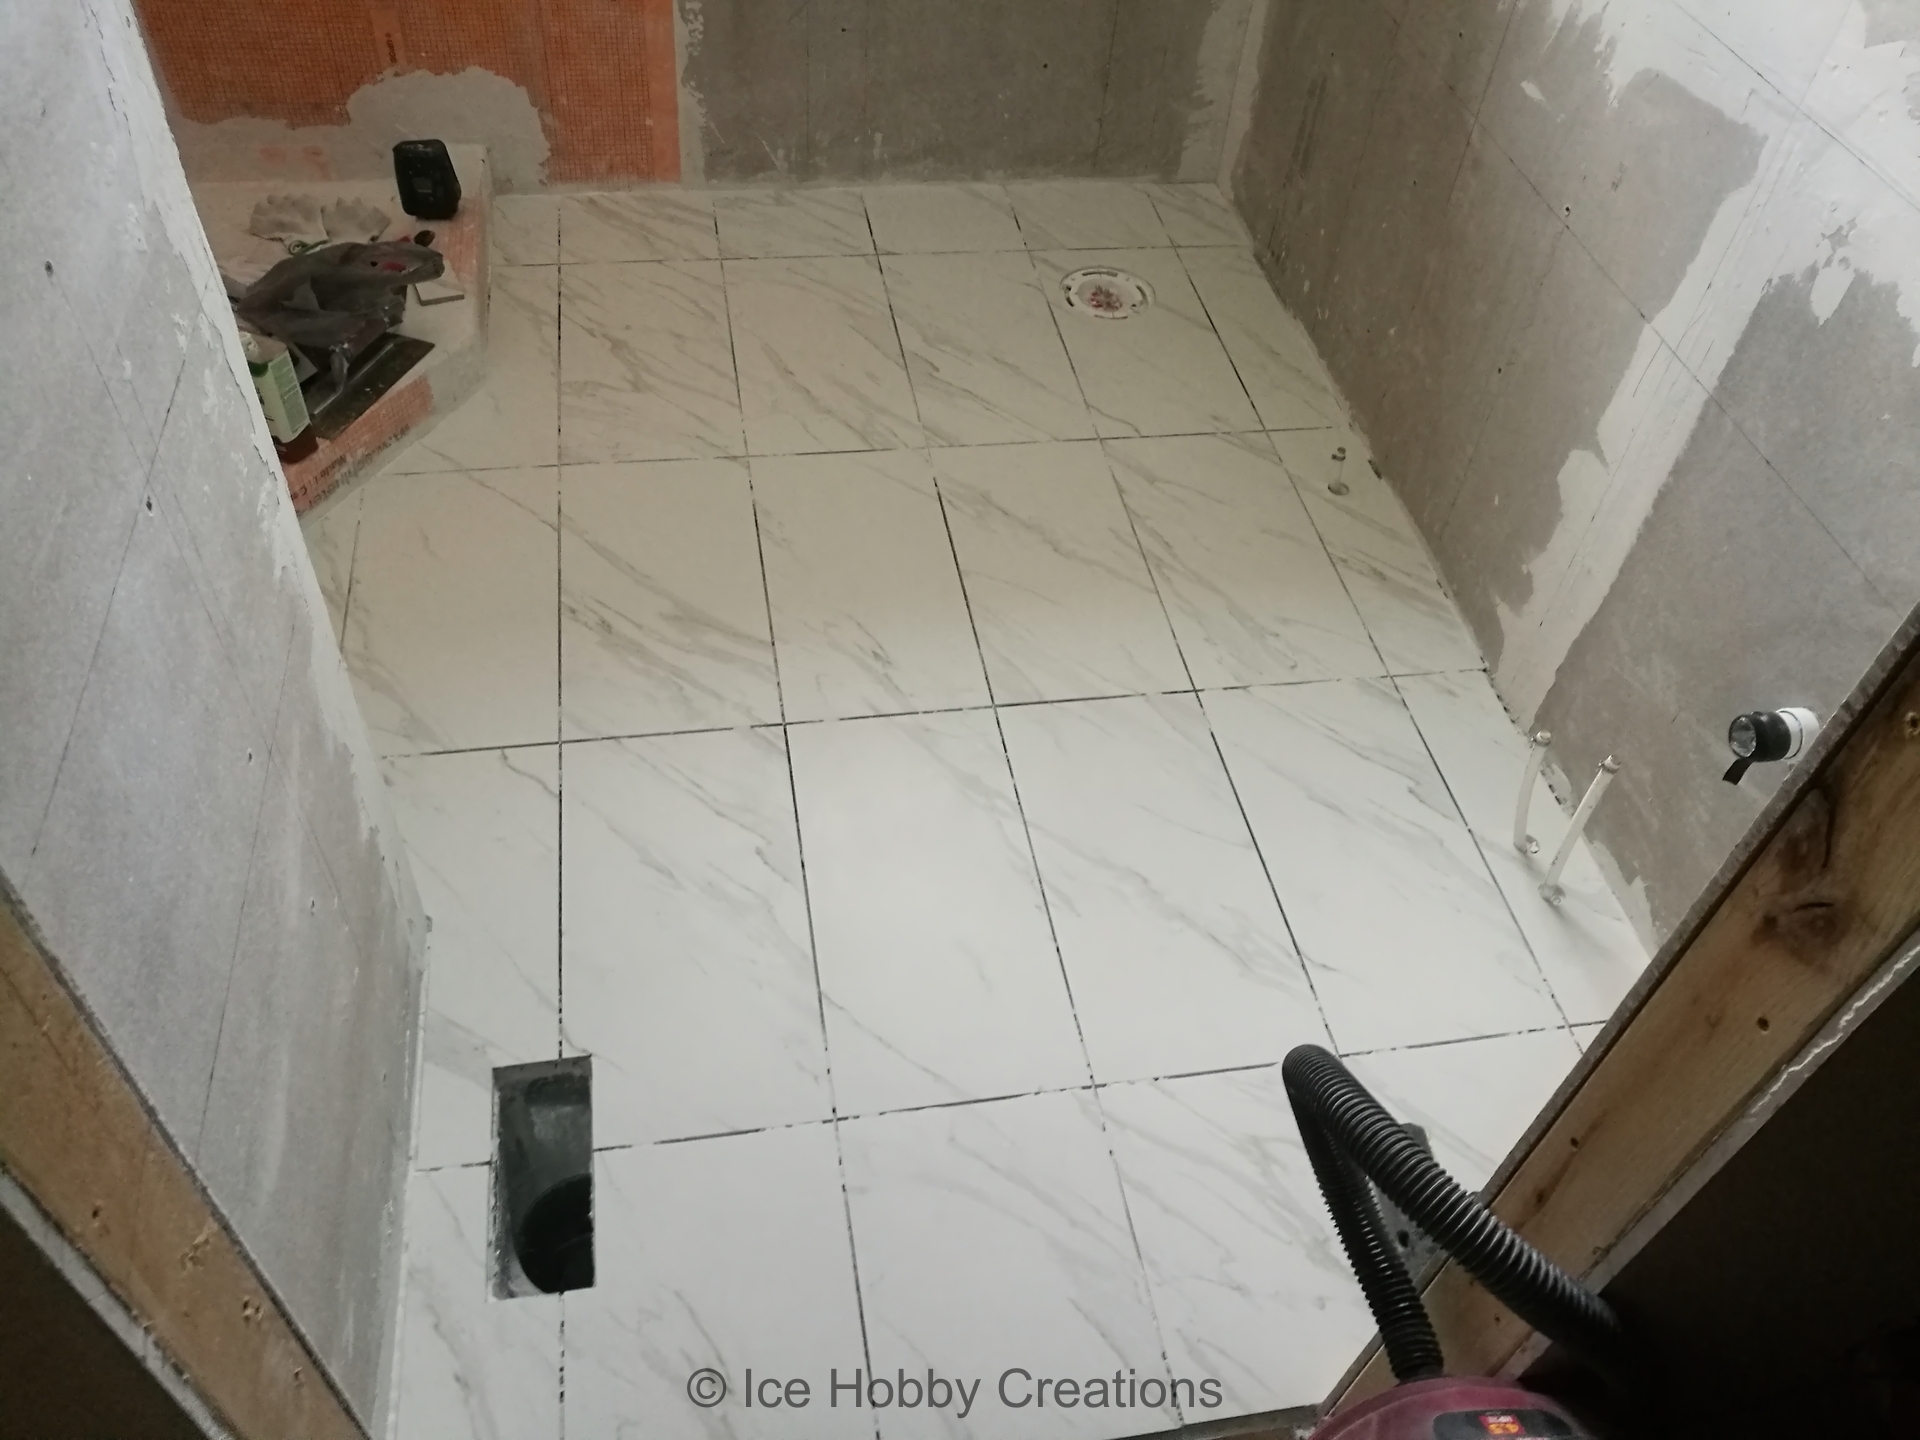
And finally, I get started on tiling on the floor, no going back now! Before I knew it, the floor in the main portion of the bathroom was finished.
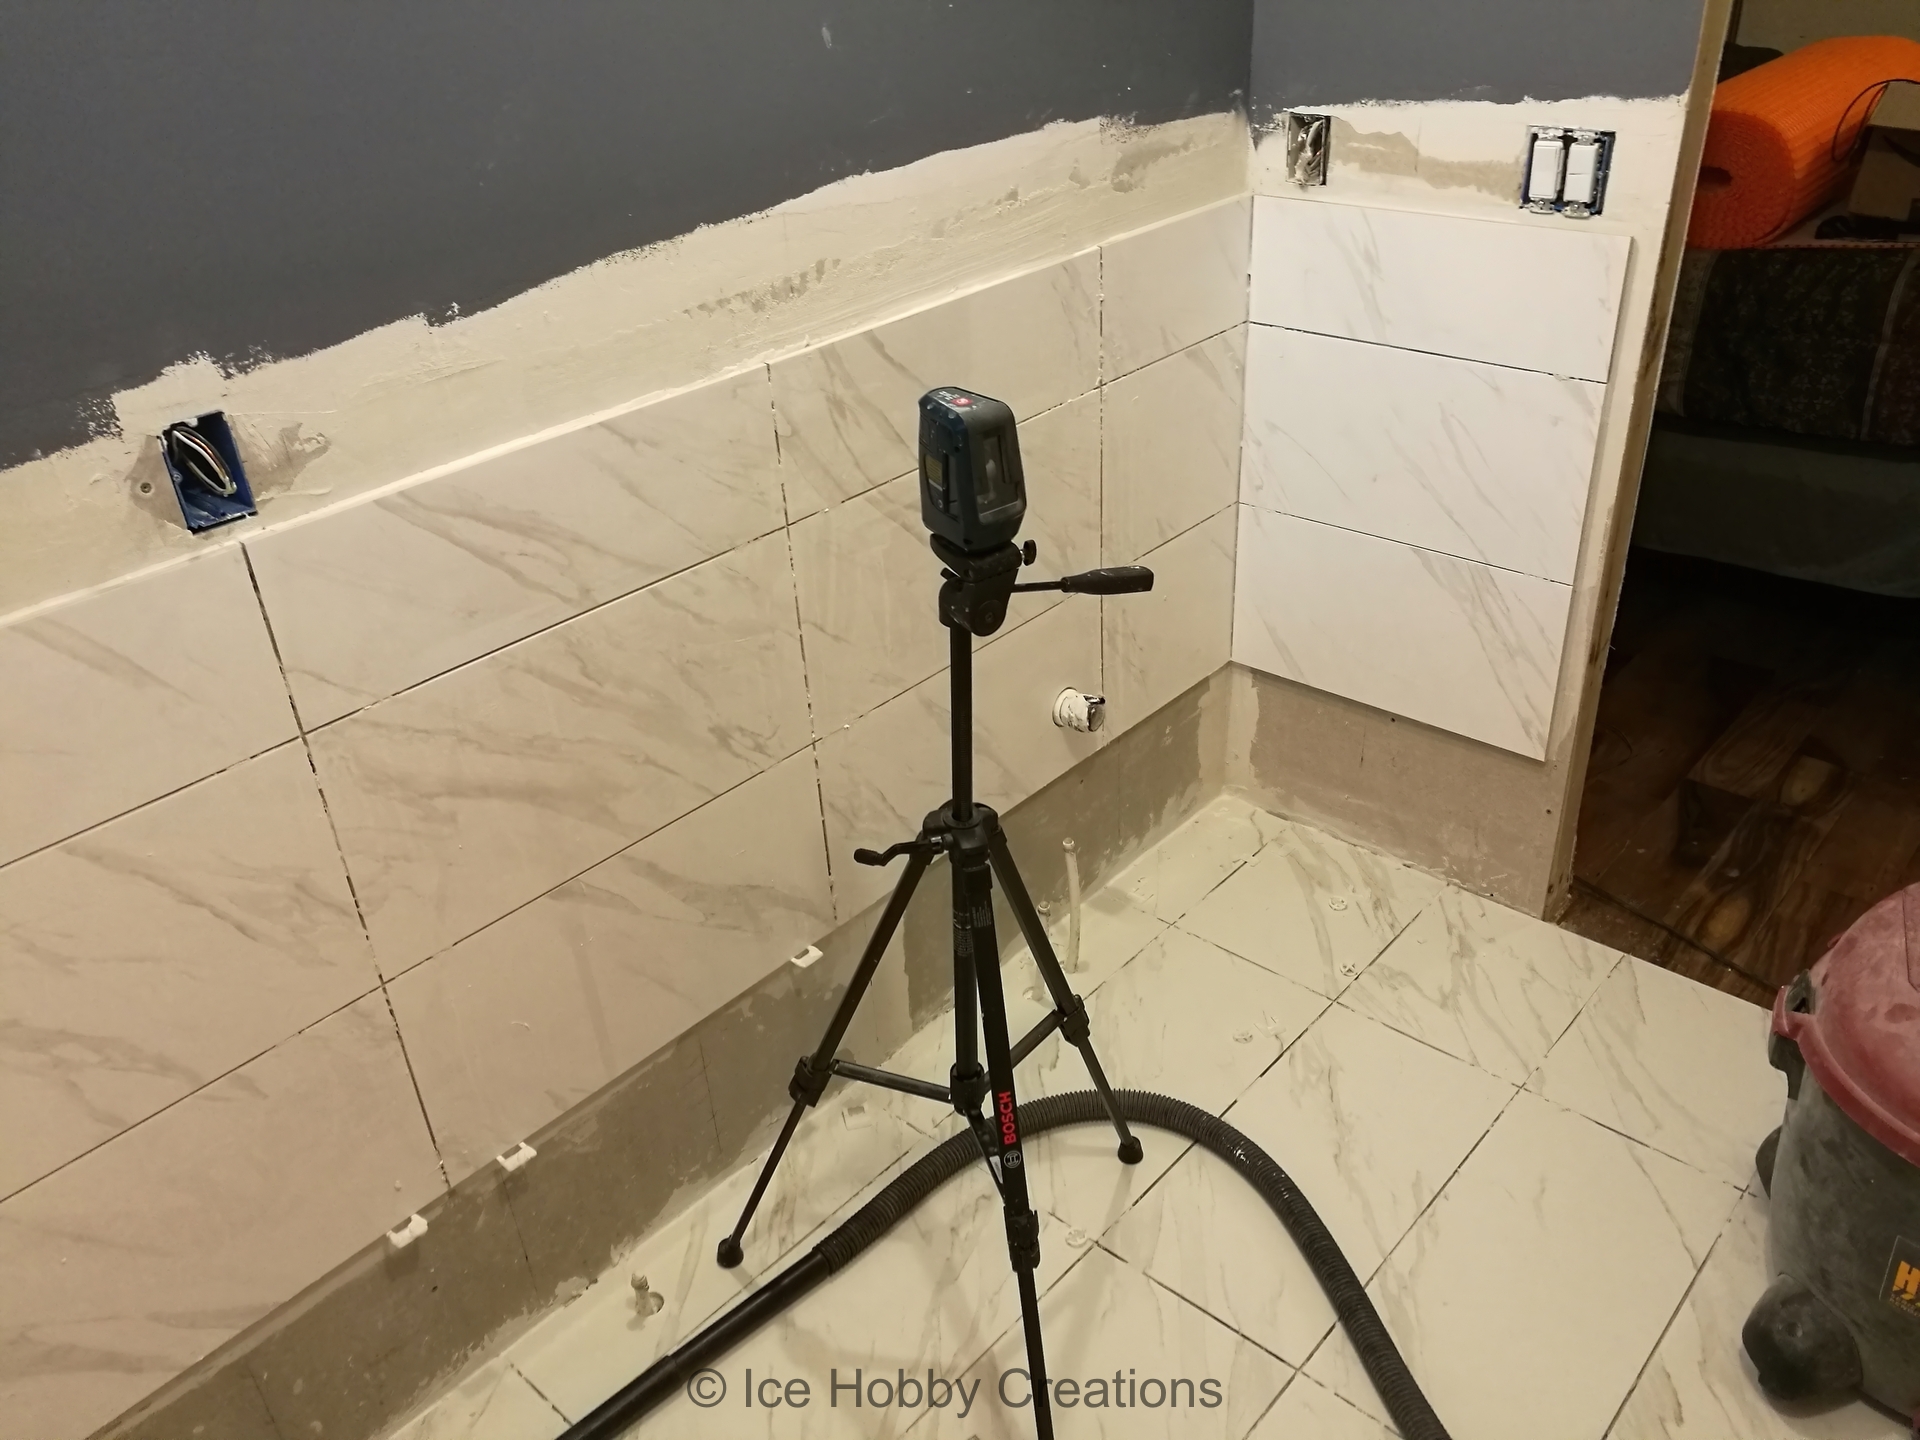
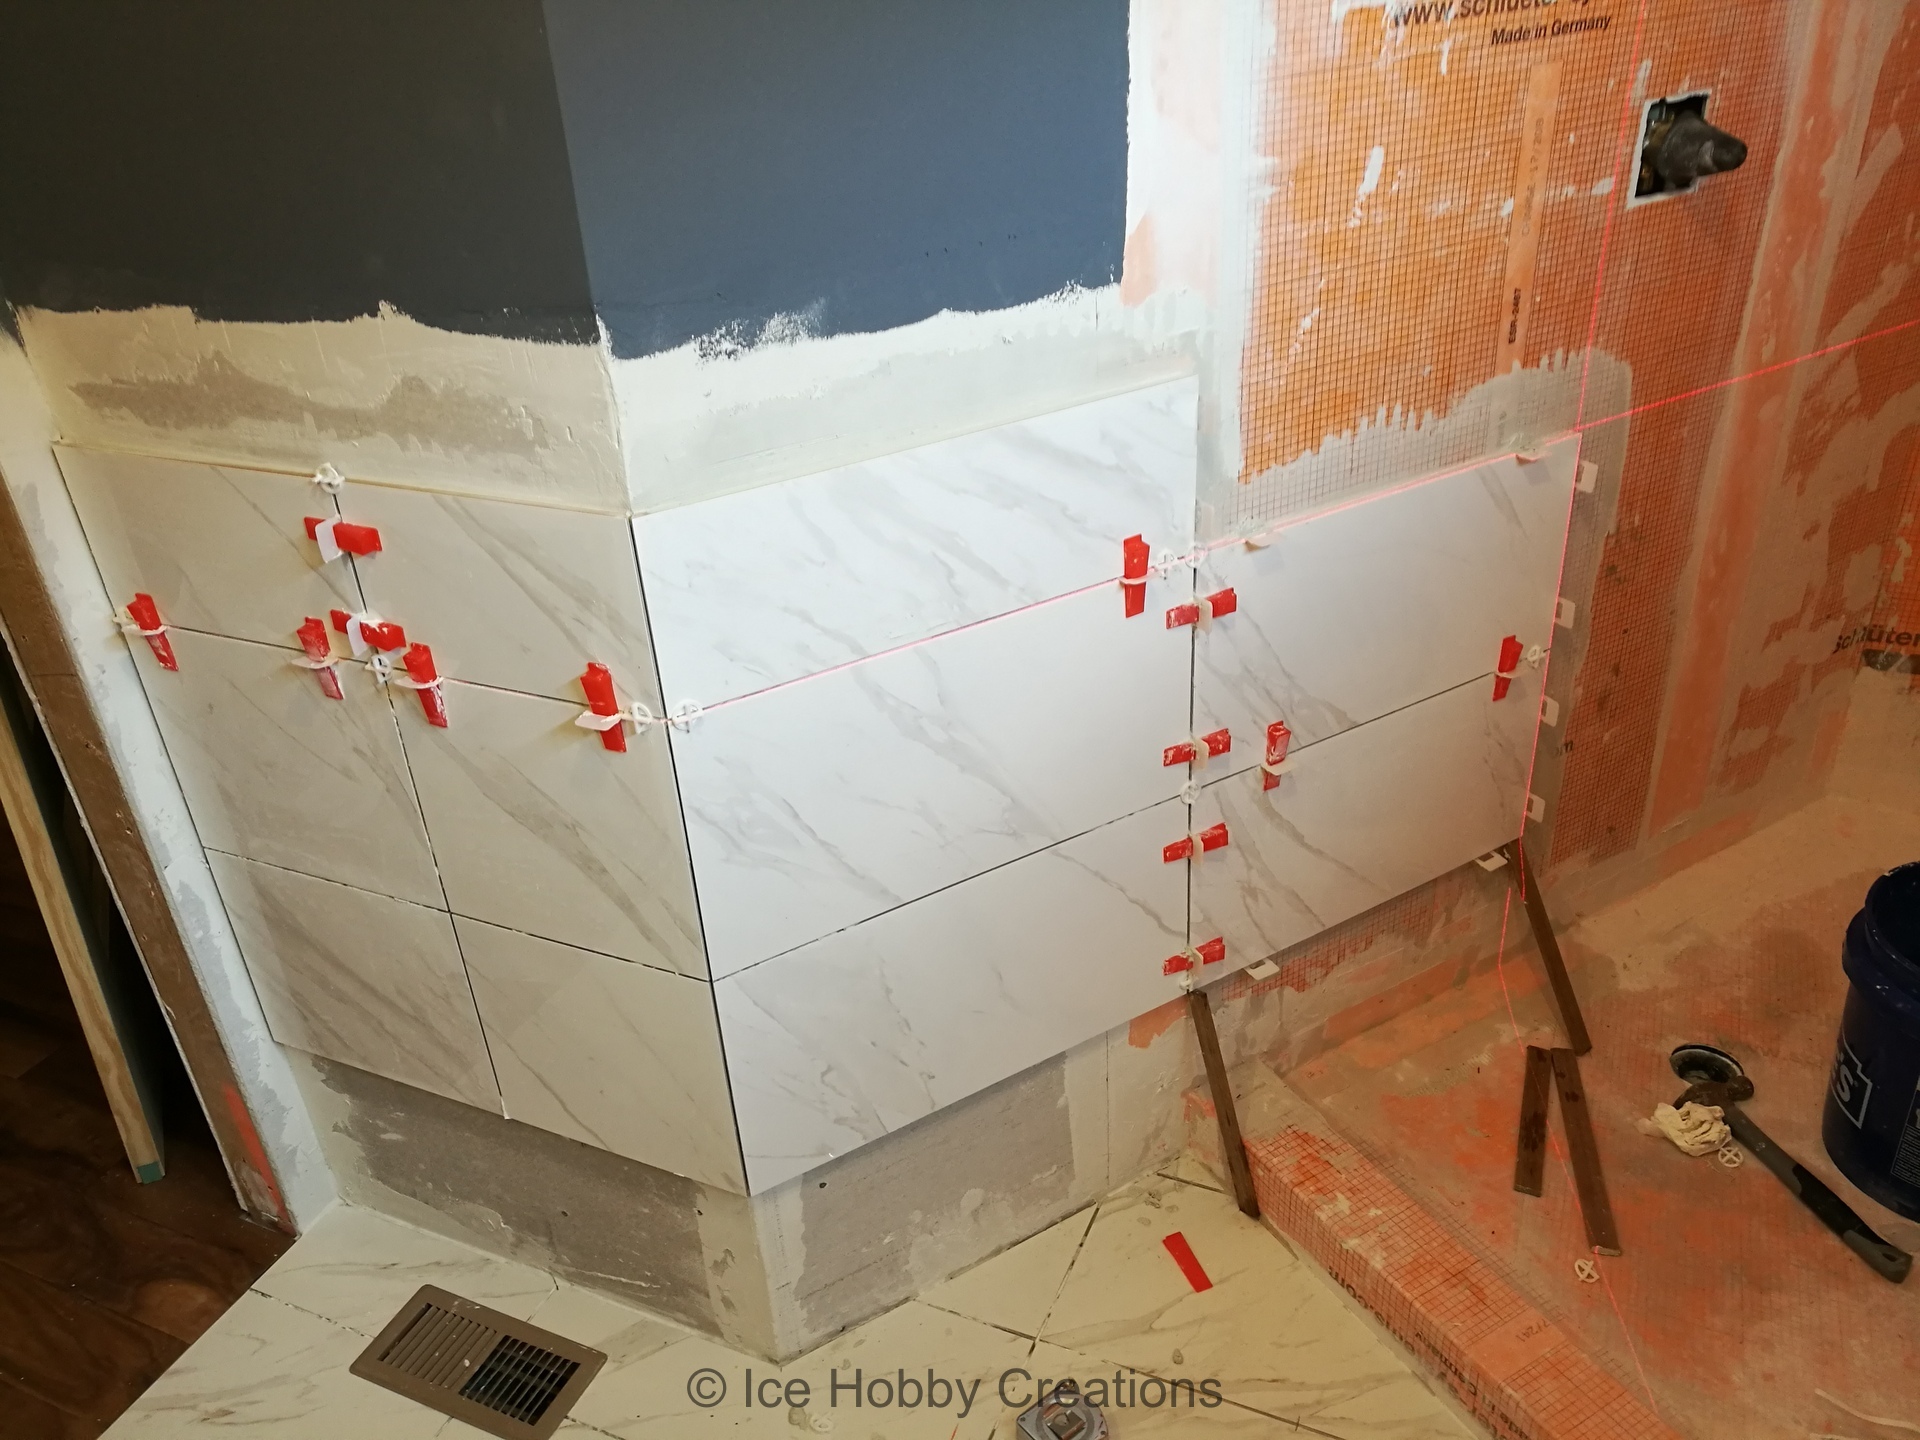
Laid out lines for the wall tiles and got started. Everything is going smoothly so far and I'm making pretty good progress!

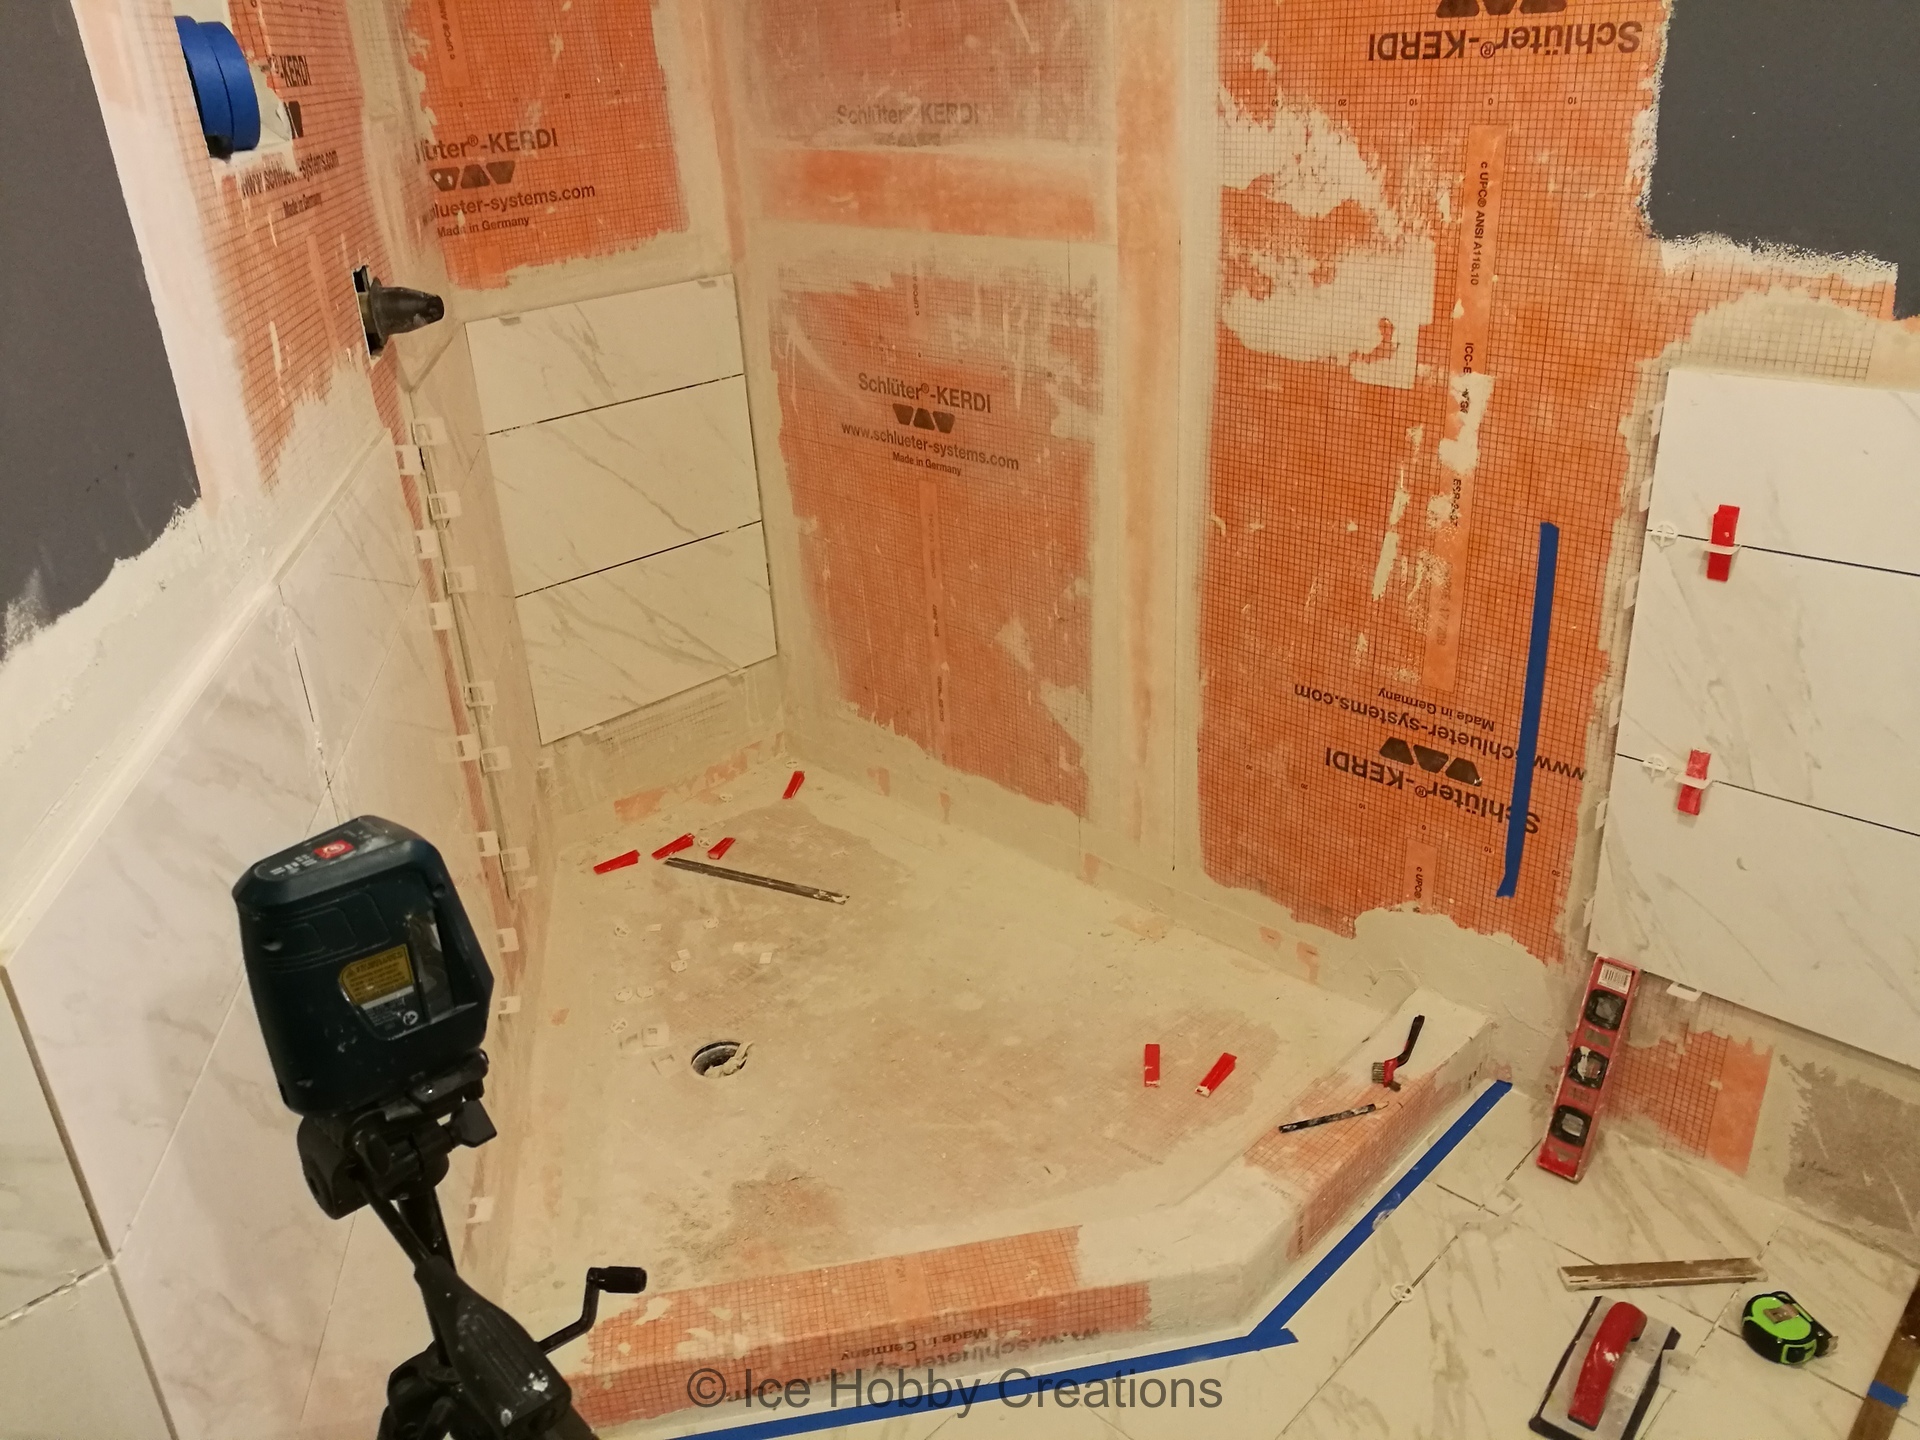
Progressing into the shower...
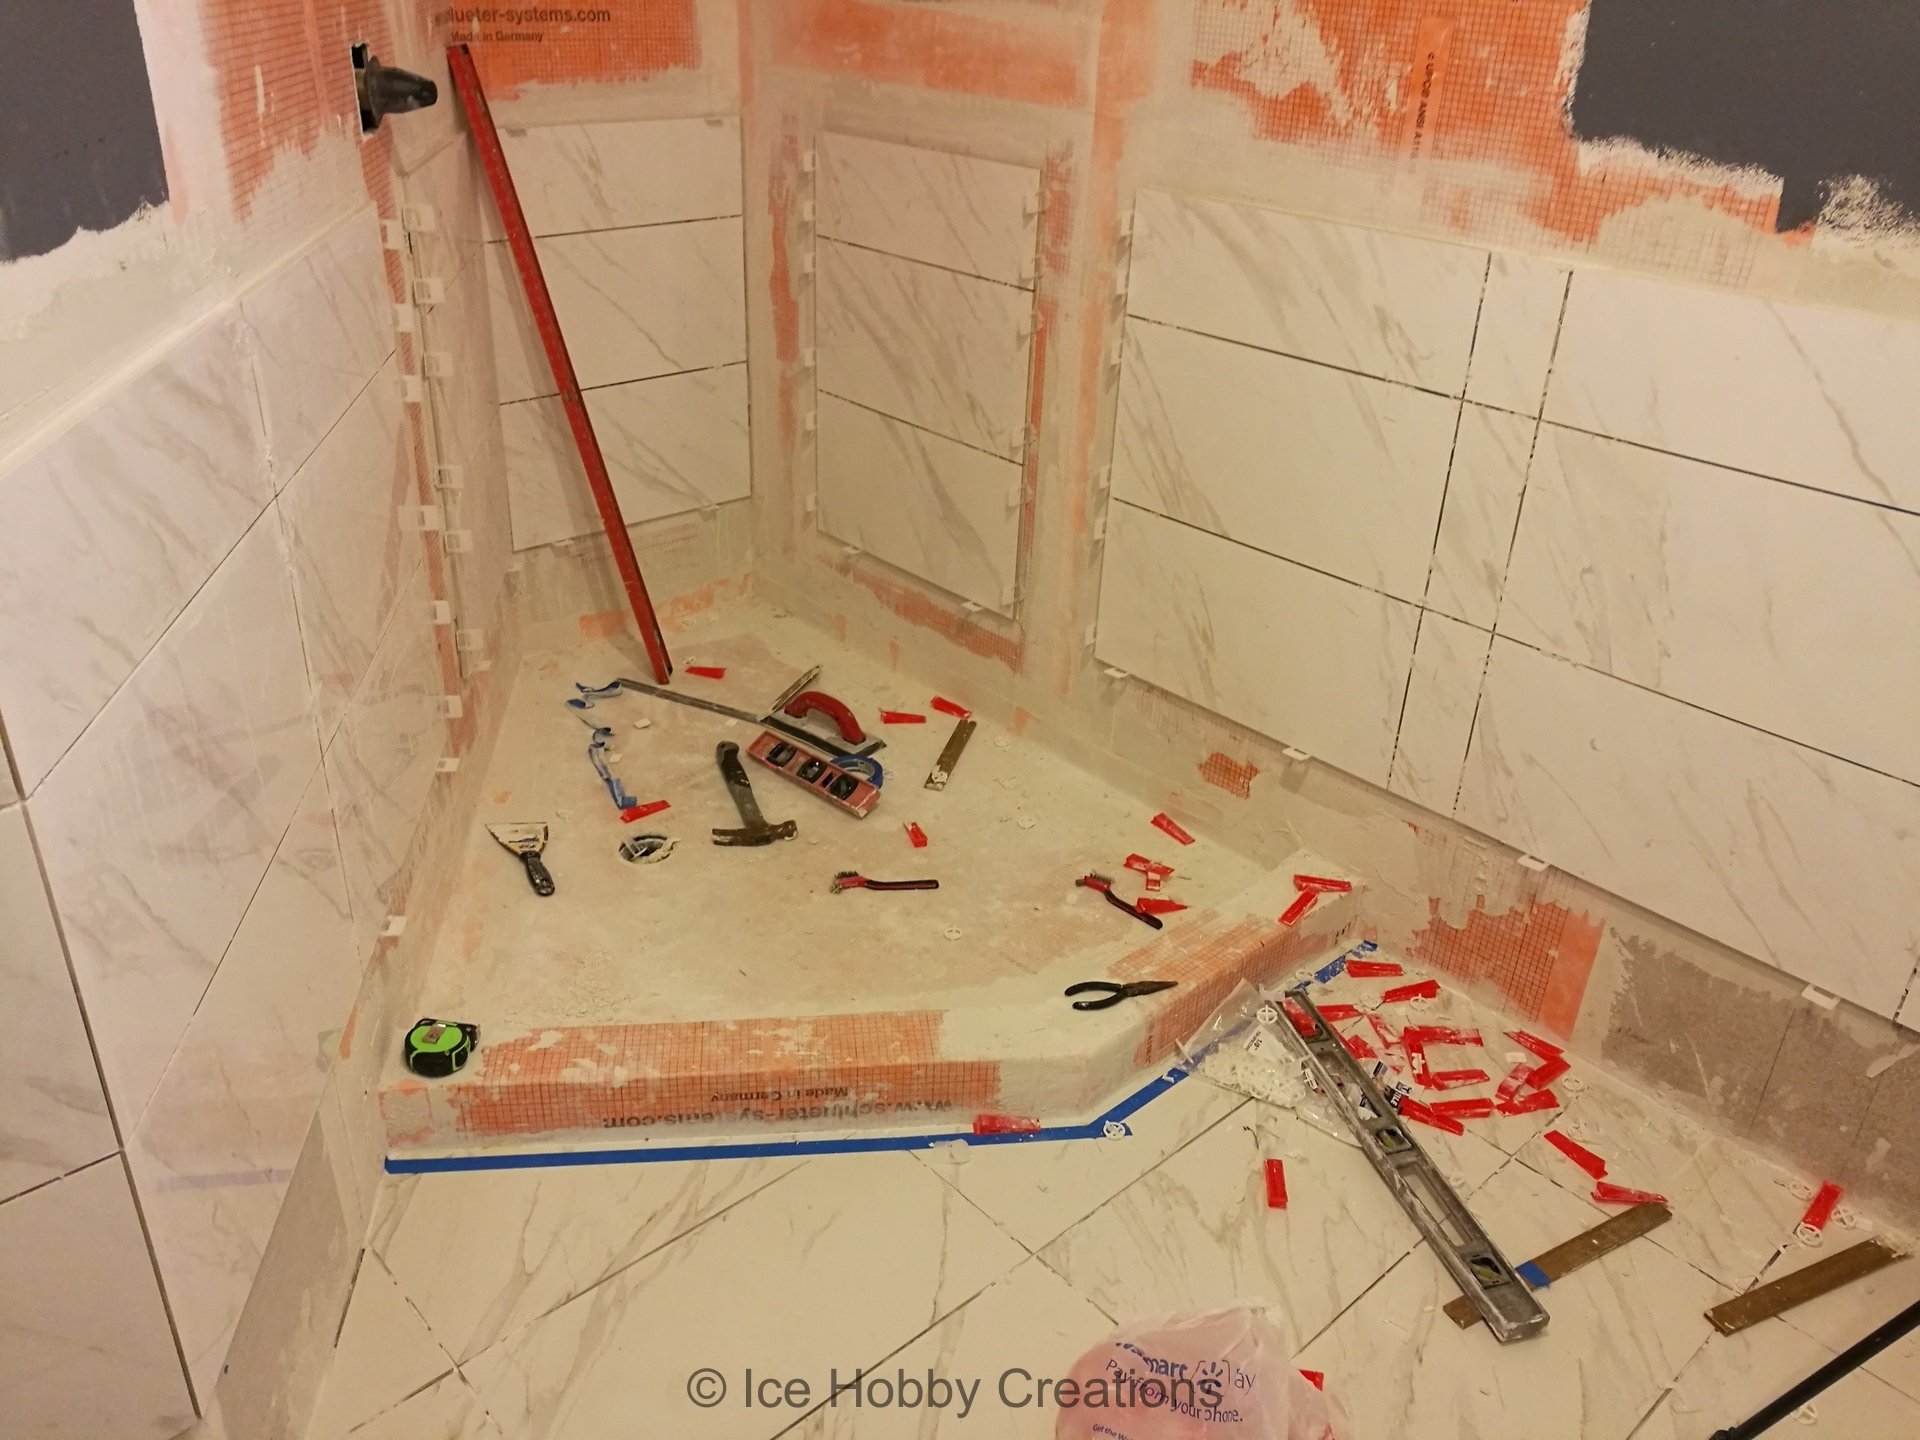
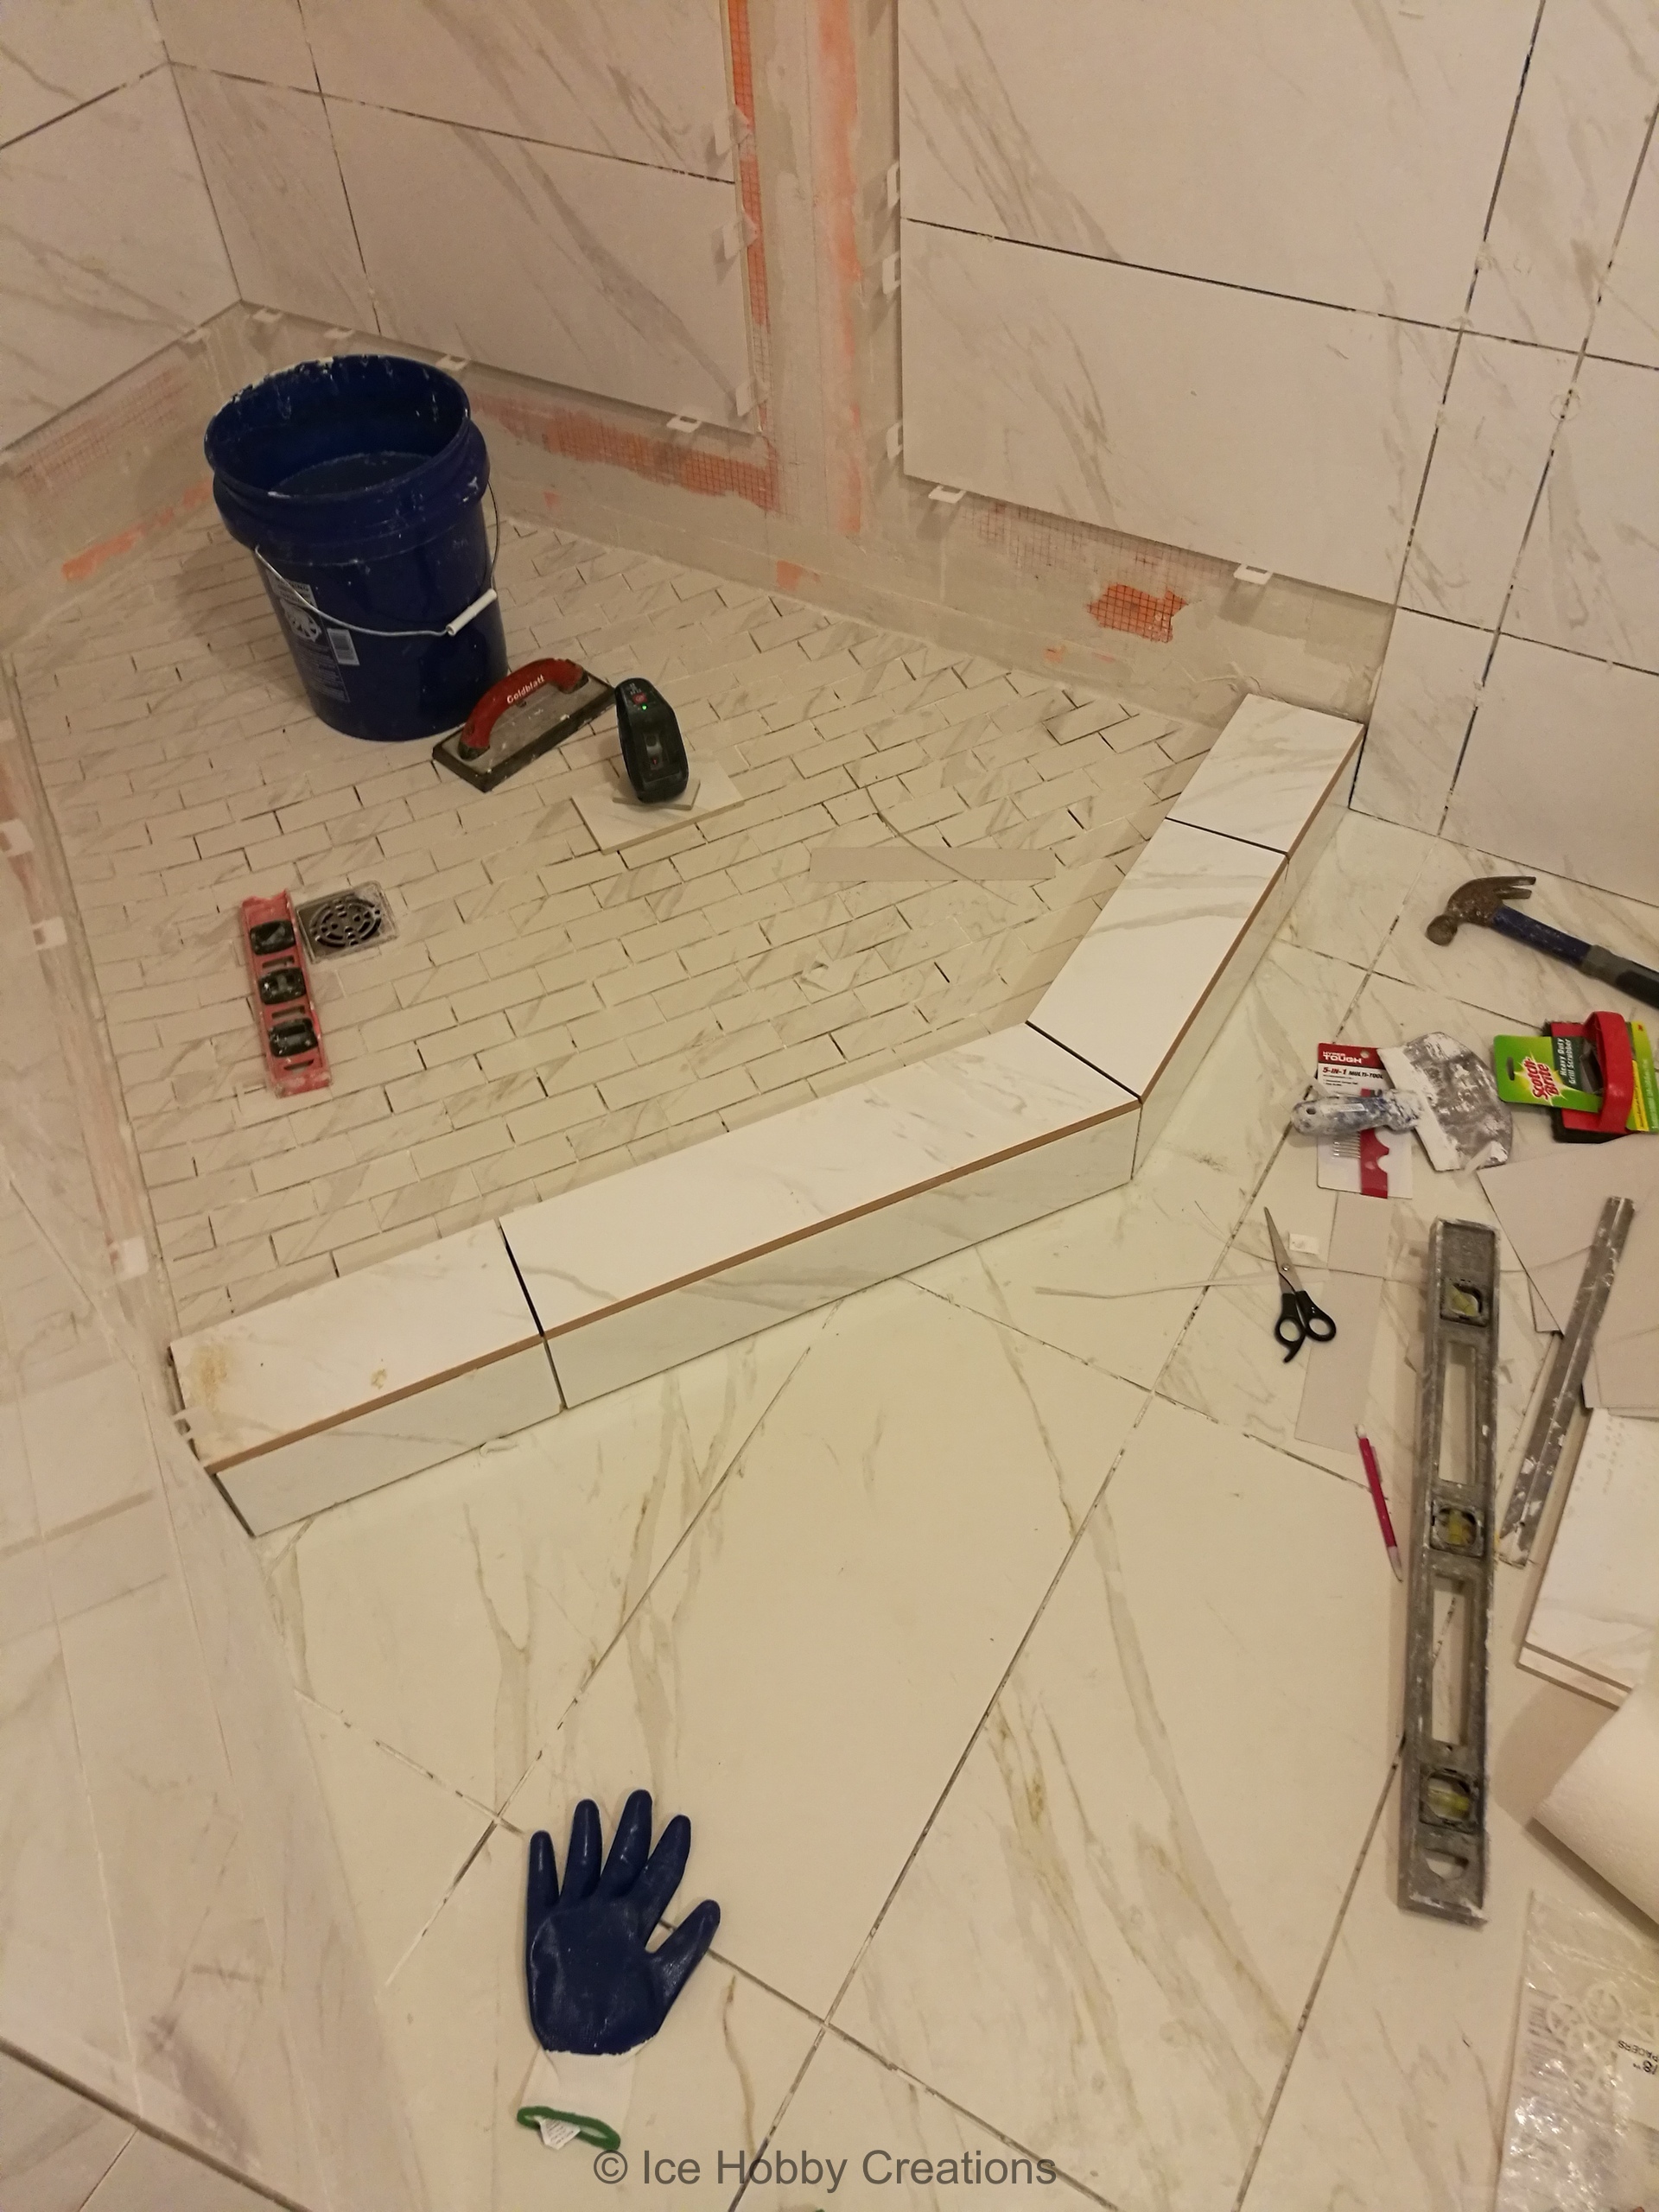
Have now finished the shower floor and the curb.
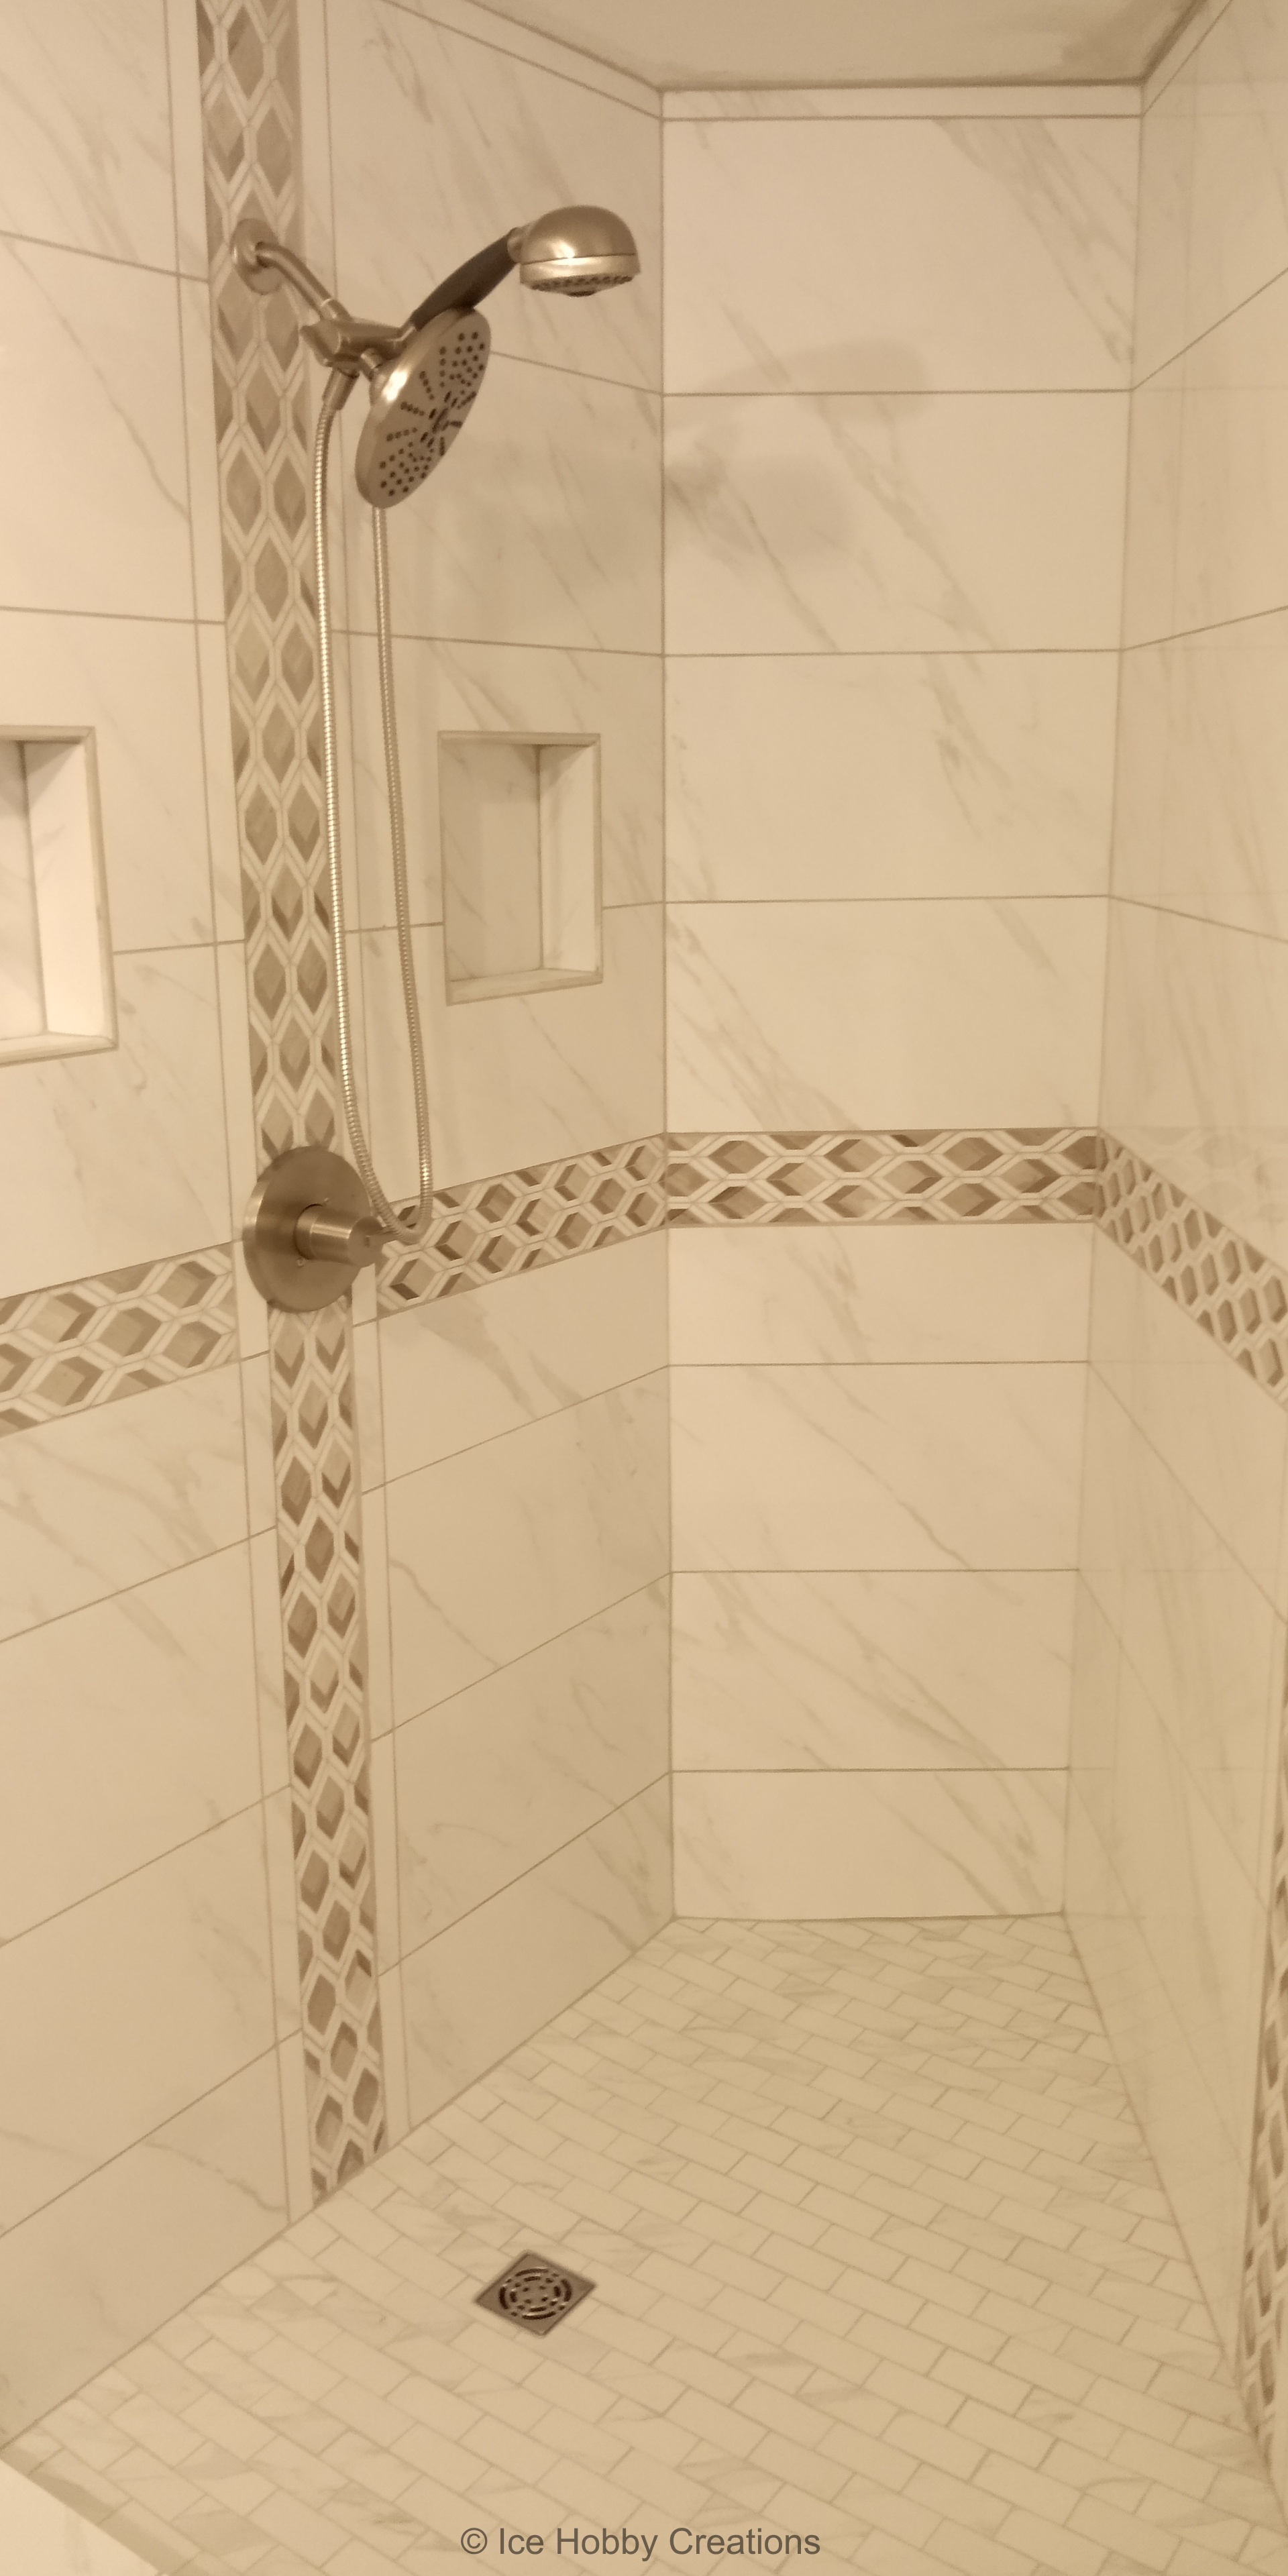
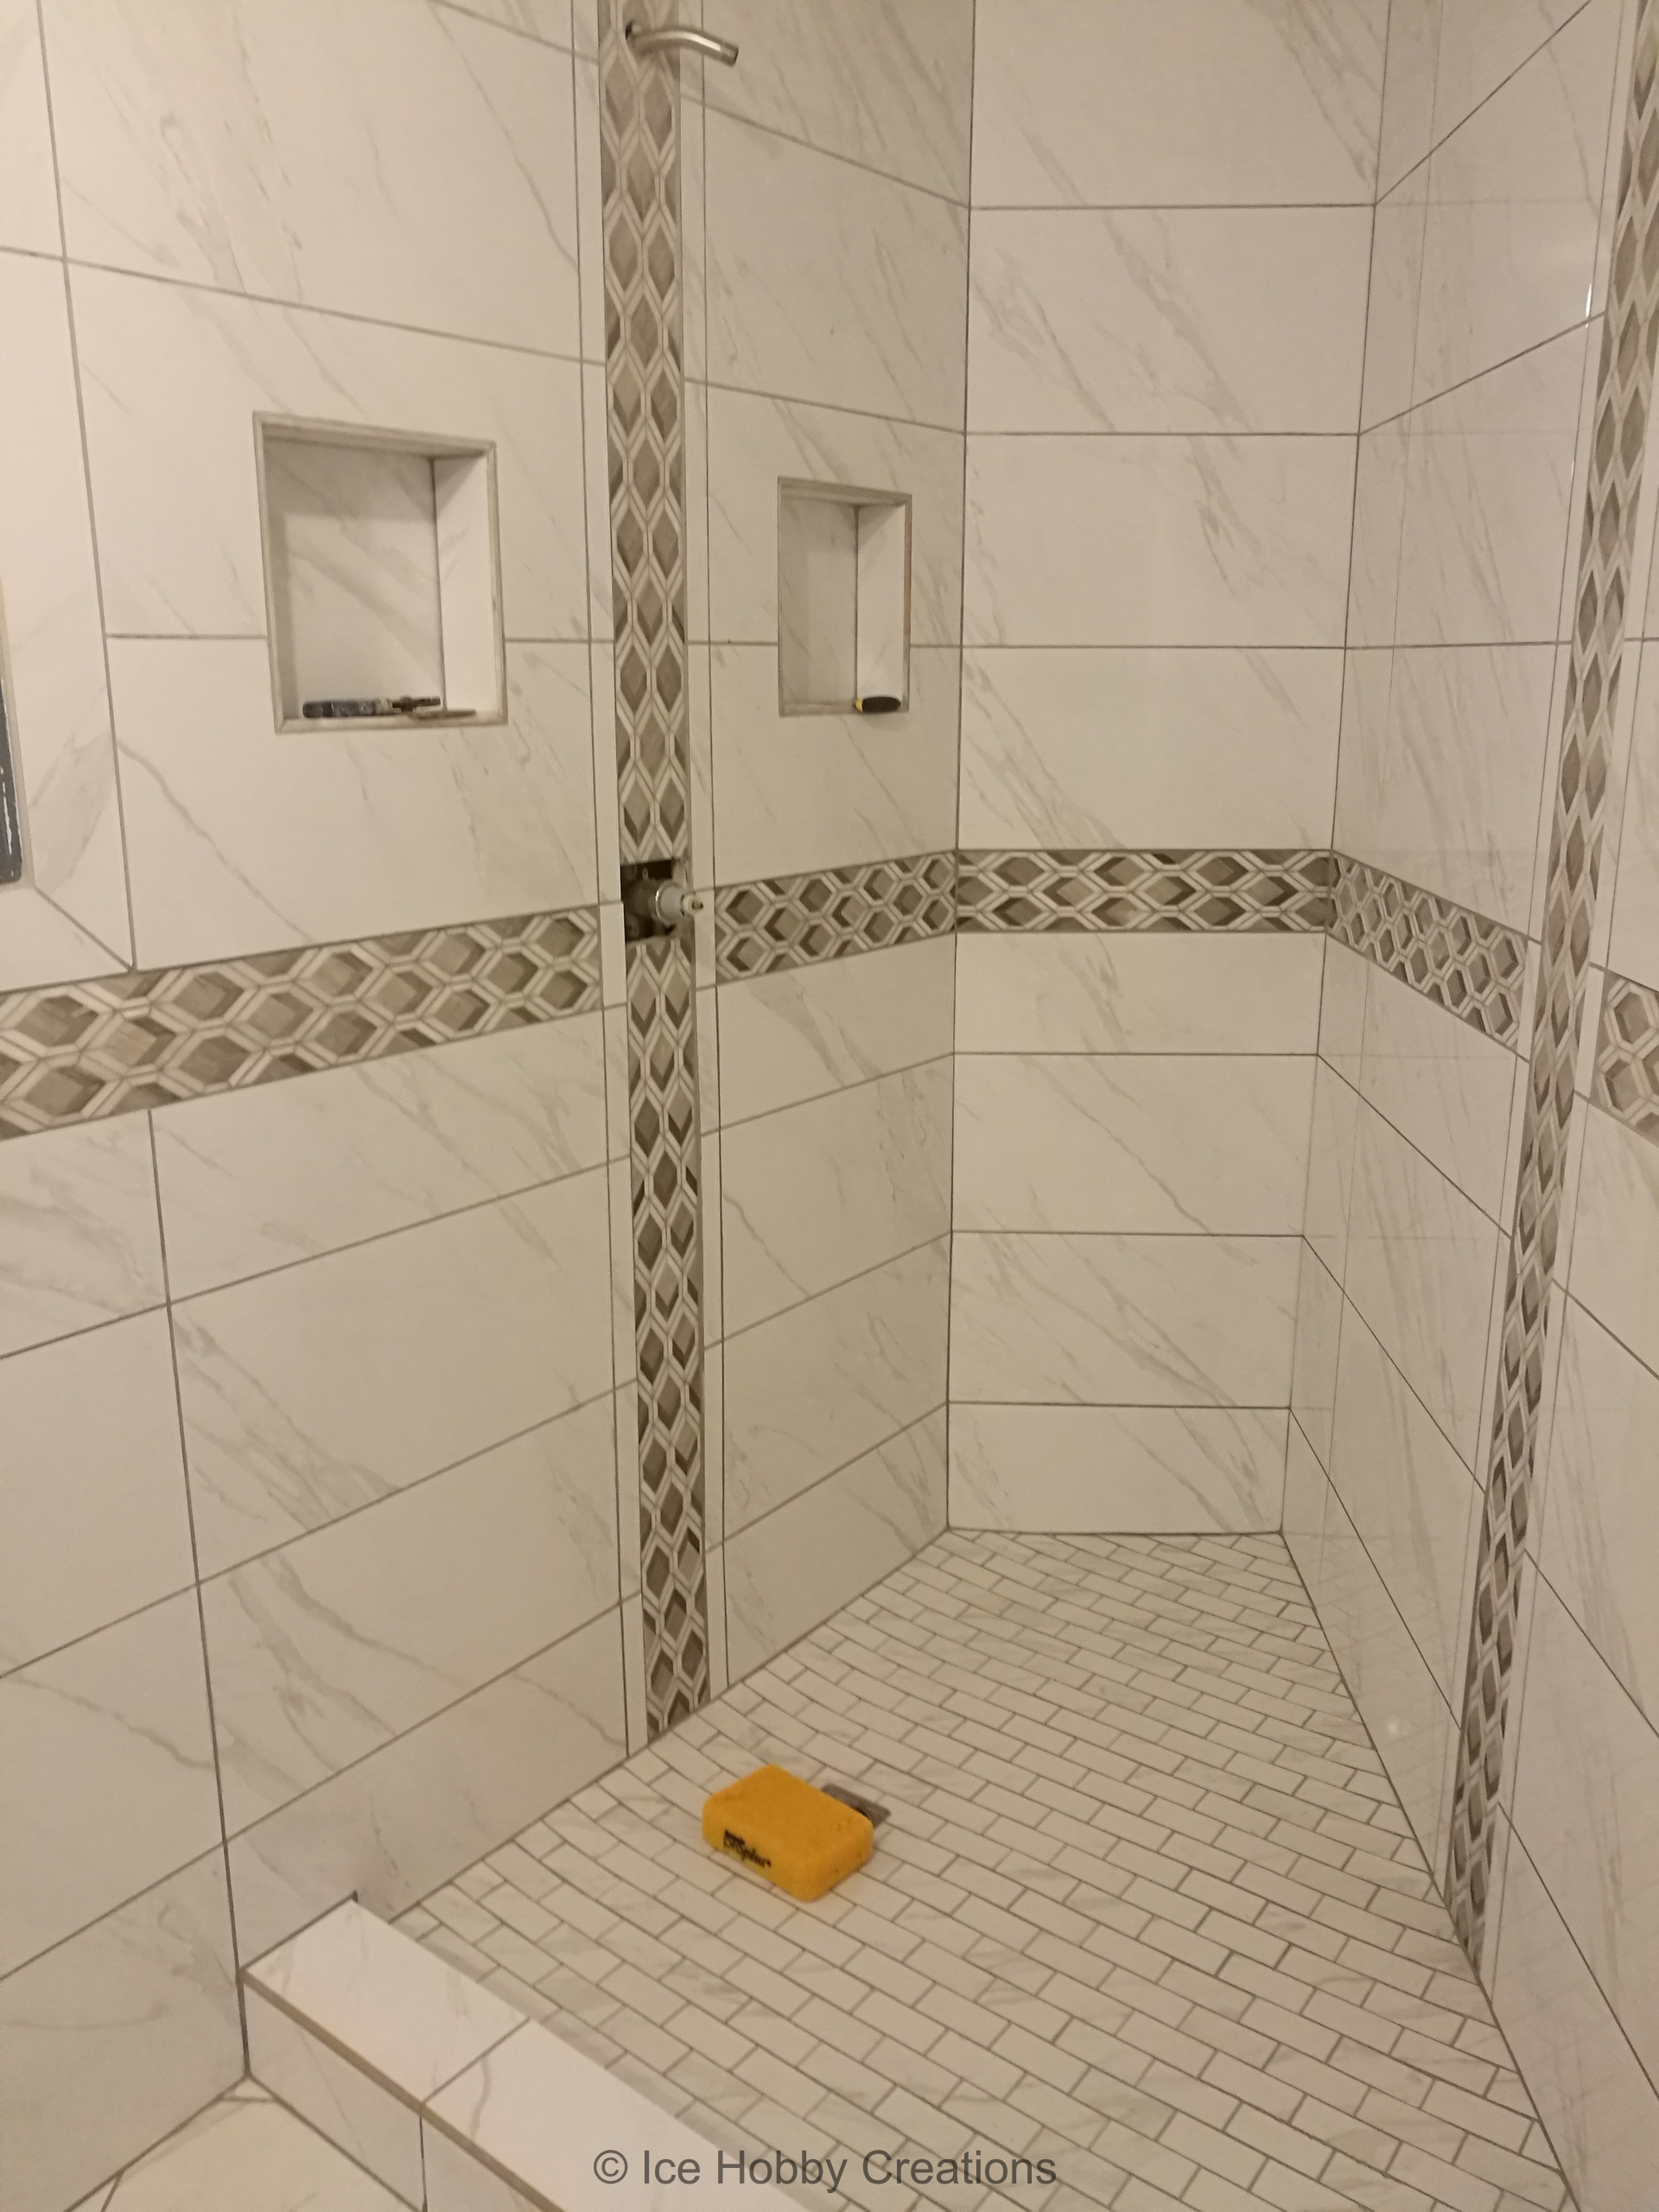
I've started installing the detail inlays... Can you spot my multiple mistakes? No? Well I won't tell... This is the most frustrating thing, because from a distance it looks great, and if you aren't OCD, you may never notice one of the two things I did "wrong". First, the shadow direction on the inlay tile is not consistent, it makes it come across as a bit of a random pattern and isn't too big of a deal. The other issue is one that I'm really disappointed in myself for making. For the large tiles, a large notch trowel had to be used to ensure full coverage. For the small detail tiles, a much smaller notch trowel is used, and the total thinset thickness is also much less. Have you figured out the issue? Unfortunately, I didn't think this through well, and the inlay is not flush with the other tile, and varies in how not flush it is. I dumbly plowed forward without thinking and before I knew it, it was too late to do anything about it...

Regardless, there's only so much time for regret in life! Here we've progressed to grouting, and even though I will never be able to "un-see" my mistakes, I'm very pleased with the final outcome (and the problem doesn't show up very well on camera, lol)!

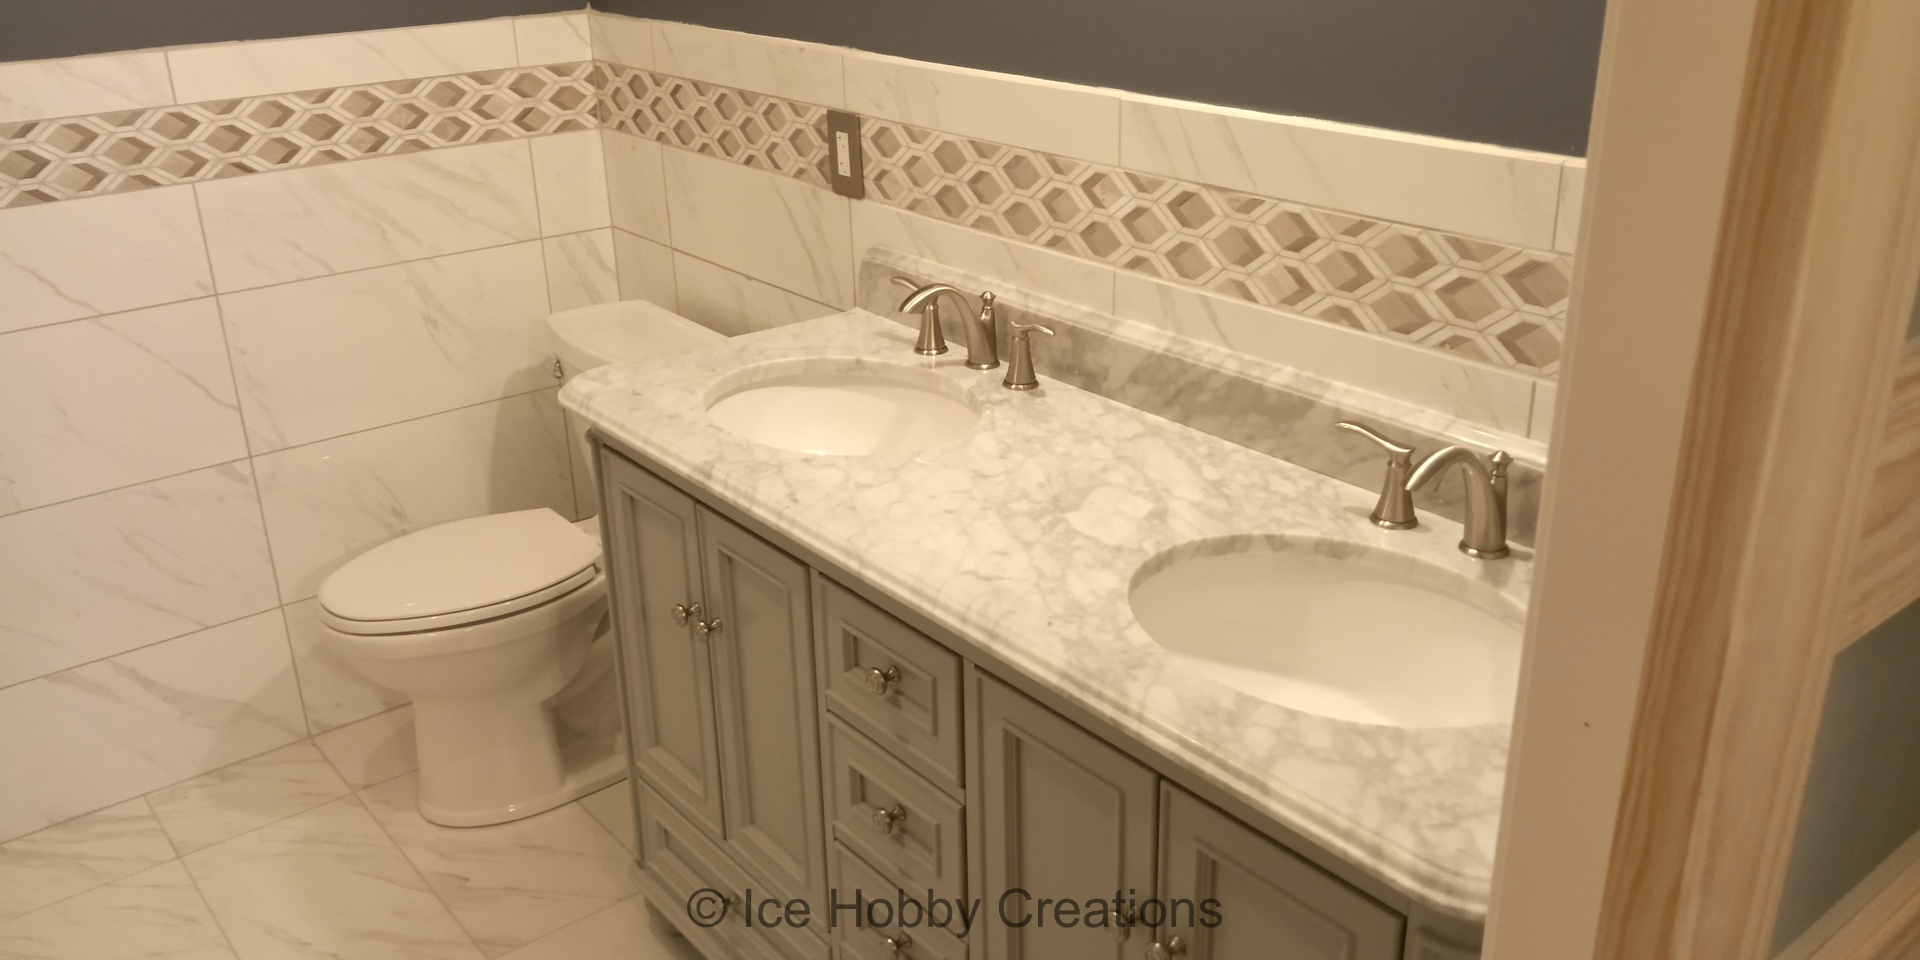
Here I've installed the toilet, dual sink vanity, and plumbing fixtures and it all comes together quite nicely!