Not leaving "not good enough" alone
If you haven't checked out Part 1, I highly recommend you start there.
At this point, I'm ecstatic with the ability of the lathe and spindle, but I just can't help but feel pretty bad about all of the "shortcuts" I had taken while I was throwing this thing together... So, at the end of 2019, once again, browsing Youtube, I stumbled across someone talking about tuning up cheap linear bearings from AliExpress. This got ideas rolling around in my head again. So, I browsed on over to the notorious site and did some searching for some linear bearings, and lo and behold, I found some 20mm bearings and rails for a super cheap price. Now, I know what you are thinking, of course they are cheap, they are also super low quality! Well, you aren't wrong, but that's rarely stopped me in the past! Unfortunately I didn't take a lot of pictures during the "initial" rail upgrade, but the holes in the bed were welded shut, and a bed of JB-Weld epoxy was put down for the rails to mount on. My surface plate was used to ensure the JB-Weld was perfectly flat and planar! Also, a new carriage was welded together and a similar process with JB-Weld was used to provide mounting pads for the bearing blocks and linear bearings.

Well, if I'm going to put linear bearings on the thing, I have to also put some motors on it to go full Cnc... A bit more browsing and I found a seller I'd purchased stepper motors from several years ago. They had closed loop 5N.m. Nema 34 steppers and drivers for only ~$102 a set! Well, I decided to take a chance... I really wanted to do things right with the new components, so I set about putting together an actual electronics enclosure. I designed it all in Autodesk's Fusion 360 software, down to the wire-runs, and then cut it out on my Cnc router/plasma machine. While the linear bearing's were questionable, I was very pleased with the motors and stepper drivers (nice and buttery smooth operation!), once I managed to get them wired up correctly, that is!

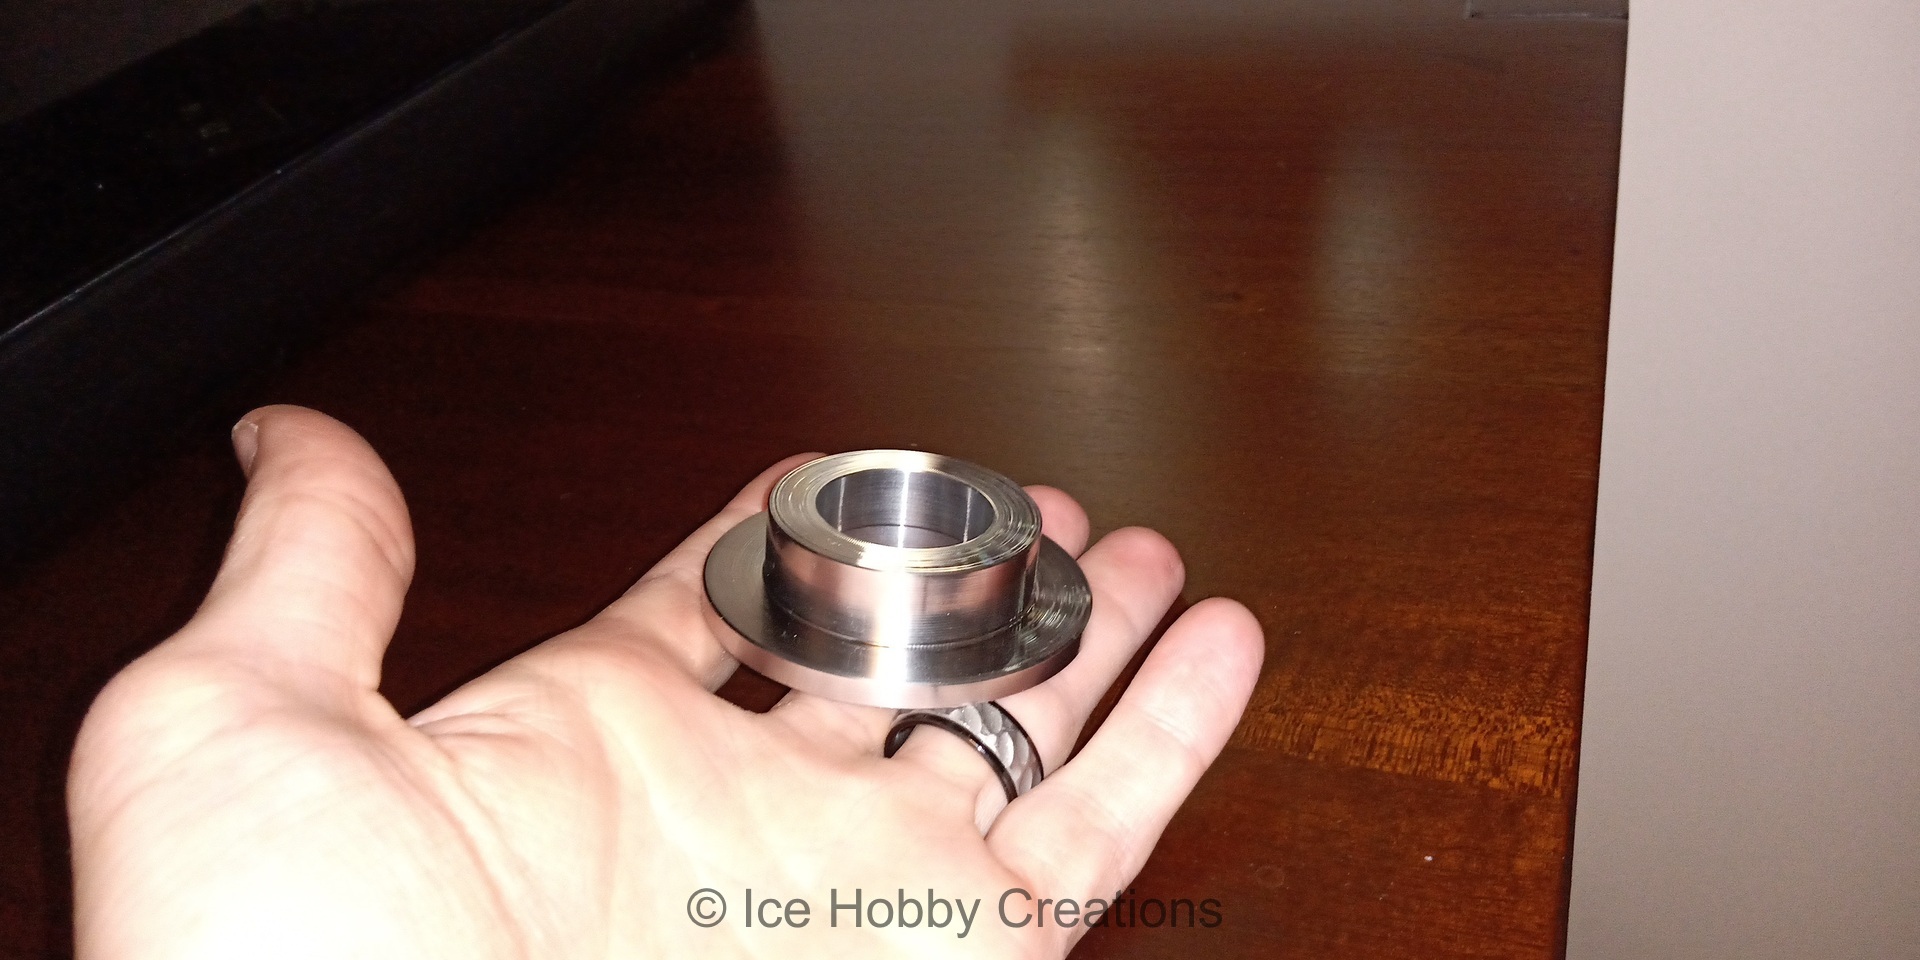
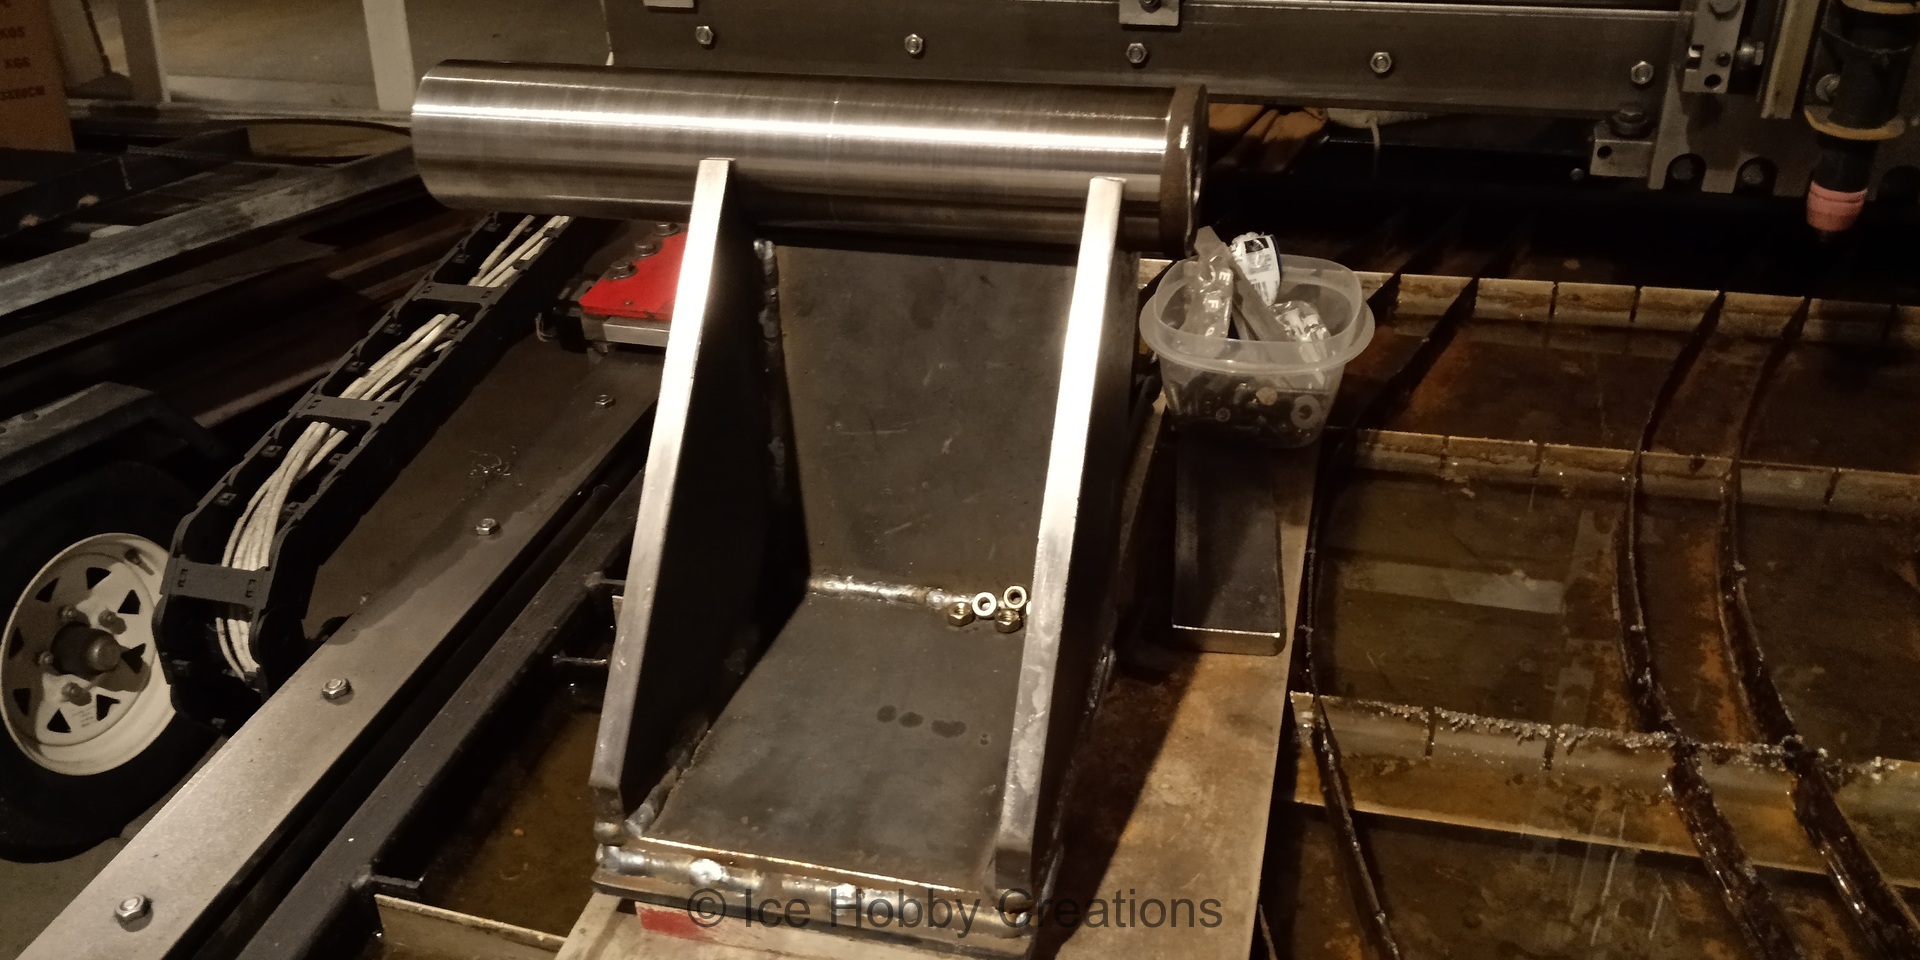
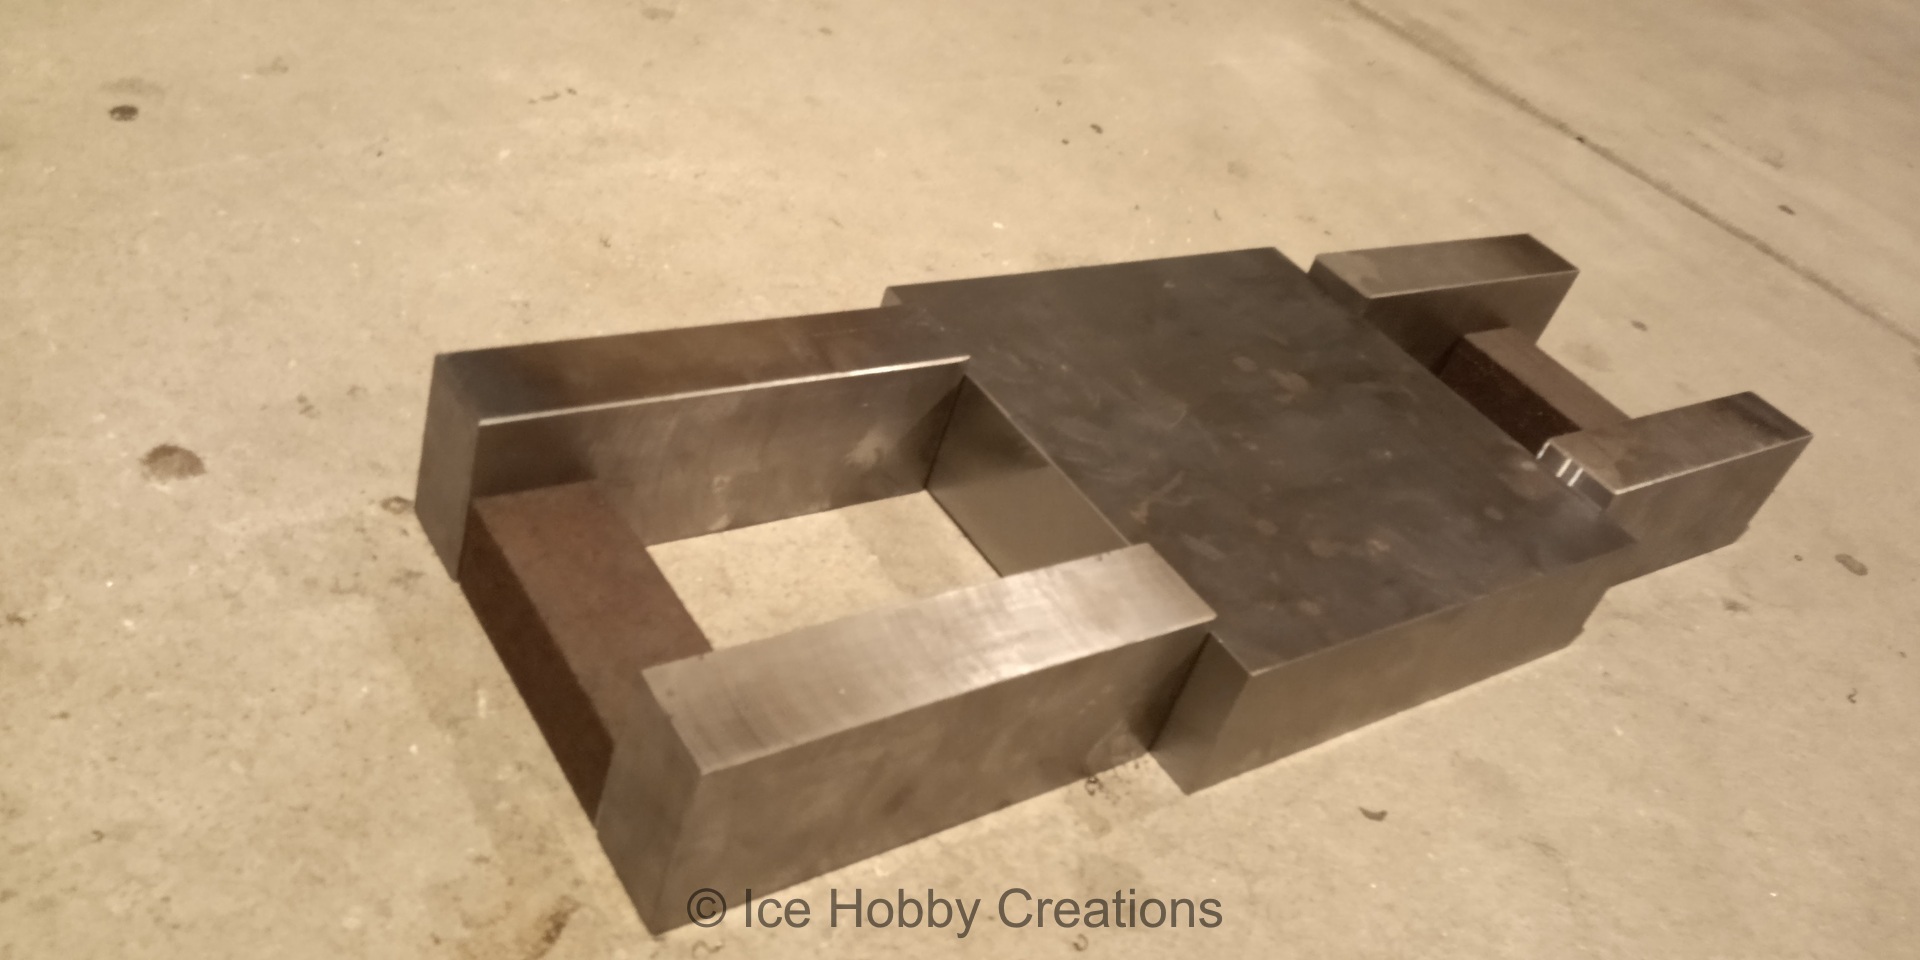
A side project that may get a future page was the plugin I wrote for my VFD to interface with Mach3. I couldn't find anything that worked how I wanted it to, so I made my own! With the electrical bits sorted out (I'm deluded as always!), it was time to see what this thing could do! So what better task than to machine a part for the "final" tailstock? Oh, and here's the new tailstock itself (welded together 1/2" plate that was cut out on my Cnc router/plasma machine).

For your patience, here's a very poorly shot video of actually cutting some steel (just a test routine of the VFD's Mach3 Plugin Constant SFM code)
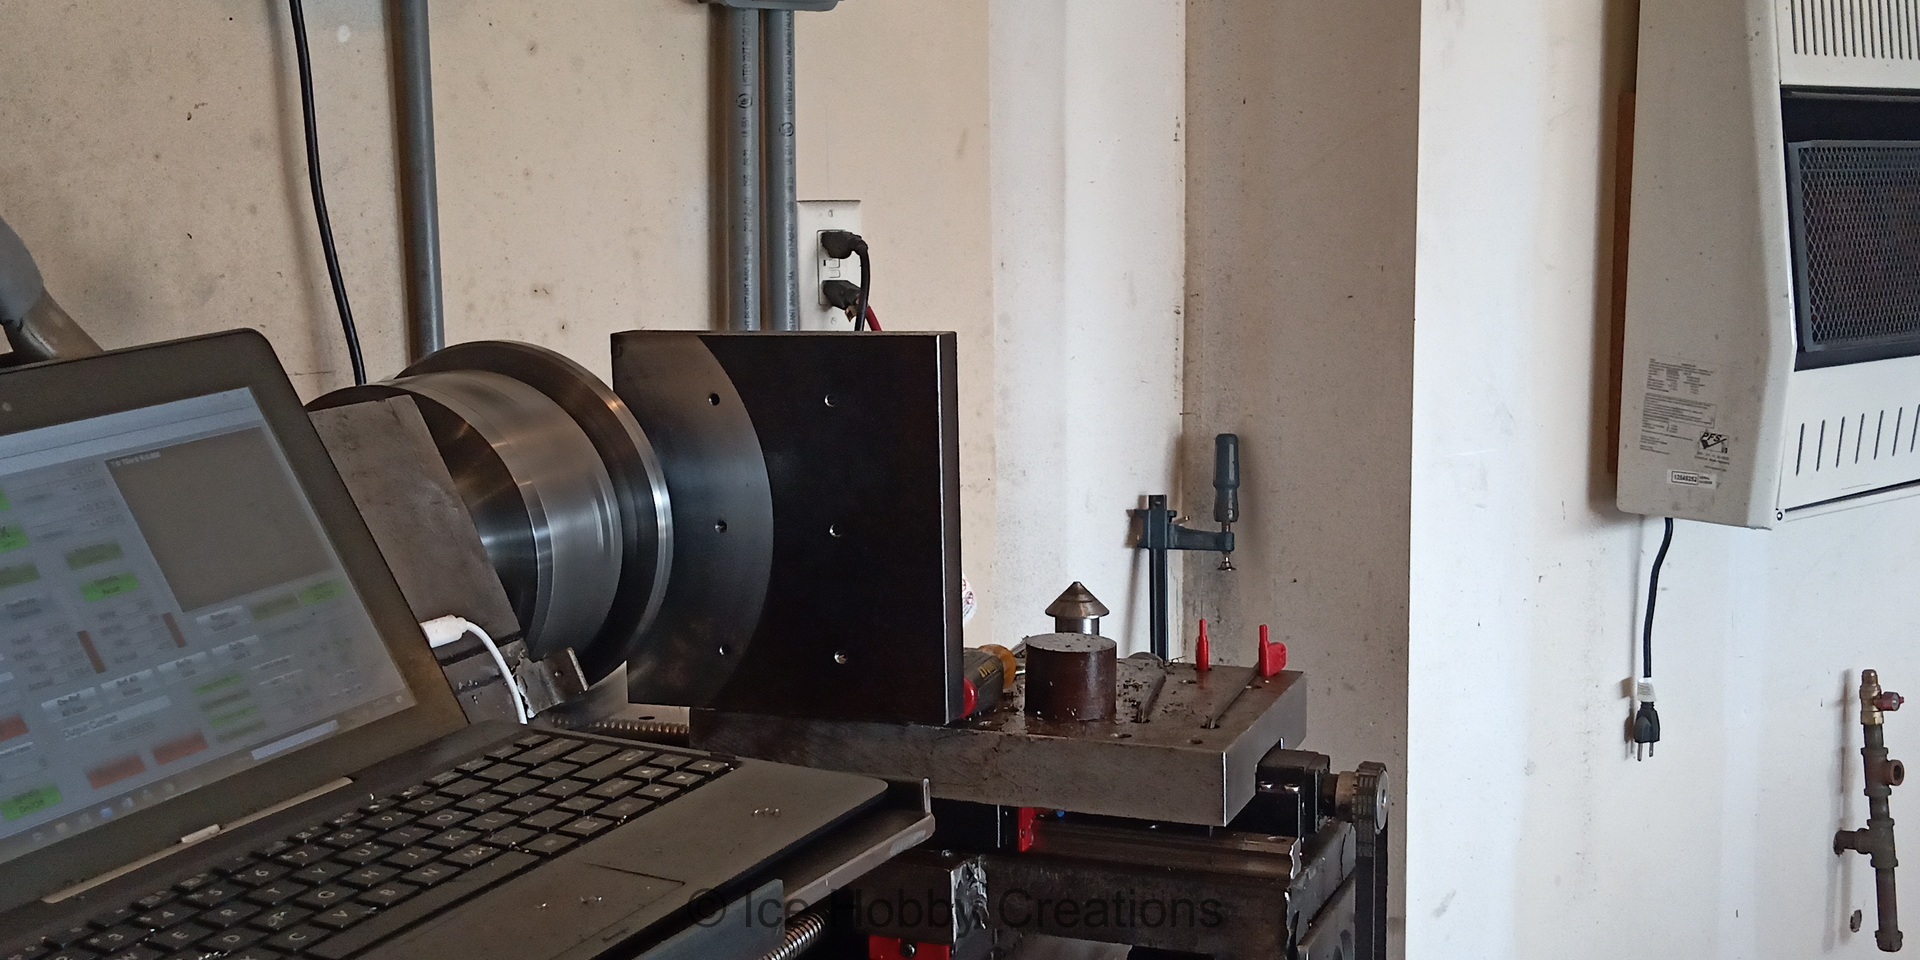
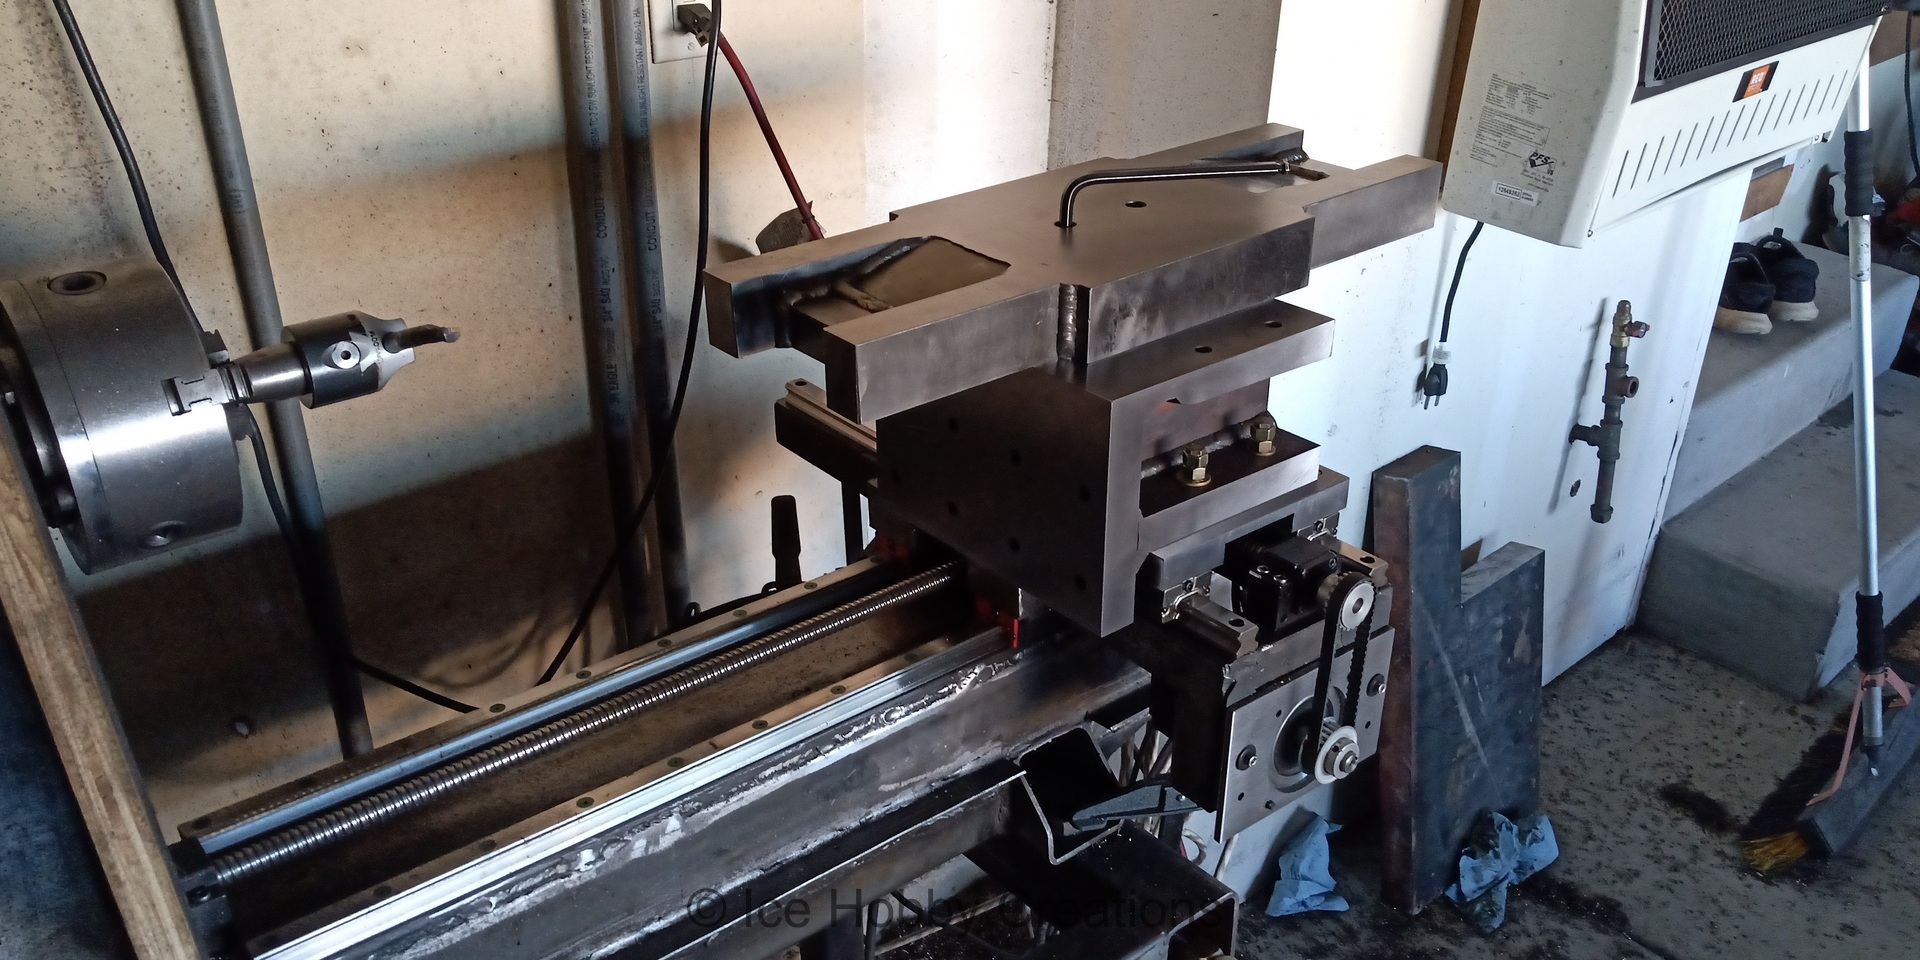
Did I say the mechanical bits were sorted out? Well, at this point, I was still just using a temporary hunk of aluminum acting as a cross-slide... Lets get that replaced with some nice 29msi Young's Modulus steel! Enter more sketchy setups to use the lathe as a giant diameter flycutter and slot milling machine.


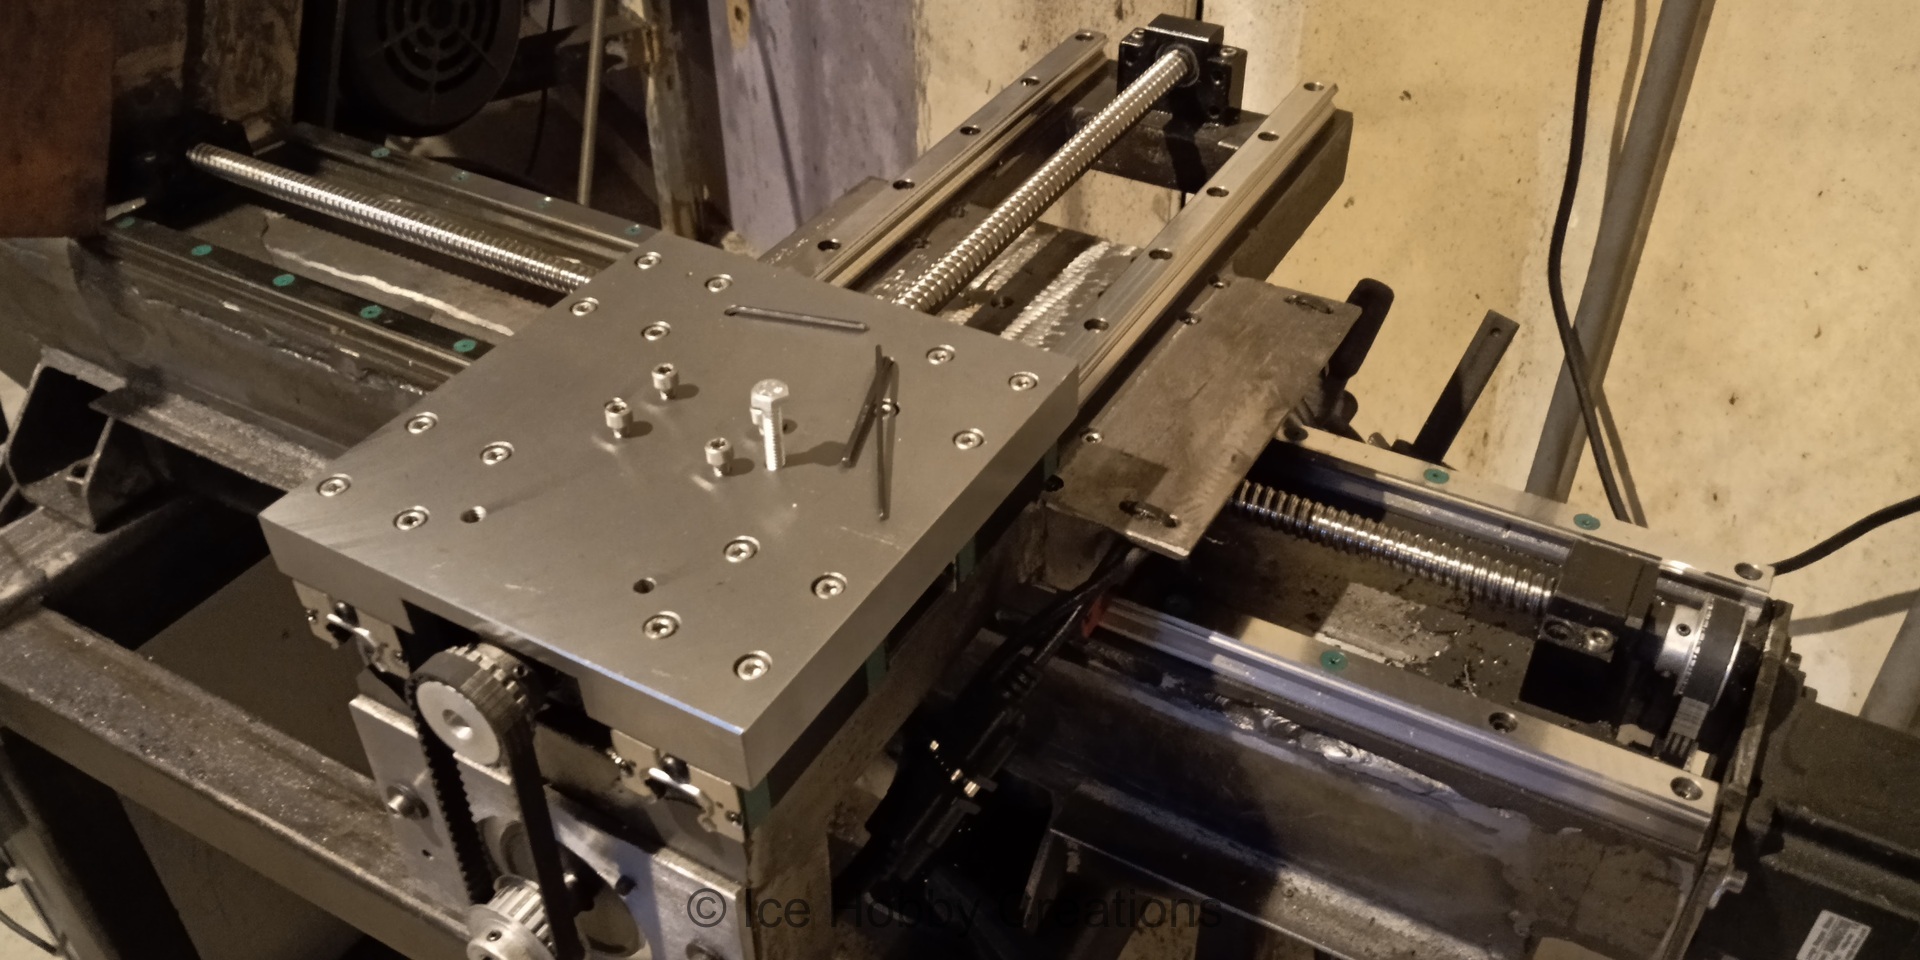
Well, if I have such a nice cross-slide now, the carriage for mounting the rails can't be so sketchy, so lets get started fixing that, shall we?


Here you can see the extent of the sketchy setups!


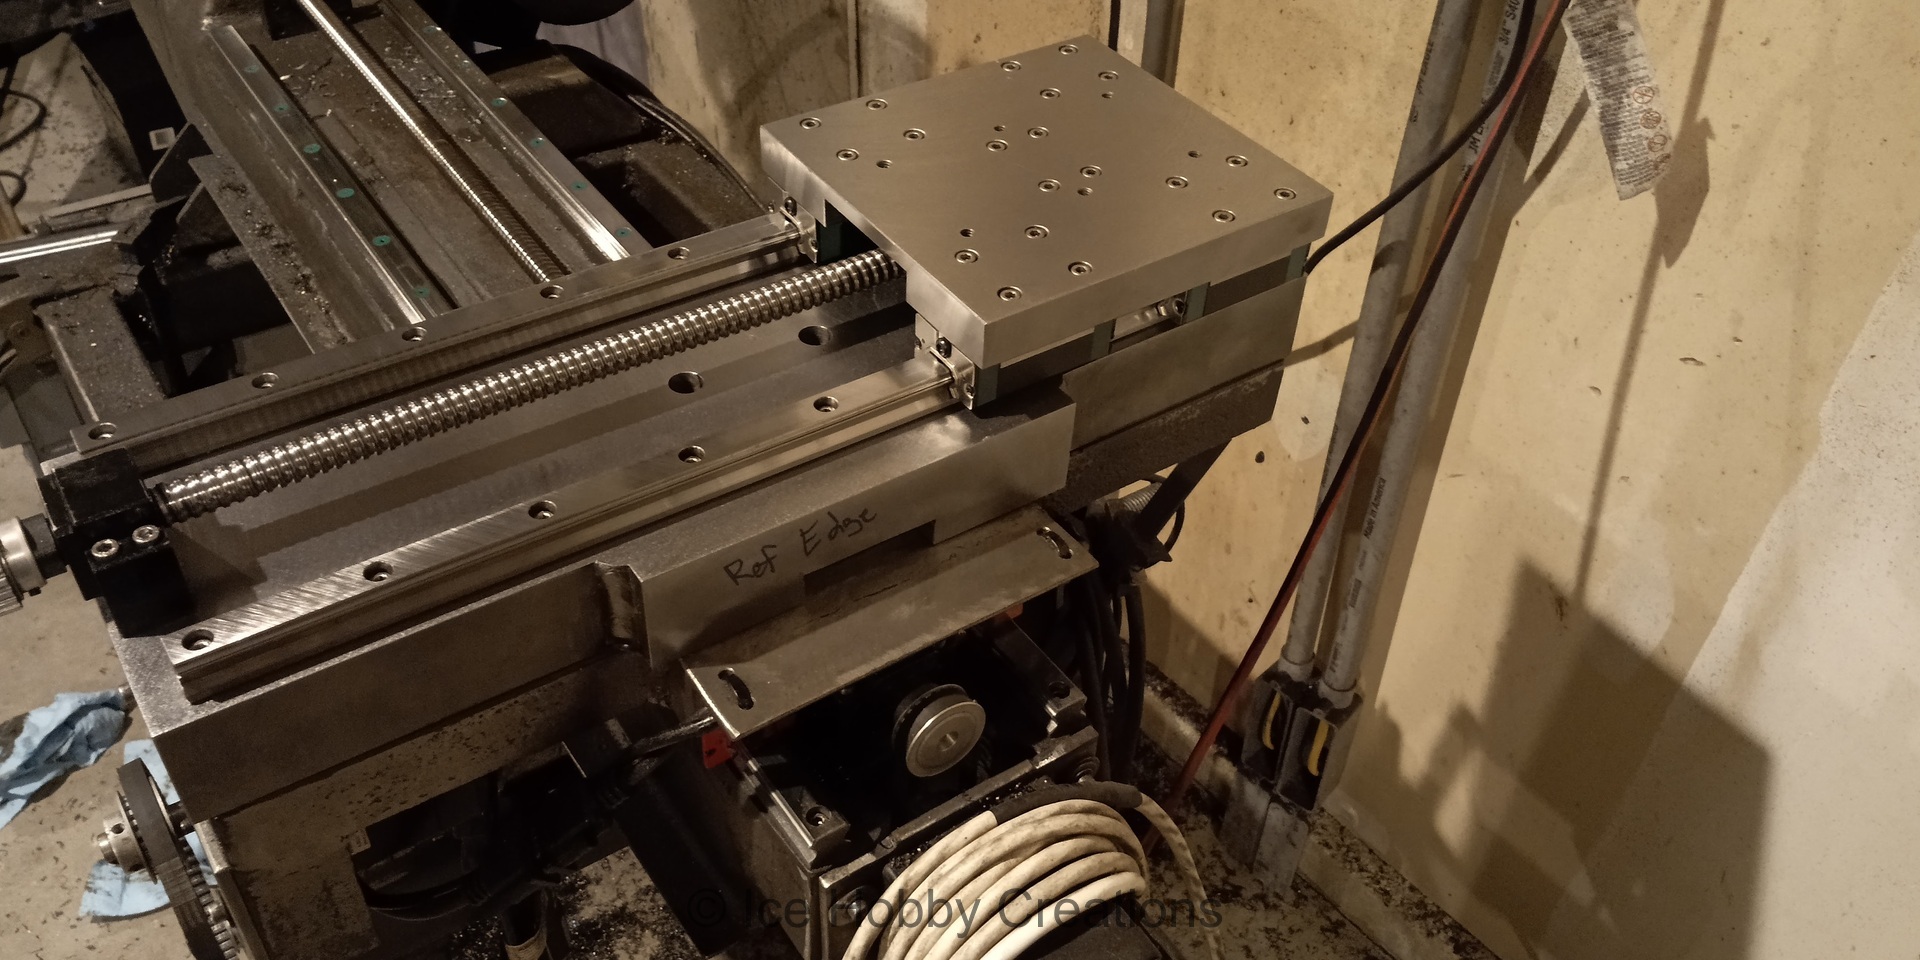
Finally, swapping out the old carriage for the new, freshly machined carriage, and starting to clean up a new spindle headstock!

And this is where the lathe currently stands! There's still a ton of work, and I definitely need to make an enclosure...